Projects here range from a few dollars for a drawer divider to a full countertop swap, and what sorts them is whether the job takes a screwdriver and a weekend or a licensed pro.
Electrical work and plumbing do not fall on the DIY side, and under-cabinet lighting that needs new wiring belongs with an electrician, while swapping pulls on repainted cabinets stays with you.
1. Pull-Out Drawers
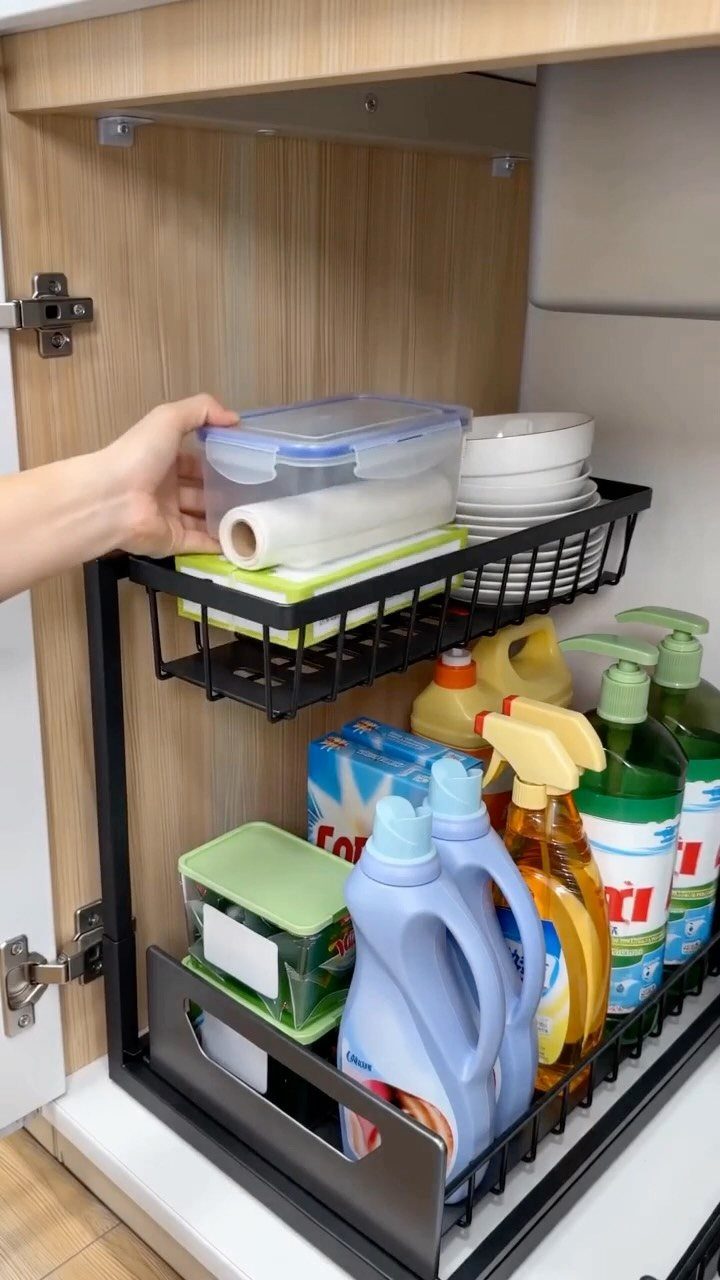
Pull-out drawers inside a base cabinet fix the deepest problem with a standard shelf: everything at the back disappears.
Sliding the whole contents toward you means a bottle of cleaner or a stack of dishes is one reach away instead of a kneel and a blind grope.
For a weekend and a modest budget, I’d pick slide-out units that install in the cabinet you already own, rather than rebuilding it. Measure the inside width and depth first, and check that the door frame doesn’t narrow the opening.
2. New Kitchen Backsplash
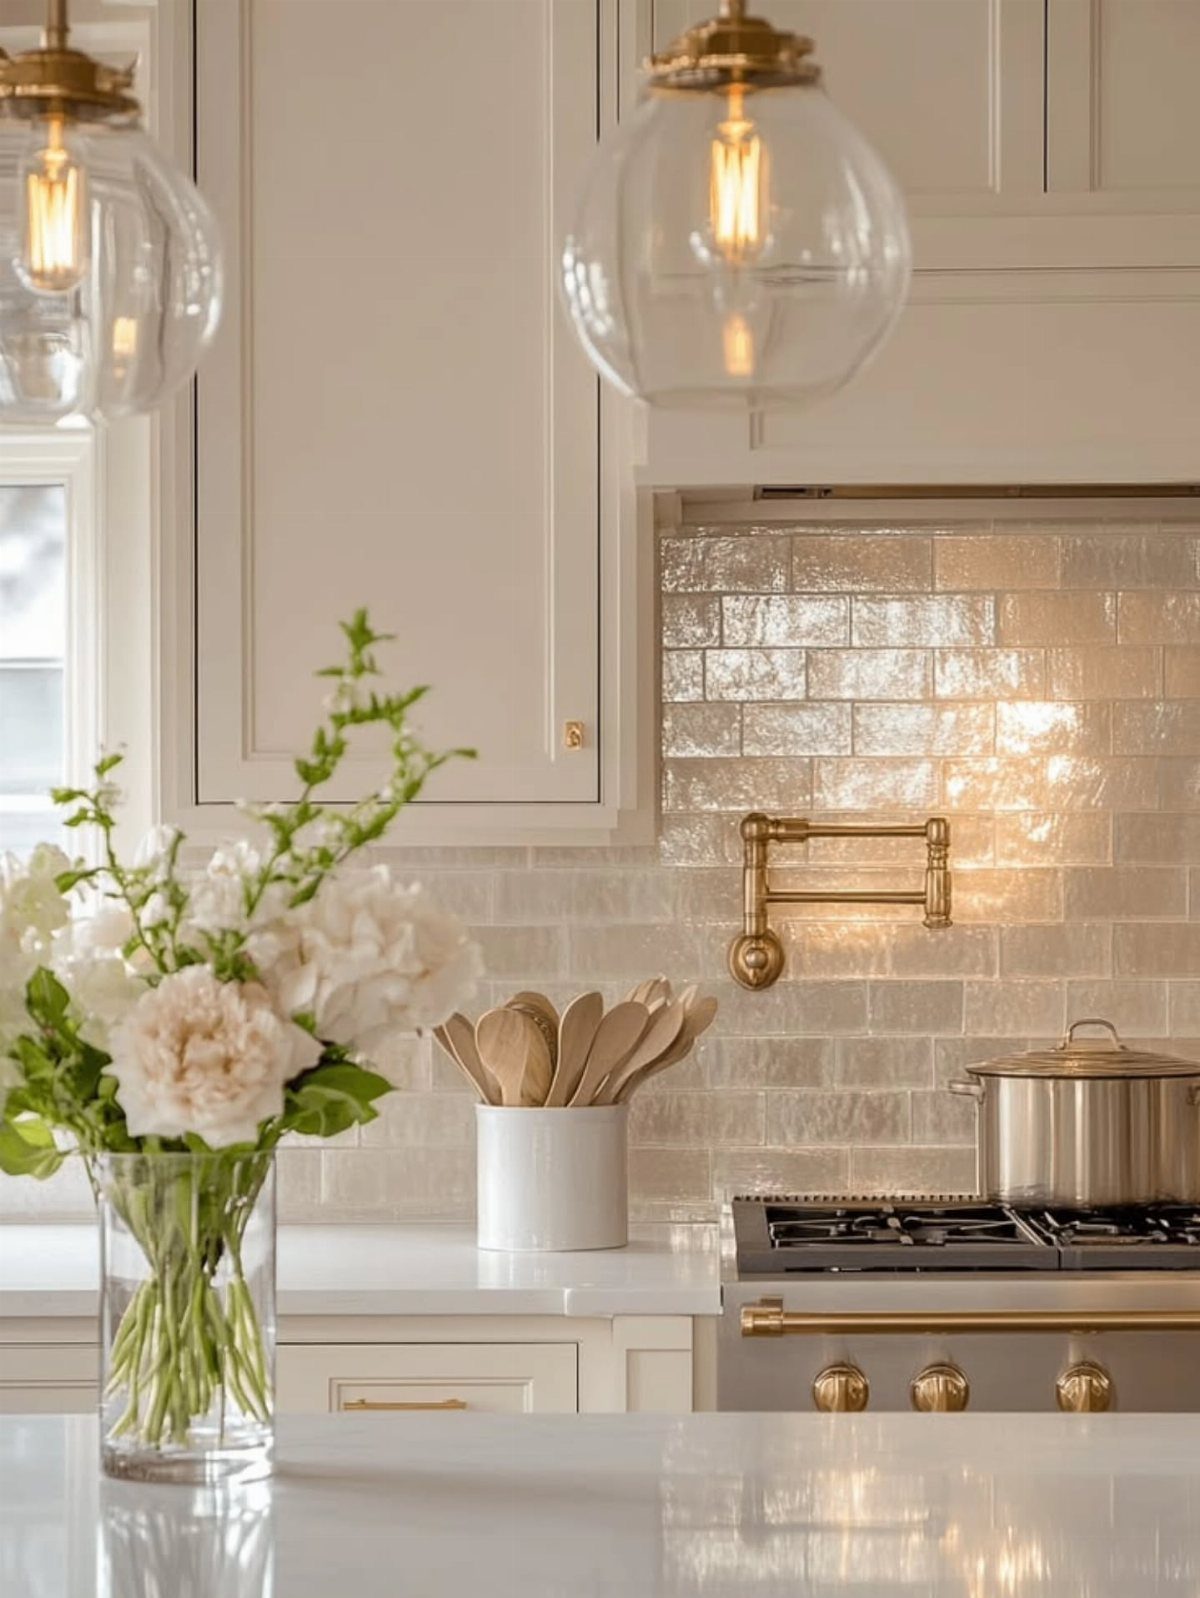
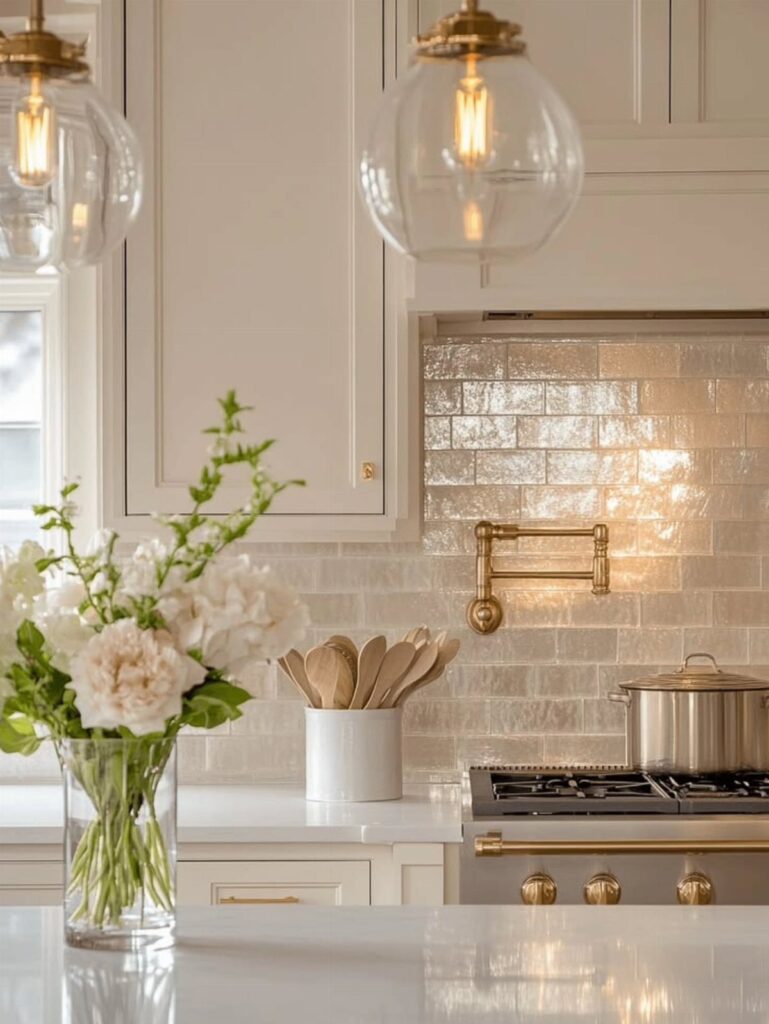
Glossy white subway tile is the backsplash I’d choose when a kitchen needs more light and the budget is tight. The shine bounces light back across the wall, and the classic brick pattern never looks dated beside white cabinets.
A backsplash covers only the strip between counter and upper cabinets, so you buy a small amount of tile. That keeps the cost low while the change in the room stays large.
Gold accents like the pot filler pair well with it, but hardware alone can carry that warmth if you’d rather skip plumbing work.
3. Floating Shelves
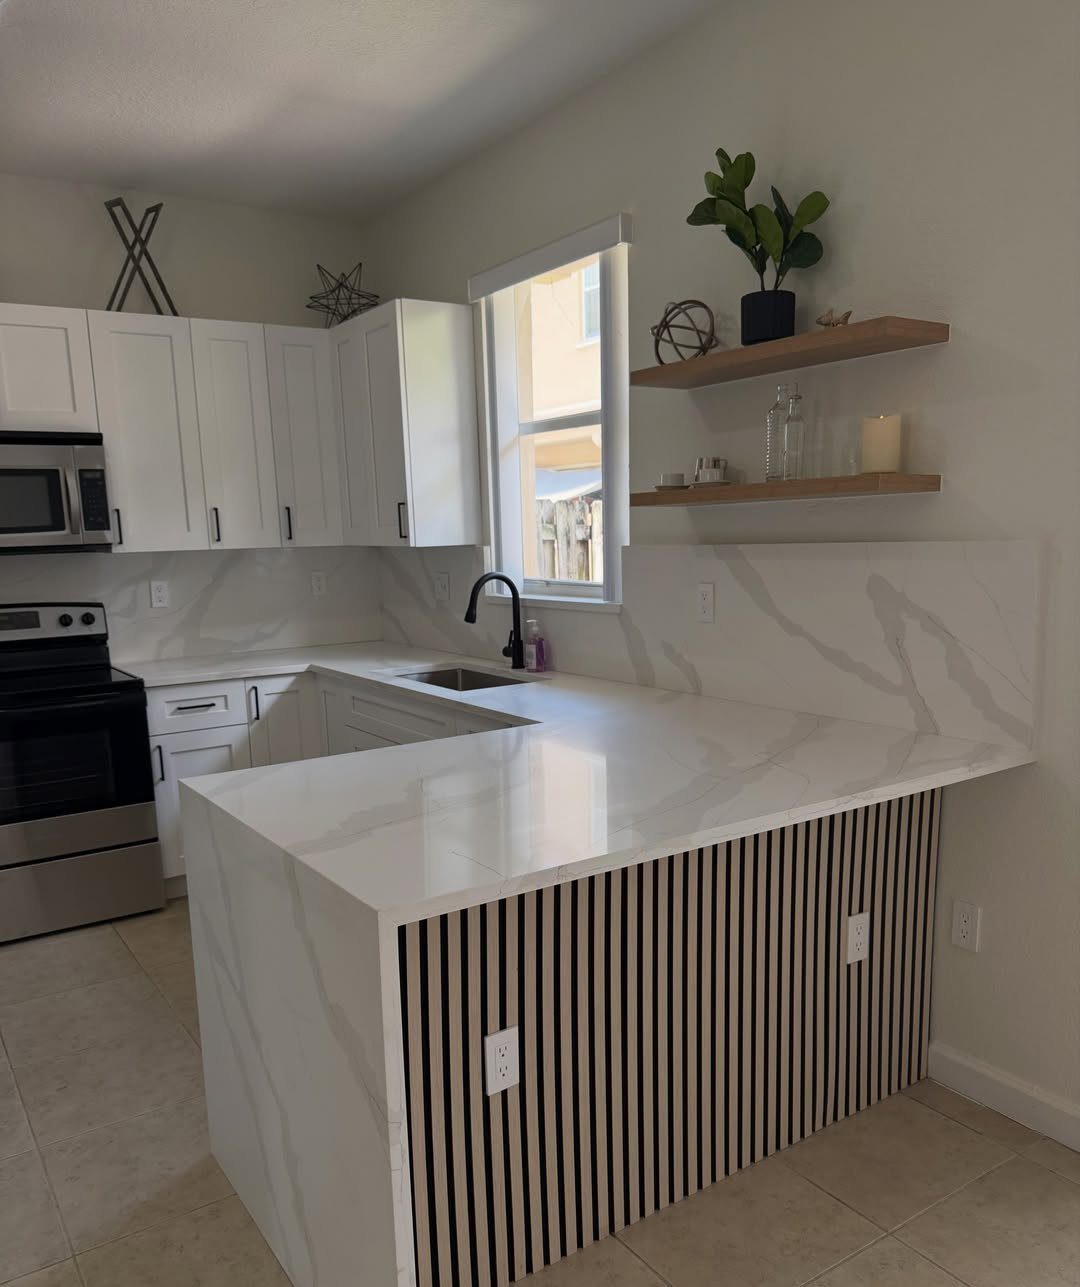
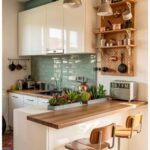
Two wooden floating shelves can replace a run of upper cabinets, or sit on a bare wall where nothing hangs now. Against white cabinets and marble-patterned counters, the wood adds warmth for very little money.
I’d keep each shelf to a few items: a plant, a couple of everyday bowls, one decorative piece. Crowding turns open storage into clutter fast.
Floating shelves hold only what their brackets and wall anchors can carry, so find studs where you can and match the hardware to the load.
4. Repainted Cabinets
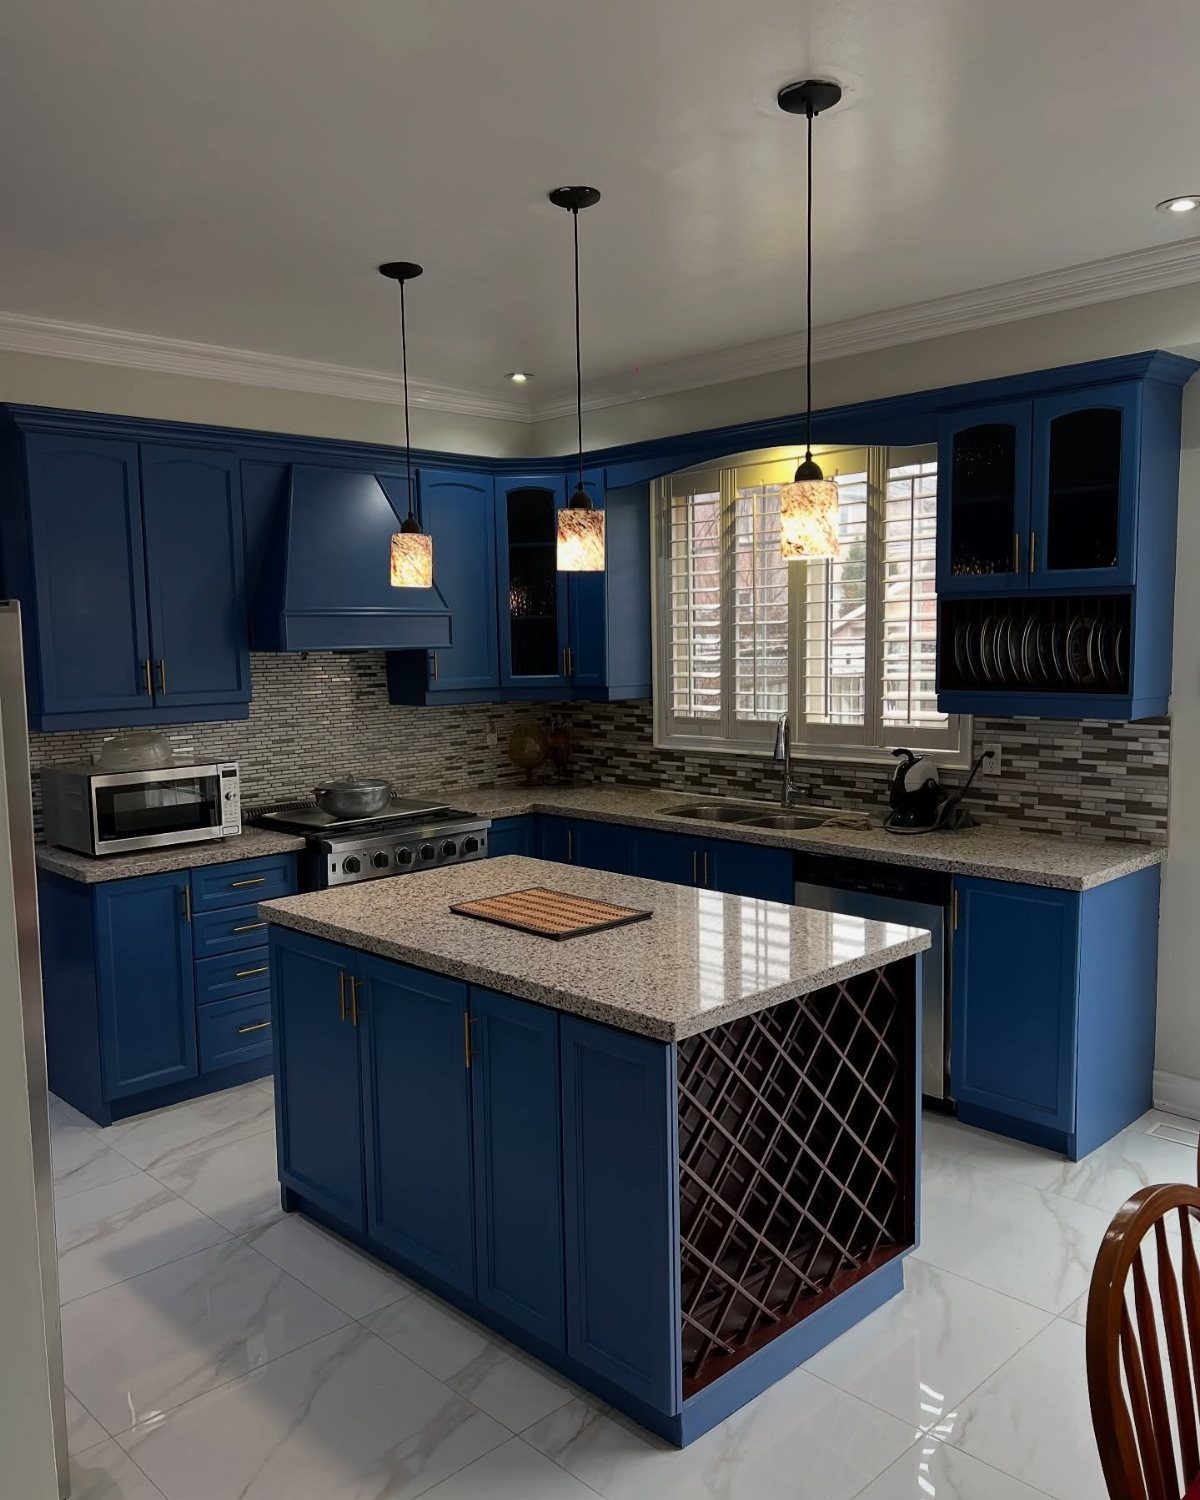
Deep blue paint on cabinets changes a kitchen more than any other single DIY job, and it costs a fraction of replacing doors. A dark color also hides daily scuffs better than white does.
Prep decides how it turns out.
Clean off kitchen grease, sand lightly, prime, then roll thin coats and let each one dry fully. Rushing a thick coat leaves drips you’ll see every day.
5. Organized Kitchen Essentials
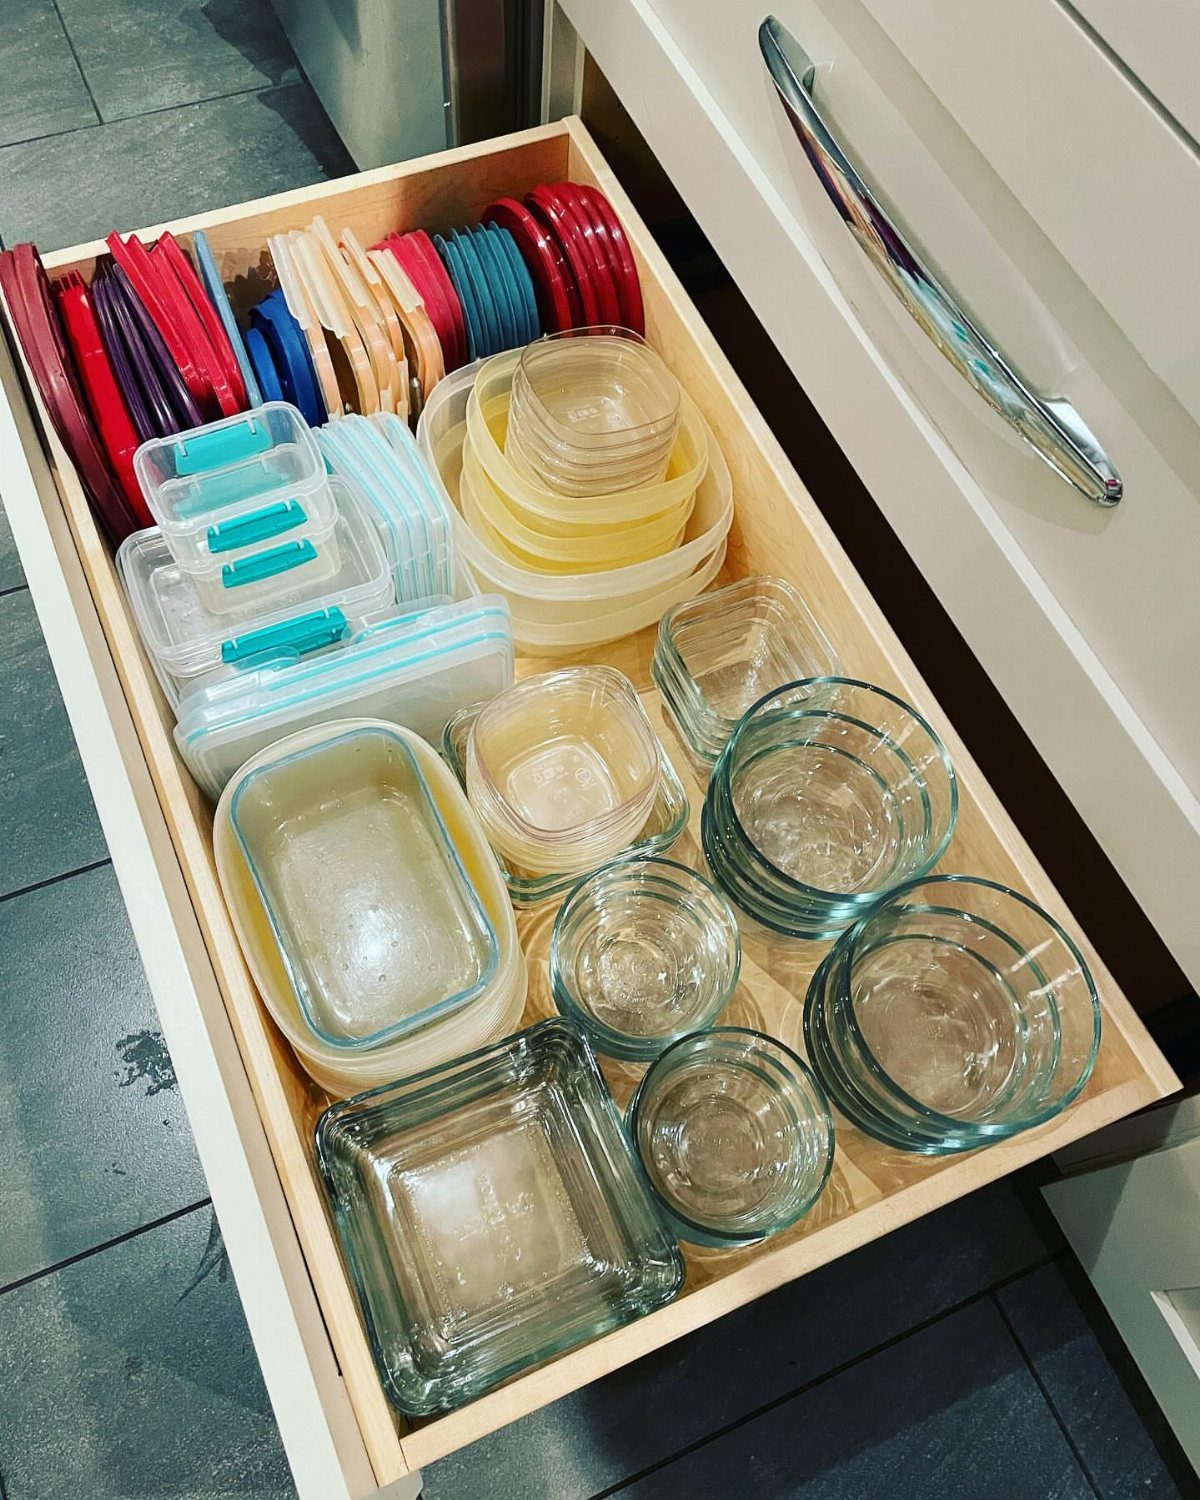
Start by pairing them and tossing any orphan with no match, since those are what jam a drawer.
I like nesting the containers by size, with the lids standing upright in a separate section. A cheap drawer divider or small bin handles that job for a few dollars.
Glass and plastic can share a drawer, but putting the heavier glass at the front keeps it easy to grab without the stack toppling.
6. Upgraded Cabinet Hardware
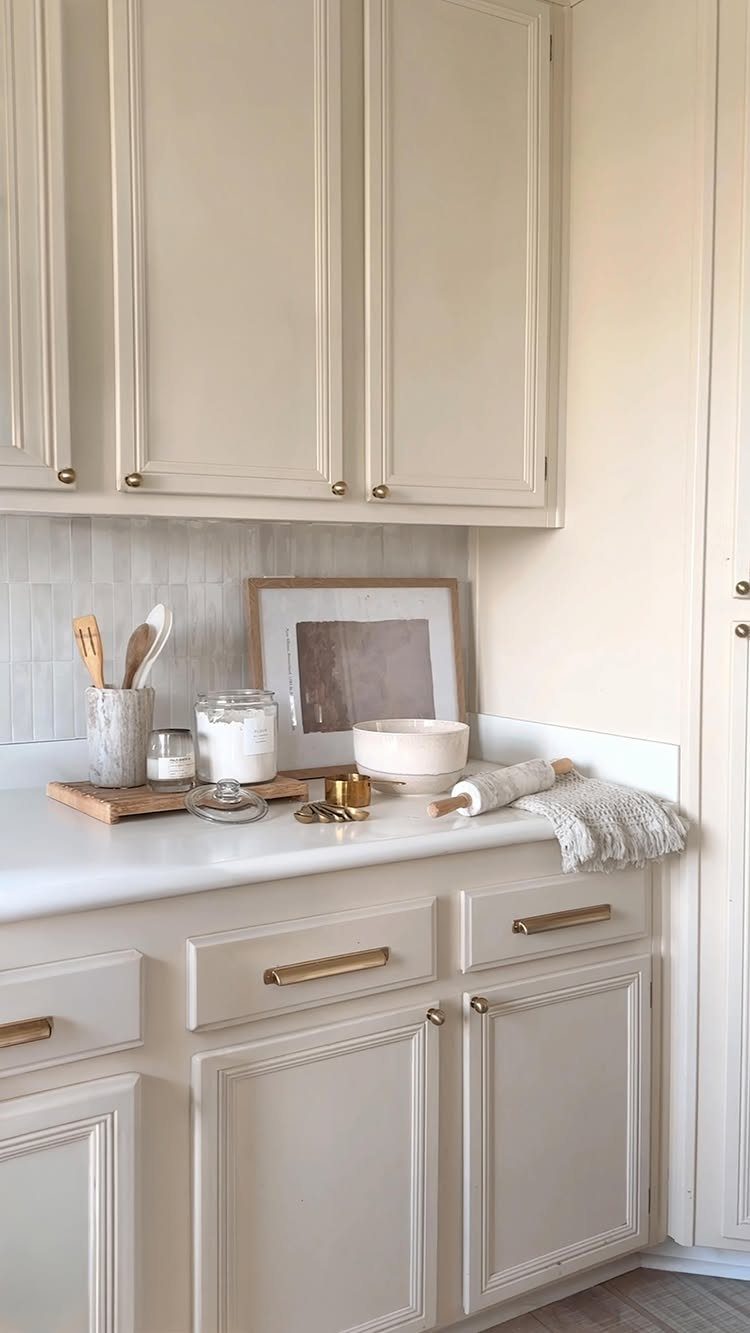
Gold handles and knobs on cream cabinets add a warmer, finished look without touching the doors themselves. Swapping hardware is among the cheapest changes you can make, and a screwdriver does most of the work.
Before buying, measure the distance between existing screw holes on each pull. Matching that spacing means no new drilling and no patching.
I’d use pulls on drawers and knobs on doors, all in one finish. Mixed metals can look accidental against a soft cream.
7. Under-Cabinet Lighting
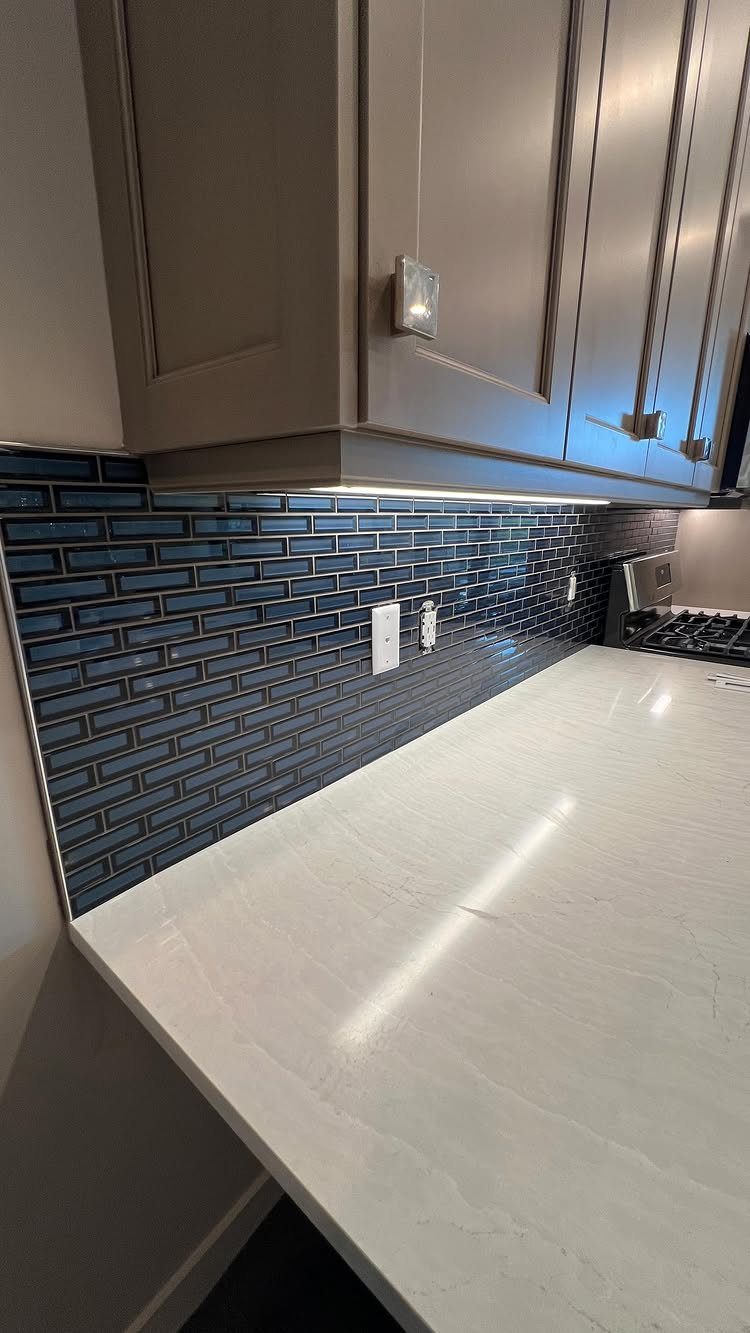
A slim strip of light under the upper cabinets puts the glow right on the counter, where chopping happens, and it makes a blue tiled backsplash look deeper.
For a weekend job and a small budget, I’d choose a plug-in or stick-on strip over anything hardwired.
Mount it near the front edge of the cabinet bottom so the light reaches the whole counter and the strip stays hidden from view.
Measure the cabinet run before you buy, so the strip covers it end to end.
8. Warm Wood Countertops
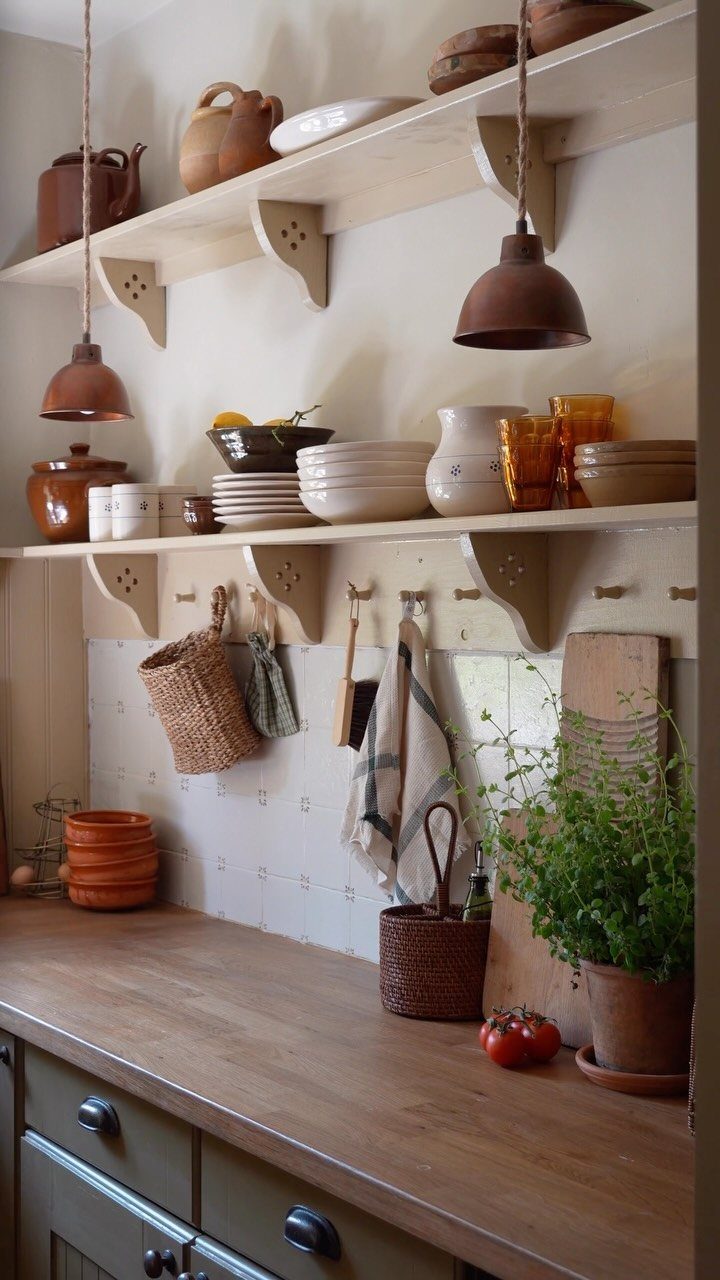
Olive green lower cabinets and a warm wood countertop make a pairing that feels settled and a little rustic, and the wood softens the green.
I’d pick this over a stone top when the budget is tight and you like a lived-in look.
Wood reads warm next to open white shelving and pottery, so keep the upper half light and give the counter the job of carrying the color. A single butcher-block style slab is a simple swap on a short run.
Wood near a sink needs a sealed finish, and I’d reseal it whenever water stops beading on the surface.
DIY vs Professional Help
Painting, swapping hardware, and basic demolition are the jobs I’d hand to a confident beginner. They take patience more than special skill, and a mistake is usually cheap to fix.
Electrical work, plumbing, cabinet installation, and structural changes belong to a professional. A wrong cut or a bad connection there can cause safety problems and repair bills that wipe out whatever you saved.
Before you start, sort your project into 2 piles: tasks that match your skill level and tasks that don’t. Spend the savings from the first pile on the second.
If you’re unsure which pile a task belongs in, ask a pro for advice before you begin. A short consultation costs far less than undoing a mistake.
Common Mistakes to Avoid
Chasing the lowest price is how a budget remodel goes wrong. The cheapest material often wears out first, so you pay twice: once now, and again when it has to be replaced.
Before buying, ask how a material will hold up in daily use. A slightly higher price for something durable usually wins.
Skipping professional advice on complex tasks is another expensive habit. A quick consult on the hard parts can prevent the errors that cost the most to fix.
Changing plans halfway through hurts too. Reordering materials, redoing finished work, and stretching the timeline all drive costs up.
Settle your layout, materials, and budget before the first tool comes out, then stick to the plan.
Frequently Asked Questions
Can you redo a kitchen for $5,000?
Yes, if you stick to cosmetic upgrades and leave the structure alone.
Ready-to-assemble cabinets or repainted existing ones, budget countertops, new hardware, a simple backsplash and better lighting are the pieces that fit that figure. Keeping the current layout is what makes the number work.
What is the least expensive way to remodel a kitchen?
The cheapest remodel leaves the layout alone, because moving plumbing and gas lines eats a budget fast, and refinishes the cabinets you already own. Laminate or butcher block countertops and a DIY backsplash keep the rest of the bill low.