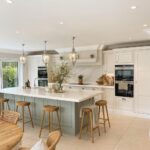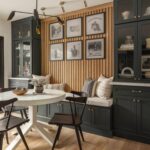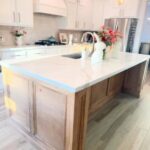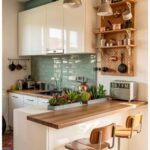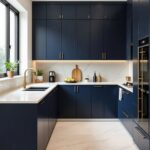
Your choice depends mostly on skill level, since a single plywood sheet needs only one straight cut while faceted geometry asks for mitered angles that have to meet cleanly.
Tile and marble need setting and grouting, while fluted panels or wood slats install faster if you’re working alone.
If you’ve never cut a miter, stay with boards, beadboard or slats, and spend the extra effort on the finish, since stools and knees hit the lower third of the panel hardest.
1. Shiplap
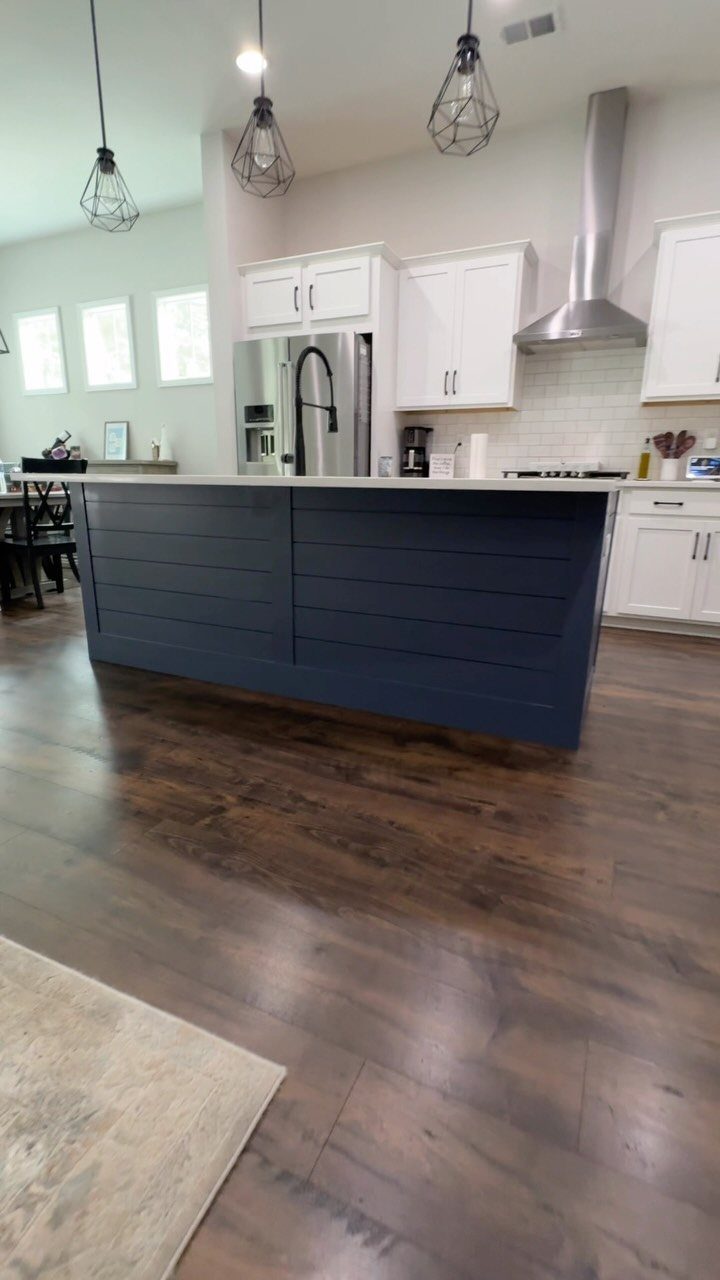
Horizontal shiplap gives a kitchen island a back panel that reads as classic without any fuss. Painted the same navy as the island, the boards look built in, and the white countertop sits above them as a clean edge.
Paint the boards before you install them, so the grooves between them get full coverage. A satin or semi-gloss finish wipes clean where stools and knees bump the panel.
I like it best in a room that already has white cabinets and dark floors, since the panel then carries the color on its own.
2. Faux Cabinet Doors
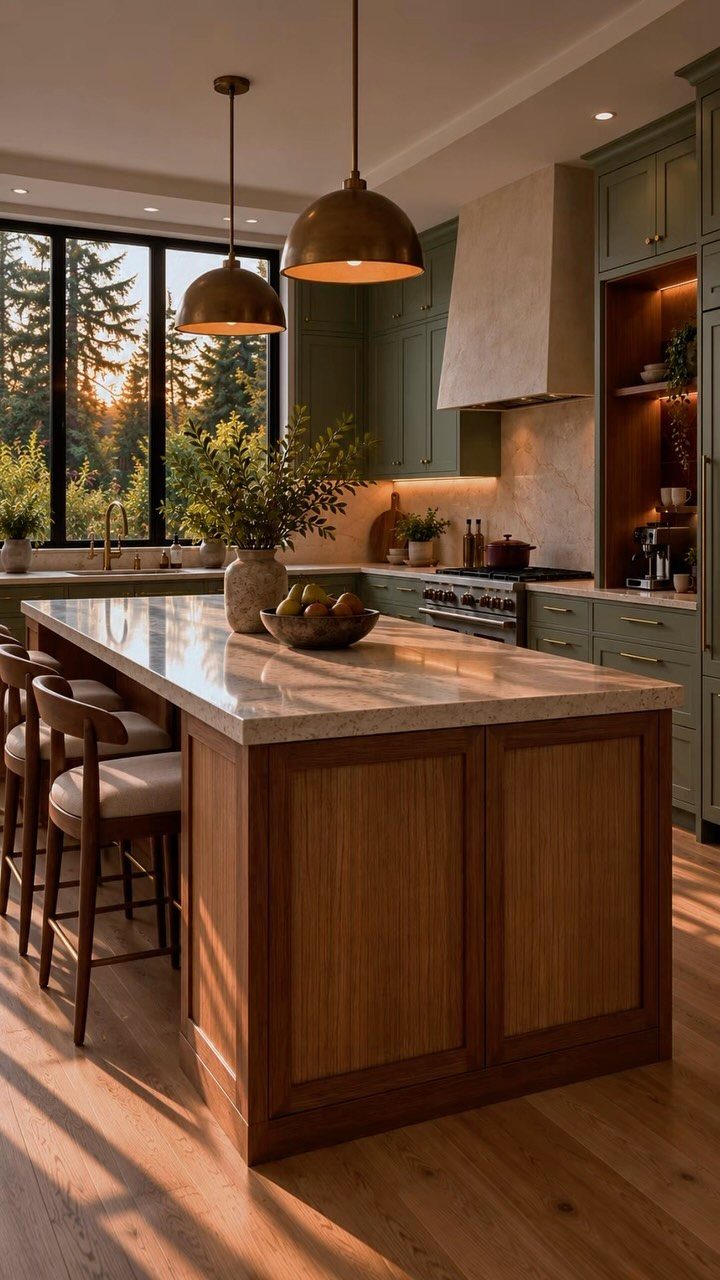
Faux cabinet doors fake the look of storage on the side of the island nobody opens.
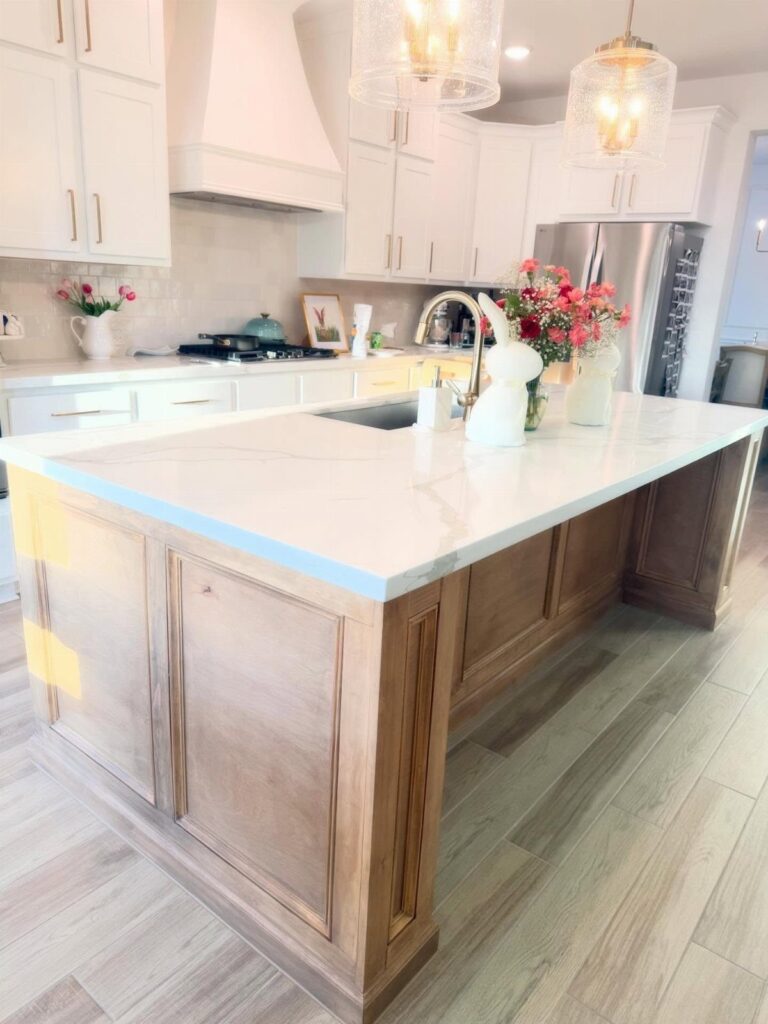
Here the wood panels have the proportions of real doors, and that detail is what makes the island feel like furniture rather than a box.
For a weekend job, mount door-style frames or thin panels onto the back and finish them in the same wood tone as the rest of the island. Add pulls only if you want them to read as working doors.
Matching the stain to the island is the step I would not rush.
Bet you didn’t know that, most of the time, those little cabinet doors on the backside of kitchen islands don’t open.
— Hunker
3. Tiles
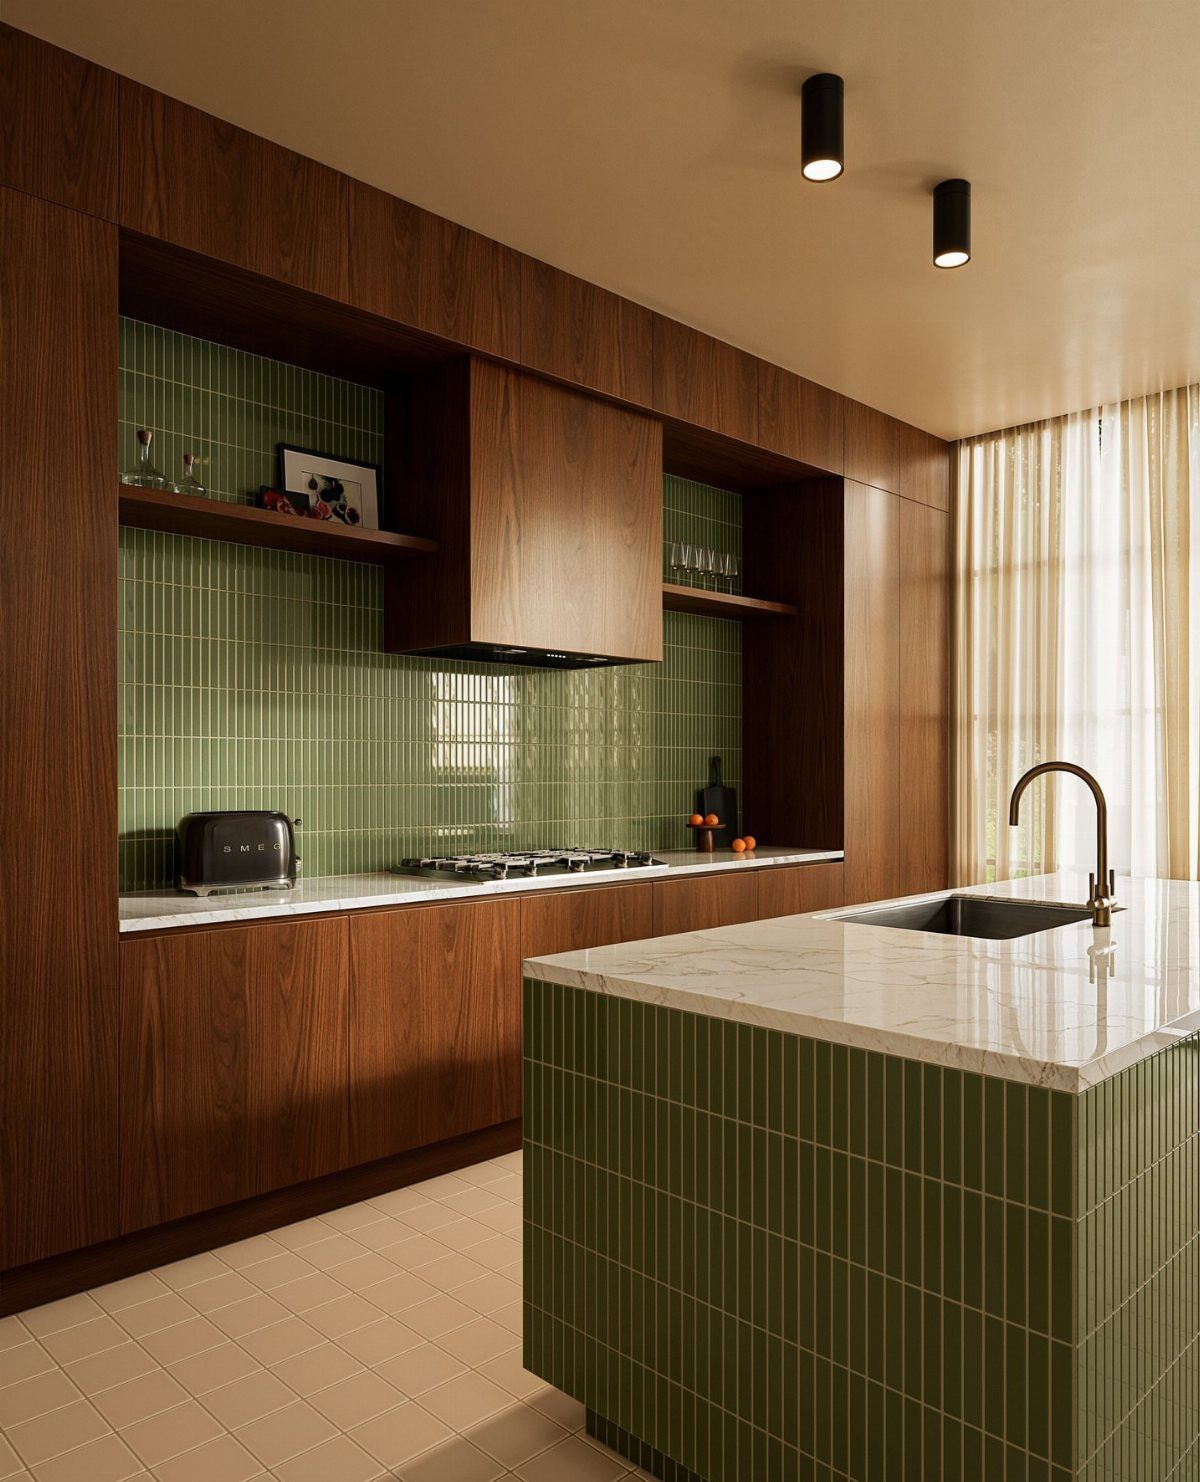
Tile turns the island back into a color statement, and green vertical tiles do it while echoing the backsplash. Running the same tile on both surfaces ties the room together, so the island looks planned rather than added.
Stacking tiles vertically makes the island feel taller and sleeker than the same tile laid horizontally. Tile costs more in labor and time than paint or boards, so I would do it only if you are comfortable setting and grouting.
Dark wood cabinets keep a bright green from feeling loud.
4. Fluted Panels
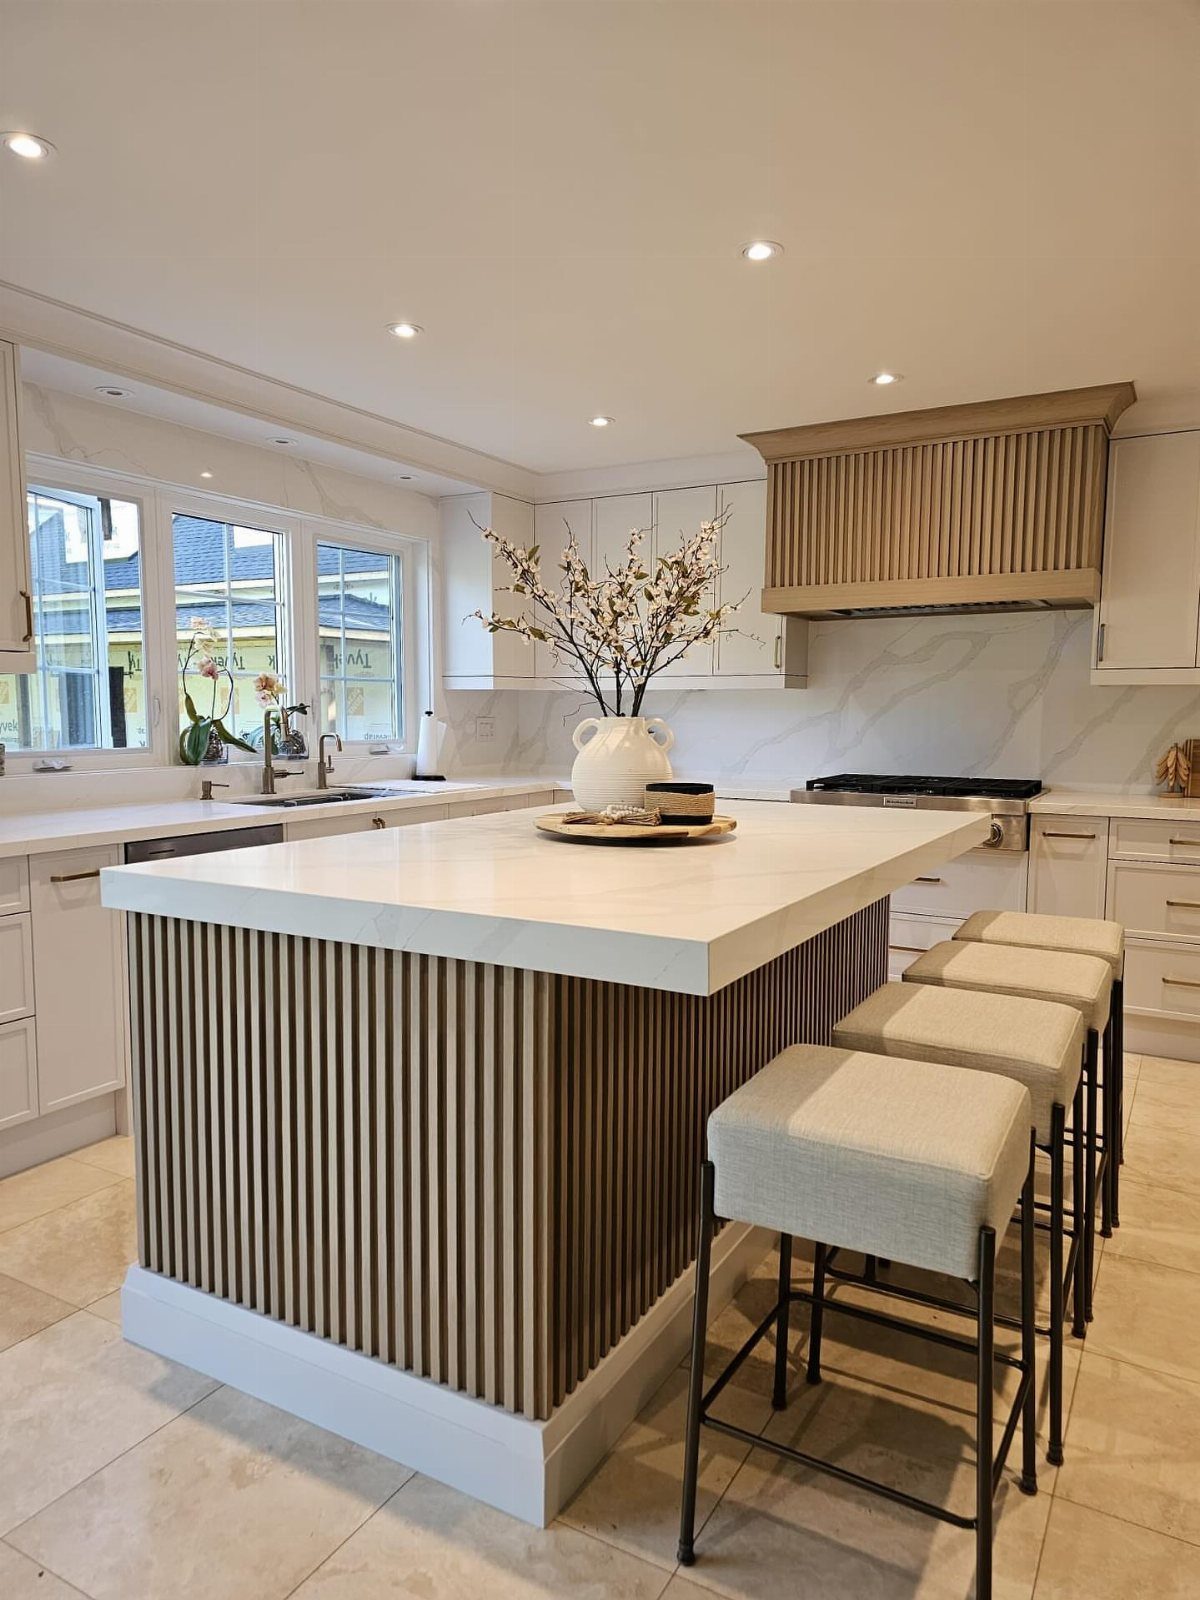
Fluted panels put vertical grooves on the island’s back, and in a light brown wood they add texture without adding color. The ridges catch light differently through the day, which keeps a plain white countertop from looking flat.
Choose a wood tone close to your stools, as beige upholstery next to light wood feels calm and cohesive. Fluting looks custom, so I would spend on it for the island and keep the rest of the kitchen simple.
5. Open Shelves
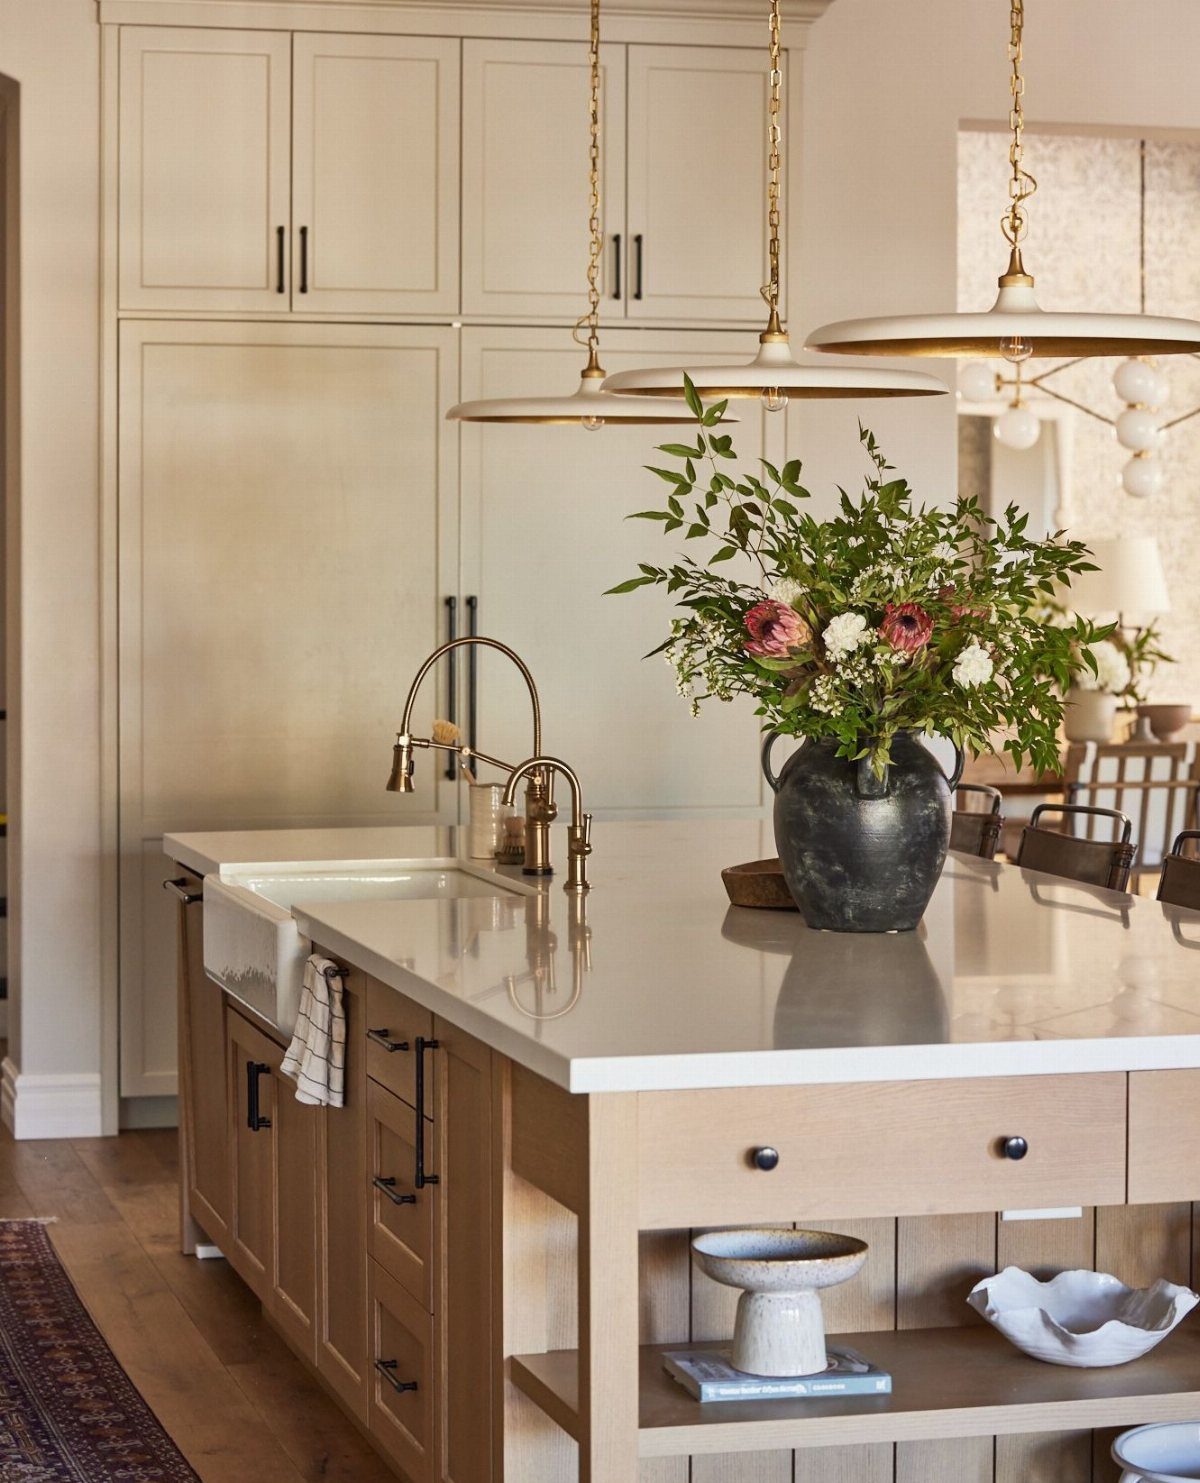
Open shelves on the end of an island give you display space exactly where people pass. Bowls sit within reach of the sink, so the shelves earn their place daily rather than just looking good.
Wood shelves warm up a white countertop and farmhouse sink. Keep the contents to a few pieces you actually use, because anything stored there stays visible and needs dusting.
Open shelving suits a tidy cook; if you hate clutter, pick a closed panel instead.
6. Marble Panels
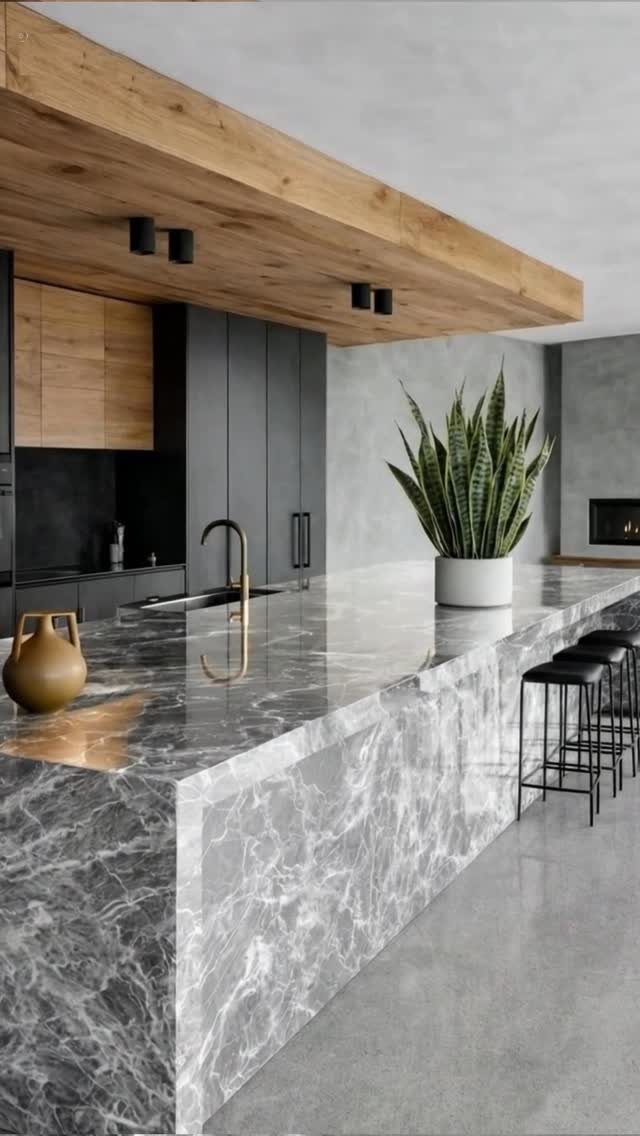
Marble panels carry the countertop stone down the back of the island, and a waterfall edge makes the slab look like one solid block. Grey veining against black cabinetry gives the room a dramatic, quiet weight.
This is the priciest route on the list, so for a budget, look at marble-look sheets or large-format tile rather than real slab. Match the veining on the panel and the counter, since the pairing is what sells the effect.
7. Board and Batten
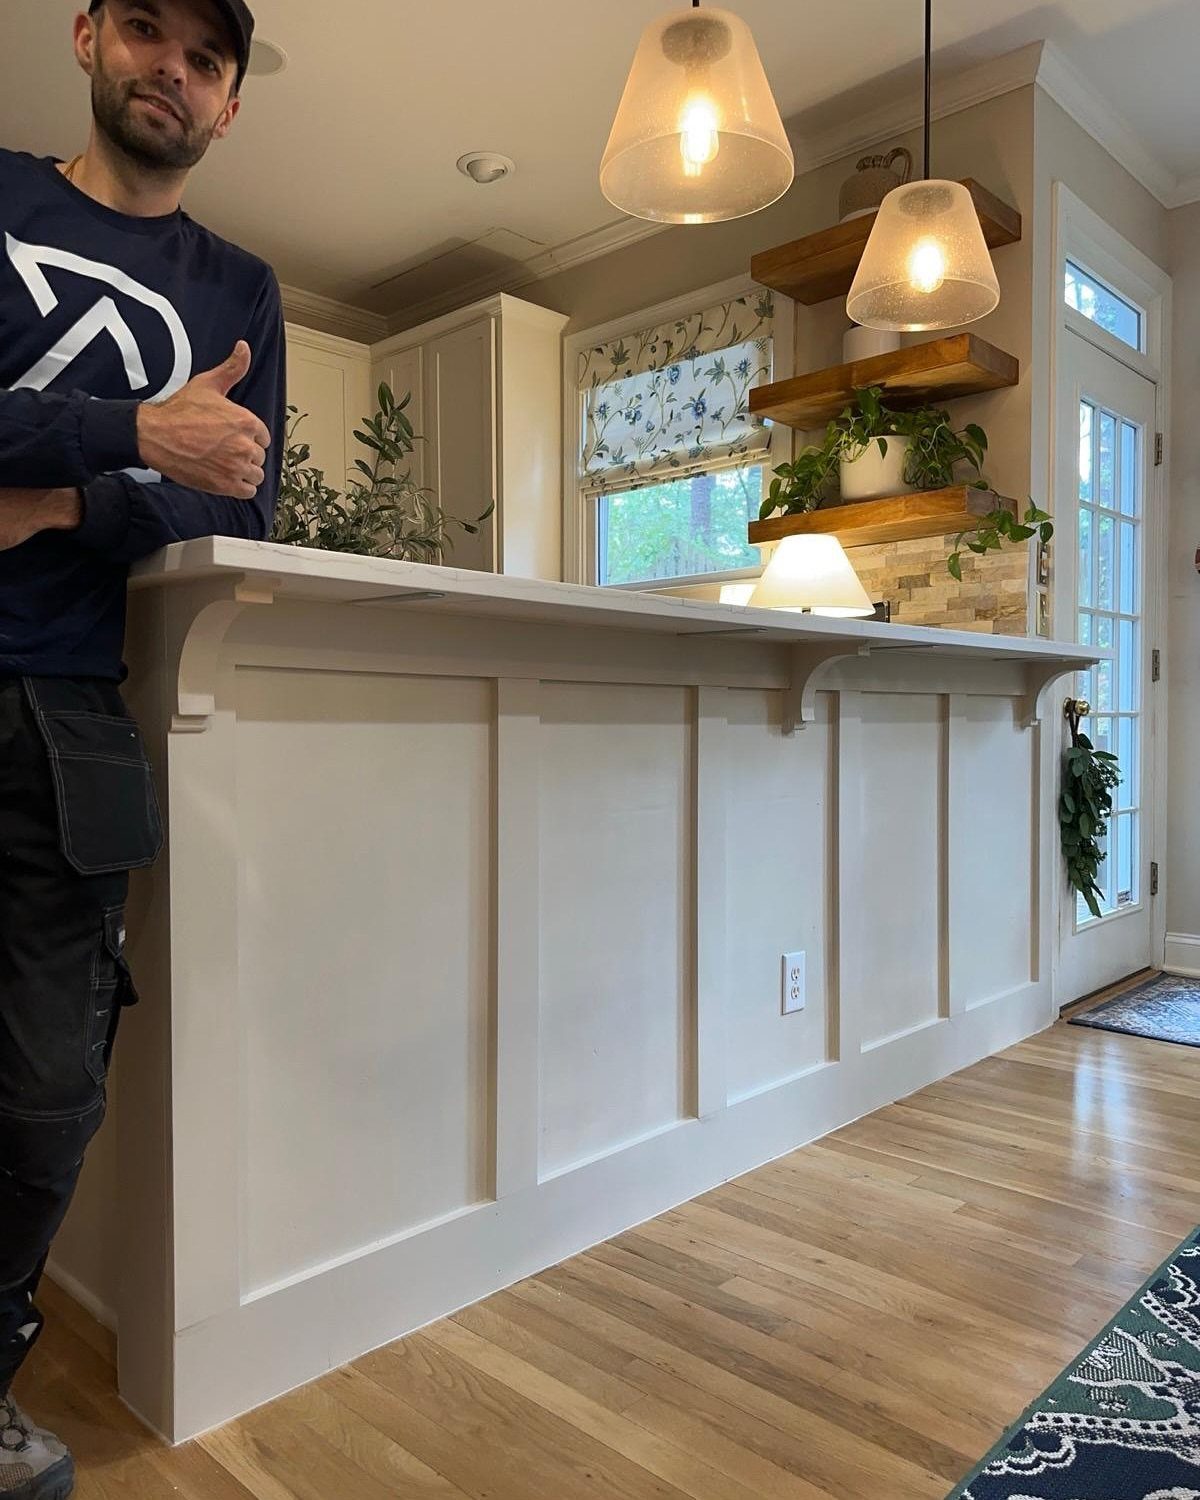
Board and batten sets narrow raised strips over flat boards, and the shadow lines they cast give a white island more depth than a plain painted panel.
The raised battens read as traditional, so the island looks like part of an older, well-built house.
Paint the whole panel one white, battens included, so the shadows do the work instead of a color change. Space the battens evenly, and keep the spacing close to the island’s width so no strip lands awkwardly at a corner.
8. Sheet of Plywood
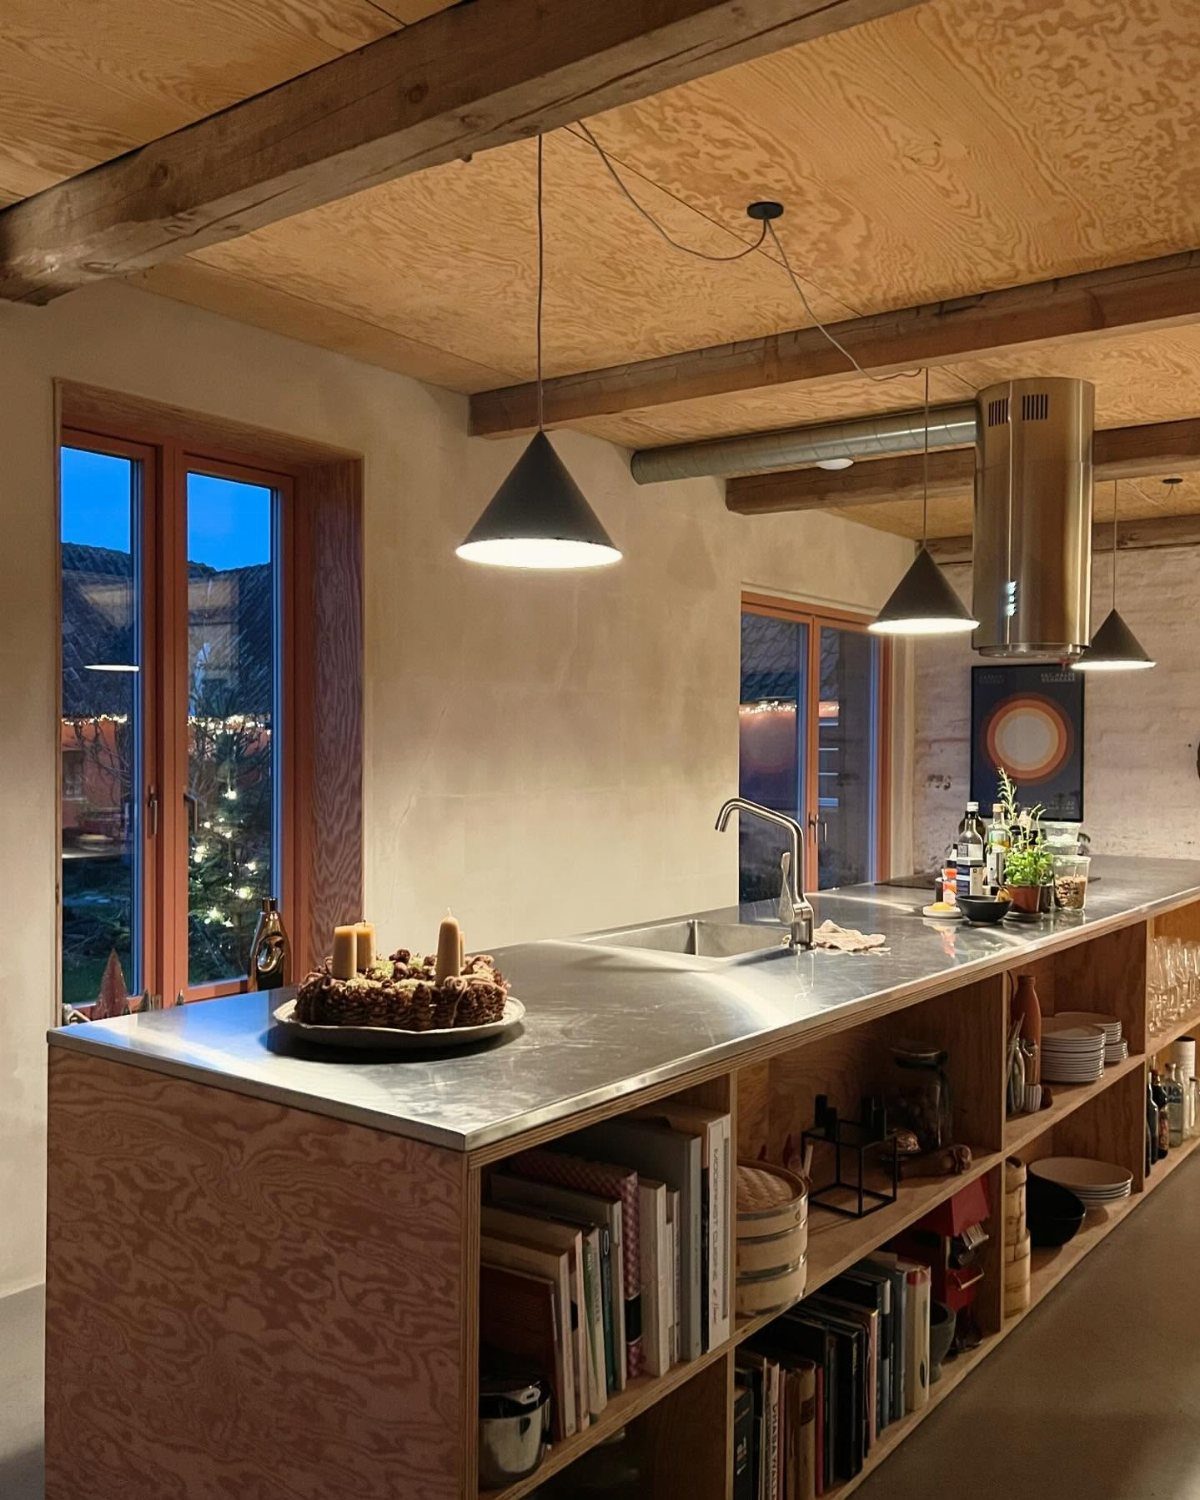
A single sheet of plywood is the cheapest back panel option, and the layered edges and grain look intentional when the rest of the room leans on wood too.
Here it matches the ceiling and beams, so the island feels like part of the room.
Sand the face smooth and seal it with a clear finish, since bare plywood stains easily where stools and knees bump it. Cut the sheet to fit in one piece, which keeps seams out of sight.
I would pair it with a metal top, as the contrast keeps the wood from feeling heavy.
9. Vertical Wood Slat Panels
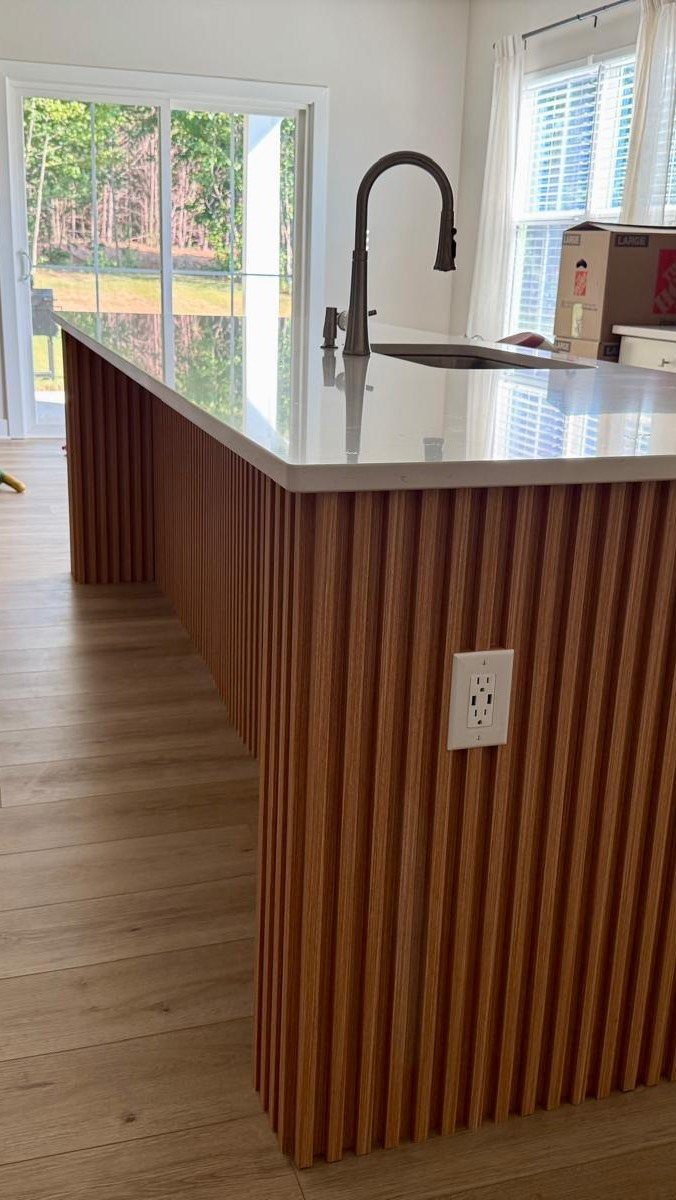
Vertical wood slats give an island back a modern, warm texture, and slim strips make the panel look tall and orderly. Against a plain white countertop, the wood supplies all the color the island needs.
Keep the slats narrow and the gaps even, because uneven spacing is the first thing the eye catches on a repeating pattern. Stain every slat from the same batch so the tone stays consistent.
It is a good weekend project for anyone who can measure and cut straight.
10. Recessed Picture Frame Paneling
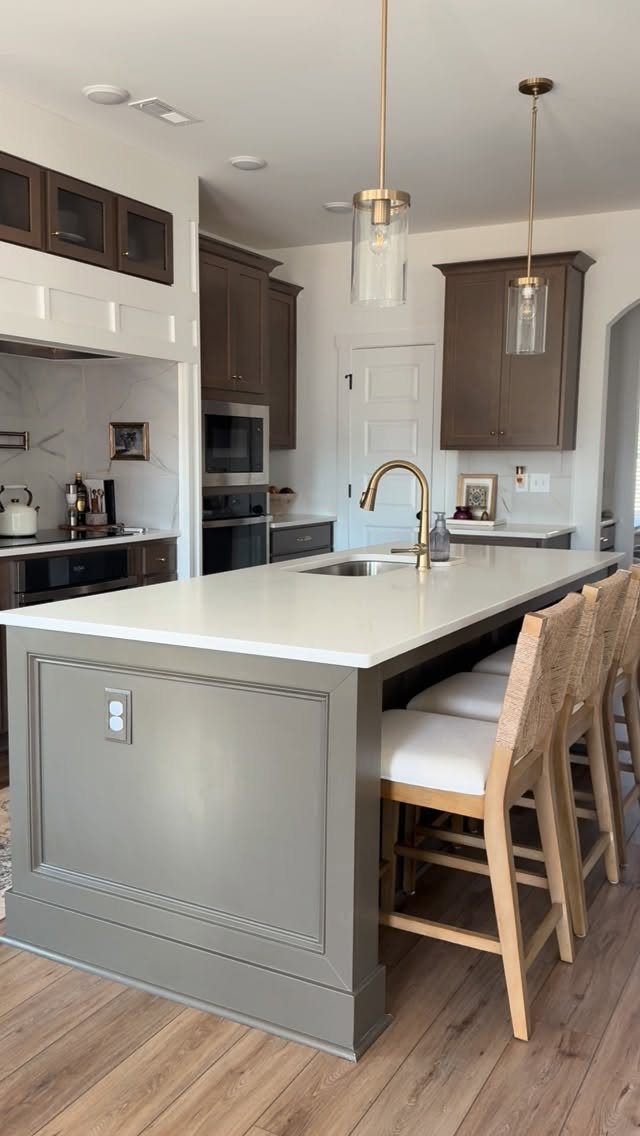
Recessed picture frame paneling puts rectangular frames on the island’s back, the same detail you see on traditional wainscoting. Painted in a soft grey, it gives the island a furniture-like finish that suits dark brown cabinetry.
Build the frames from thin trim pieces and keep every rectangle the same size, since the repetition is what makes it look tailored. Paint the island one color so the shadows define the shapes.
Gold pendants over it make the grey look richer, though they are optional.
11. Faceted Geometric Base
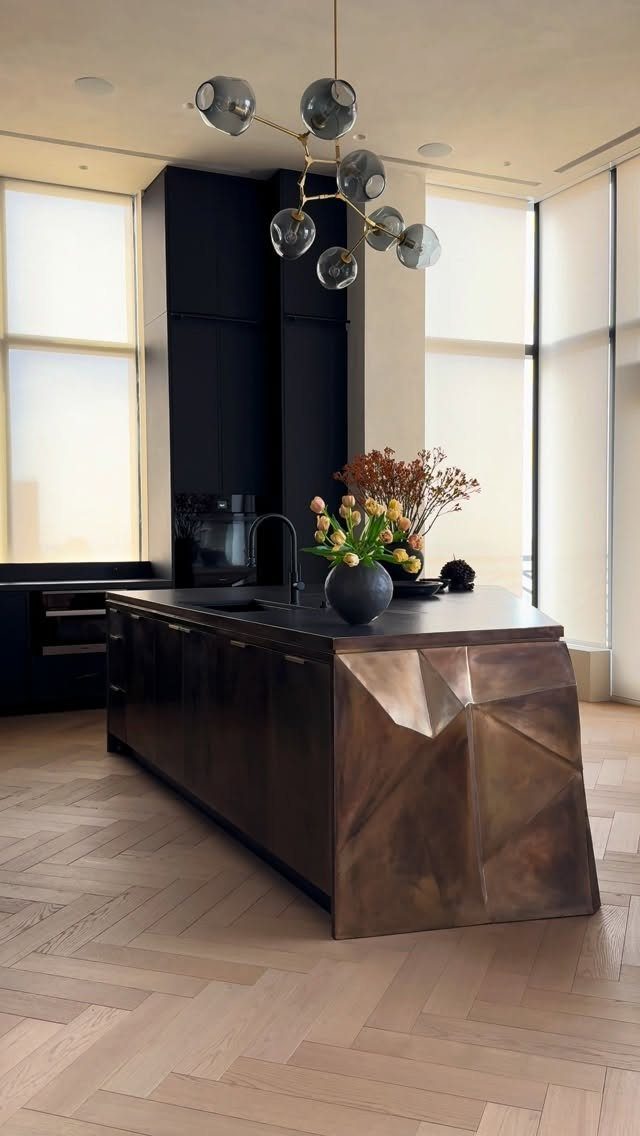
A faceted geometric base turns the island’s end into a sculptural piece, with angled planes that catch light from every side. Faceted geometric paneling is bold and suits a modern kitchen with black cabinetry.
This is the hardest build on the list, since each angle has to meet its neighbor cleanly. I would try it only if you are confident with miter cuts, or start with a cardboard mock-up first.
Keep the surrounding room quiet, as one faceted piece is enough.
12. Classic Beadboard Paneling
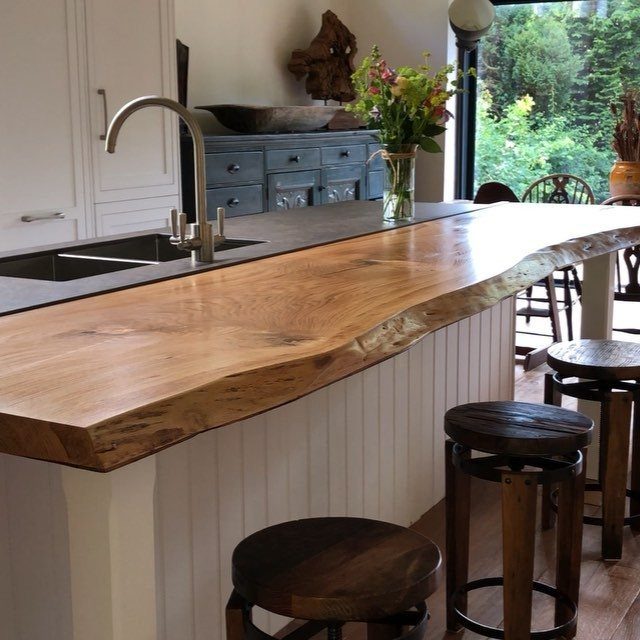
Vertical beadboard gives a white island a classic cottage look, and the thin routed lines add texture without any added color. Beside a live-edge wood countertop, the smooth white panel lets the natural edge stand out.
Beadboard sheets are easy to cut and glue on, which makes this a manageable DIY. Paint in semi-gloss so scuffs wipe off, and caulk the seams before the final coat.
I would keep the stools simple and wooden, since the countertop already carries the rustic character.
DIY Installation Tips
A level, tape measure, and a saw handle most back panel installs. Peel-and-stick wood planks go up in a single afternoon with no mess, and heavier panels hold with standard construction adhesive and nails.
Measure the island’s back at both ends and in the middle before you cut anything, because floors and walls are rarely square. Start from the level line, not from the floor.
That makes this a realistic weekend job on a modest budget, even if you have never hung a panel before.
Material Considerations
Start with who uses the island.
Kids and pets scuff and dent a back panel daily, and a smooth painted finish shows every mark. Reclaimed barnwood hides scratches and dents far better.
Stools and knees hit the lower third of the panel hardest, so put your toughest material or finish there if you want to mix surfaces.
Think about cleaning, too.
A flat surface wipes in seconds, while deep grooves and rough textures collect crumbs and need a brush or vacuum attachment. Choose the one you will actually keep up with.
Lighting Considerations
Heavily textured panels, like 3D wood squares or split-face stone, look best with accent lighting tucked under the counter overhang. Light hits the texture at an angle and catches the edges, which makes the pattern read stronger.
Smooth panels gain little from this, so save the wiring for textured ones.
Check the sun as well. In a spot that gets full sun, pale wood like whitewashed pine or ash keeps things light, while a dark finish there tends to look heavy and picks up smudges fast.
Frequently Asked Questions
How do you finish the back side of a kitchen island?
Cover it with a material that matches the room: shiplap, beadboard, tile, wood slats, or a single sheet of plywood for the cheapest route. Paint is the easiest choice for a weekend, and satin or semi-gloss wipes clean.
How do I attach back panels to my kitchen island?
Construction adhesive plus finish nails holds heavy panels, and peel-and-stick wood planks can be up in one afternoon. A single sheet cut to size hides seams better than 2 pieces butted together.
What are some creative ideas for a kitchen island backboard?
Fluted panels, vertical wood slats, and tile are the ones that look most custom. Setting and grouting tile asks the most skill and time of these options, so I’d pick it only if you’ve done it before.