Floor space decides which island you get: a mobile island needs no installation and suits a renter, a peninsula fits a narrow room, and a double island only works where the aisles stay wide enough on both sides.
The list runs from a mobile cart you can roll out of the way to a waterfall-edge island that needs a reinforced base to carry the weight of the stone.
1. Waterfall-Edge Island
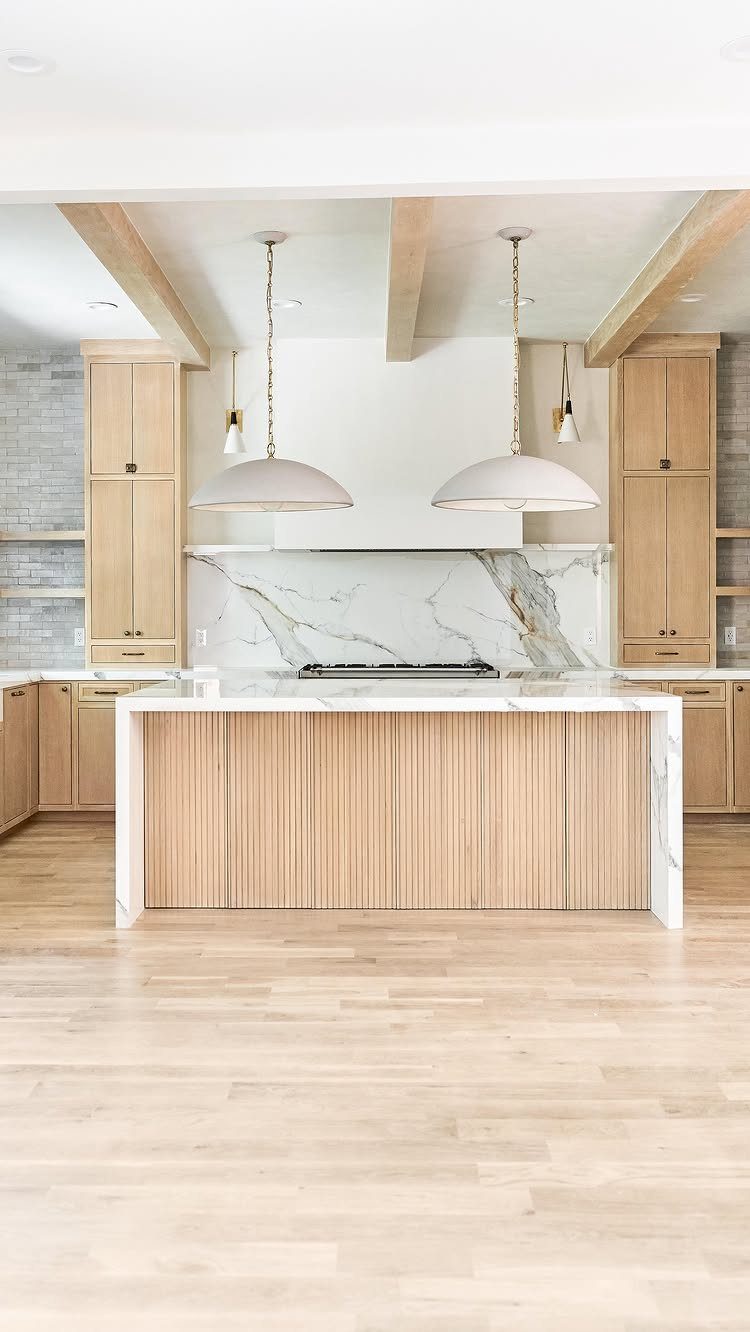
A waterfall edge runs the countertop slab straight down the island’s sides to the floor, so the stone reads as one solid block.
Against a light wood slatted base, the white marble becomes a clean panel that frames the end of the island.
Expect it to cost more than a standard top, since the slab needs extra fabrication and the seams at the corners have to line up. Ask your fabricator to match the veining across the mitered corner.
I’d use it on one side only if the budget is tight.
2. Multi-Level Island
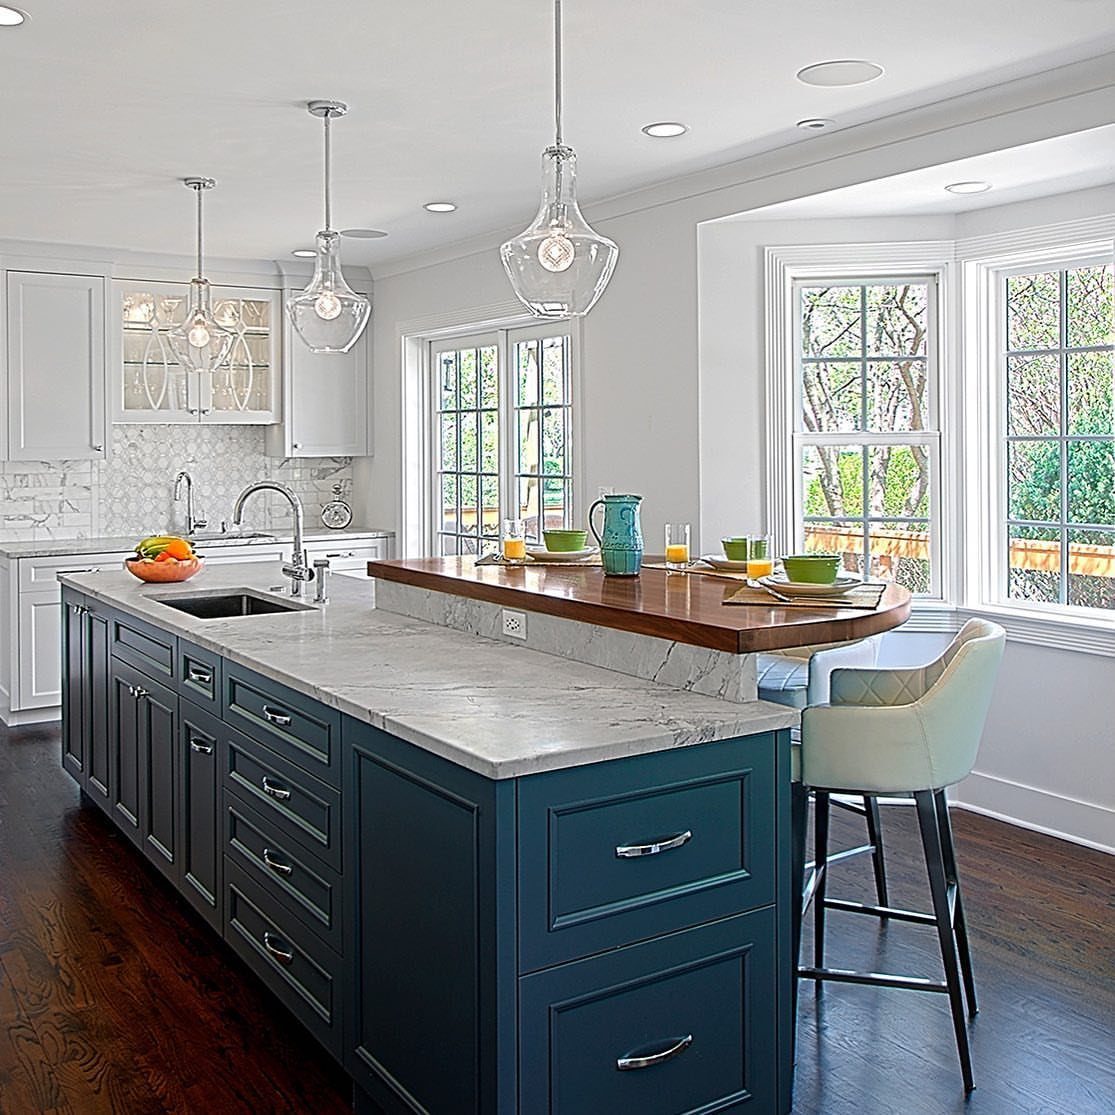
Two heights on one island let the cook and the eater stop fighting over the same surface. The lower marble level stays clear for chopping and rolling dough, while the raised wooden level seats people away from the mess.
Wood beside marble also softens the cold look of stone. I like that the blue base keeps the pairing from feeling fussy.
Check the step between levels before you build. The raised level should sit high enough to block the view of prep clutter from the stools.
3. Kitchen Islands with Seating
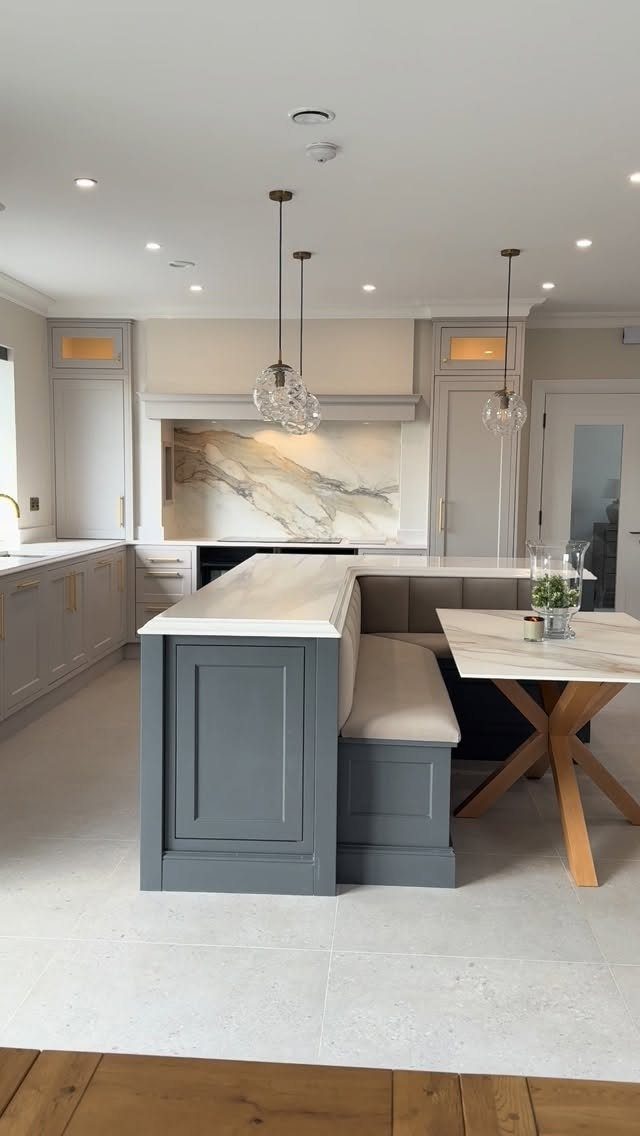
Built-in bench seating along one side of an island turns it into a dining table without a separate set of chairs. Pushing a table into the end gives you a place to eat that is part of the cooking zone.
A thick stone top holds up well for a surface that sees both knives and dinner plates, and this island uses 50mm thick marble. That heavy edge looks substantial next to a grey cabinet run.
A bench takes less floor room than stools, but sitters can’t shift around, so plan the width for the people you actually feed.
4. Island with Open Shelving
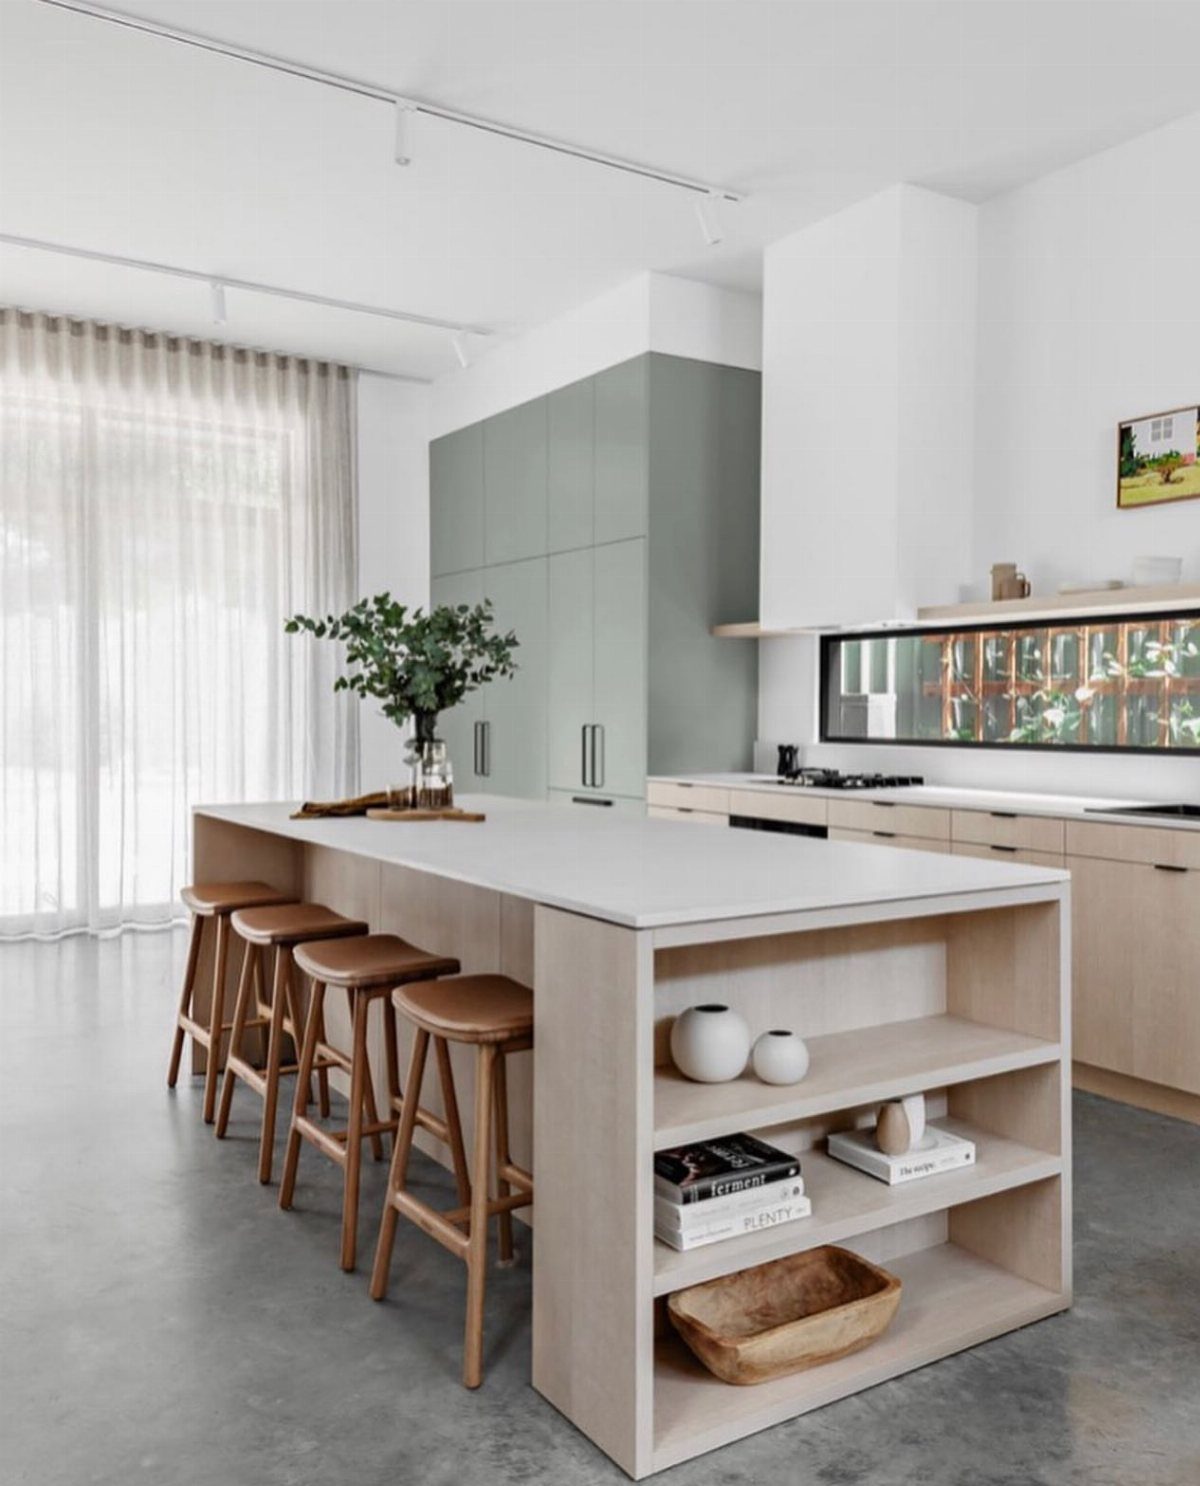
Open shelves on the end of an island give cookbooks and everyday bowls a home within arm’s reach. Wood shelves against a white top and light green cabinets keep the whole thing warm.
I’d keep these shelves for things you use and like looking at, since they collect grease and dust faster than closed doors. Skip heavy items on the stool side, where knees and elbows go.
Pair it with stools that tuck fully under the counter so the shelves stay accessible.
5. Double Island
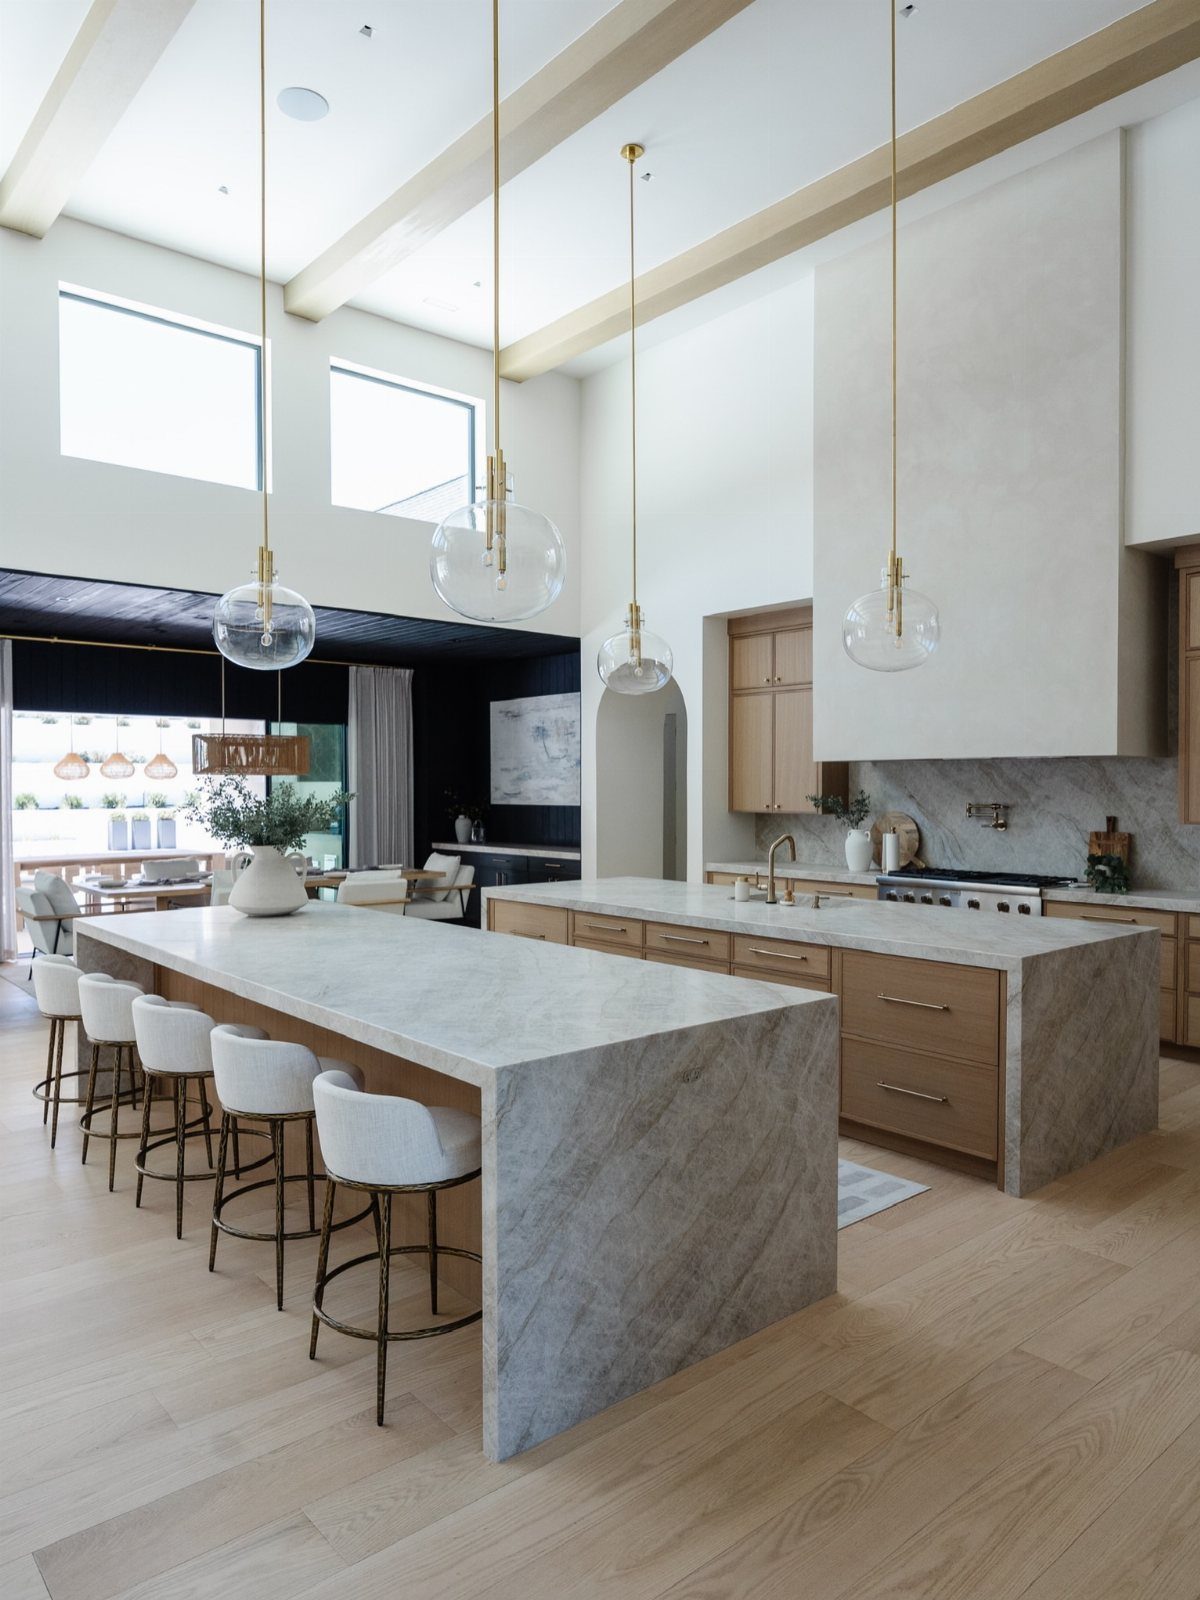
Two islands side by side split a big kitchen into jobs: one for prep and the sink, the other for serving and sitting.
Matching marble tops keep the pair looking like one design, and the white stools line up along the outer edge.
This only works in a room with generous floor space, so measure before you commit. If the aisles between islands feel tight, one long island will serve you better.
I’d choose this when more than one person cooks at the same time.
6. Mobile Island
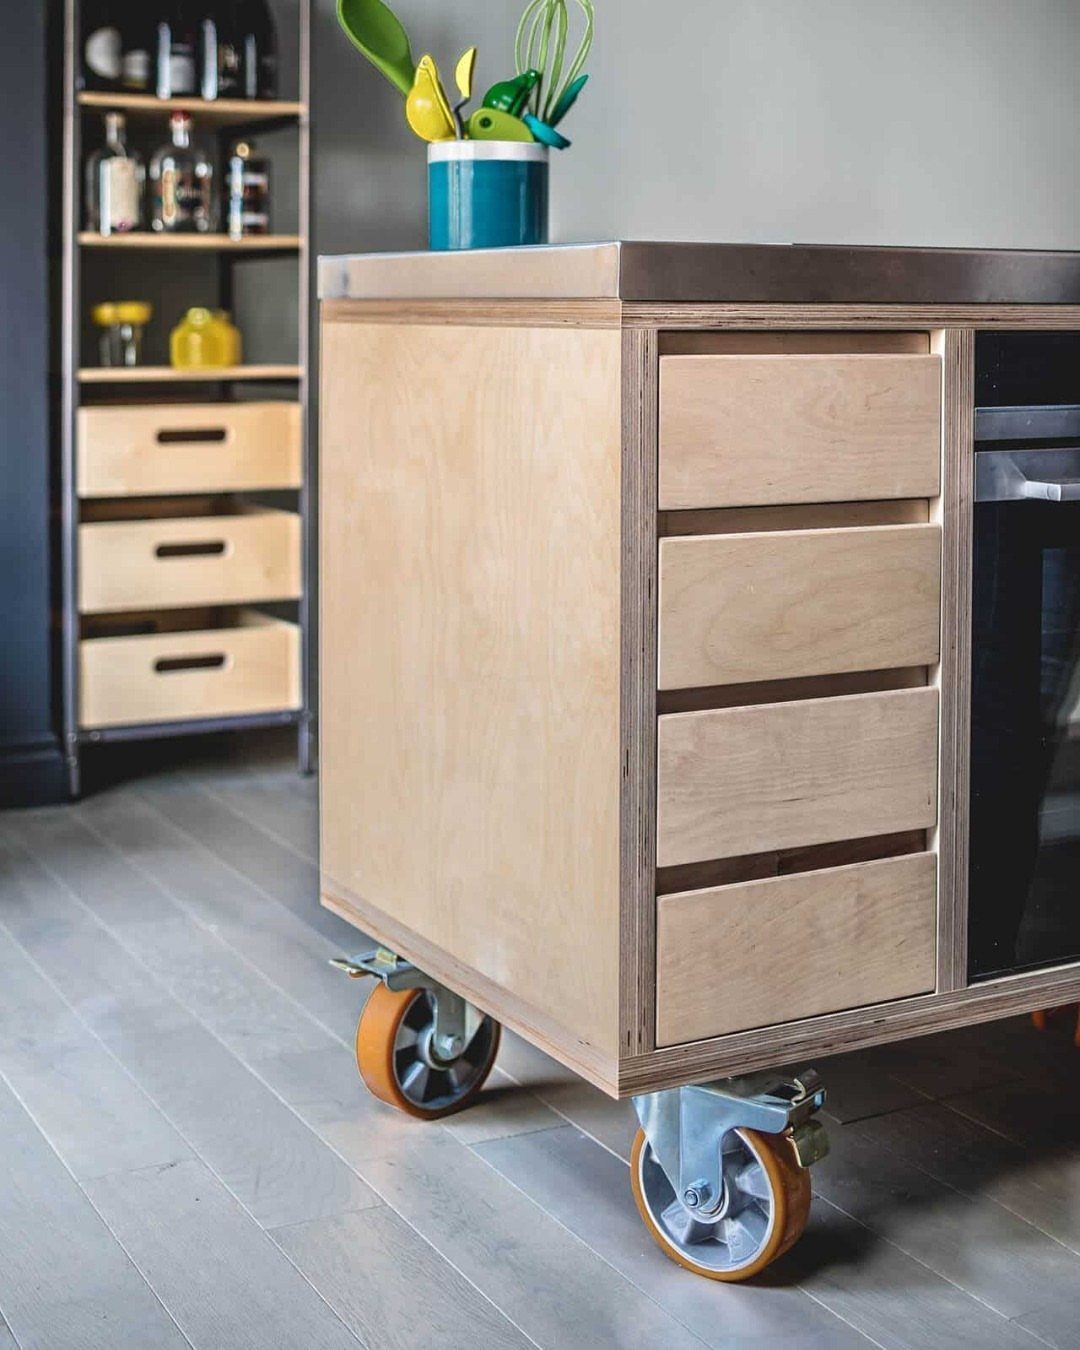
A mobile island rolls where you need it and tucks away when you don’t. Drawers underneath hold utensils, and the metal top shrugs off hot pans and spills.
For renters, this is the cheapest way to get island function with no installation.
Pick locking casters, because a rolling surface that shifts under a knife is a hazard. Bright orange wheels add a playful accent, but plain black ones disappear if you’d rather keep it quiet.
Expect less weight and stability than a fixed island, so use it for light prep rather than heavy kneading.
7. L-Shaped Island
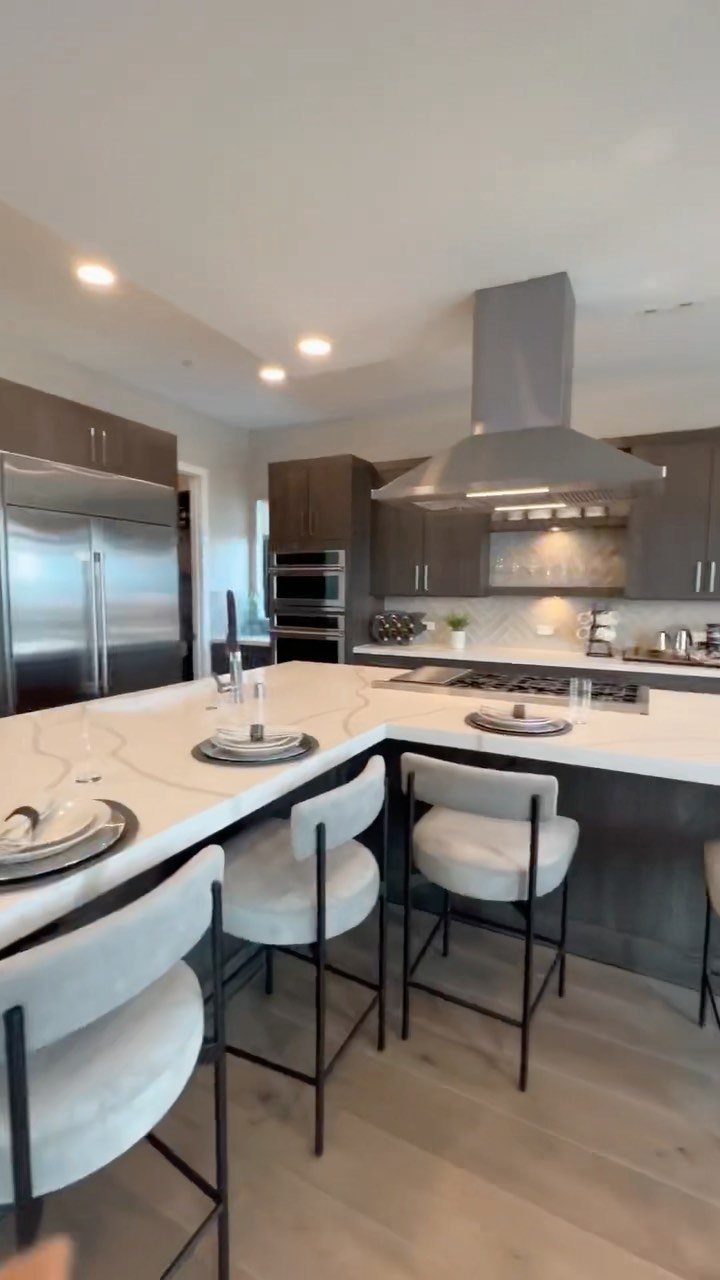
A perpendicular wing turns a straight island into an L and adds counter space without adding a second island. The long run stays clear for prep, and the short return gives the 3 stools a place of their own.
Grey cabinets with white tops keep the bulk from feeling heavy, and the white upholstered seats read lighter still. I’d pick wipeable seat covers, since this is where people eat.
Leave enough room around the return that the stools and the walkway don’t compete.
8. Curved Island
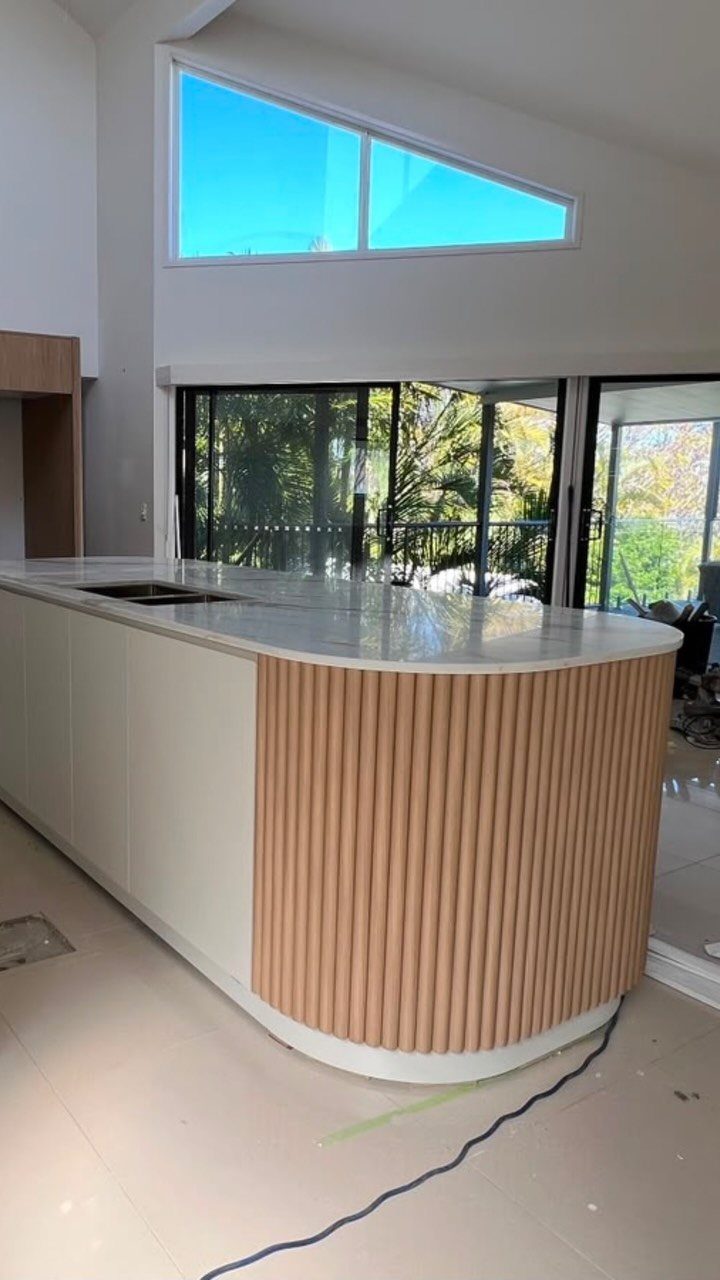
Rounded ends soften a kitchen full of right angles, and a curve is easiest to live with where people walk past. No corner to catch a hip.
Vertical wood slats suit the shape because they follow the bend, and the tan tone warms a white marble top. Slatted curves cost more to build than a flat box, so expect custom carpentry rather than stock cabinets.
I’d curve only the end that faces traffic and keep the rest square.
9. Peninsula Island
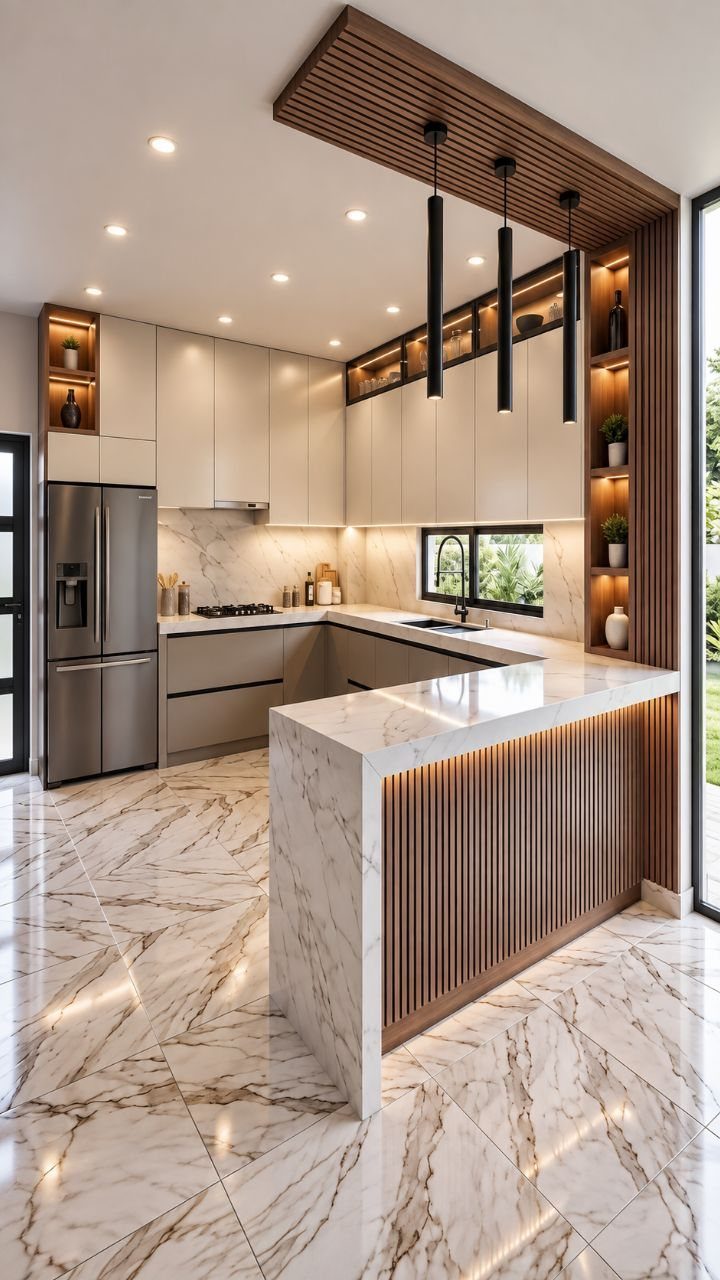
A peninsula attaches to a wall or a cabinet run, so you reach it from three sides instead of four. That costs you one walkway, which helps in a kitchen that can’t spare the floor space.
Wood slats on the base add warmth against a white marble top, and a pair of black pendants overhead mark the peninsula as its own zone, so it reads as a separate station and not just a counter that sticks out.
Hang them centered over the counter so they don’t swing into heads.
I’d choose a peninsula over a freestanding island whenever the room is narrow.
10. Small Kitchen Islands
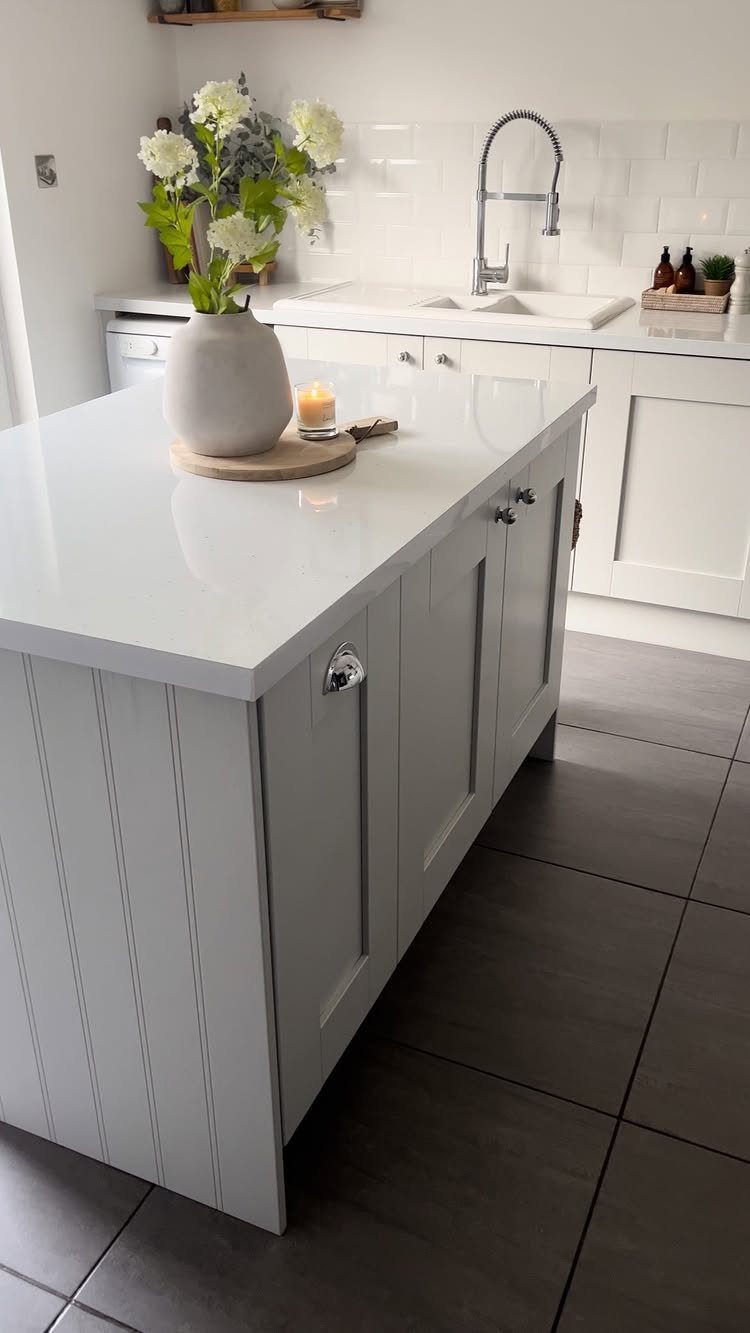
A small island earns its place by doing one or two jobs well: a landing spot for groceries, a bit of prep room.
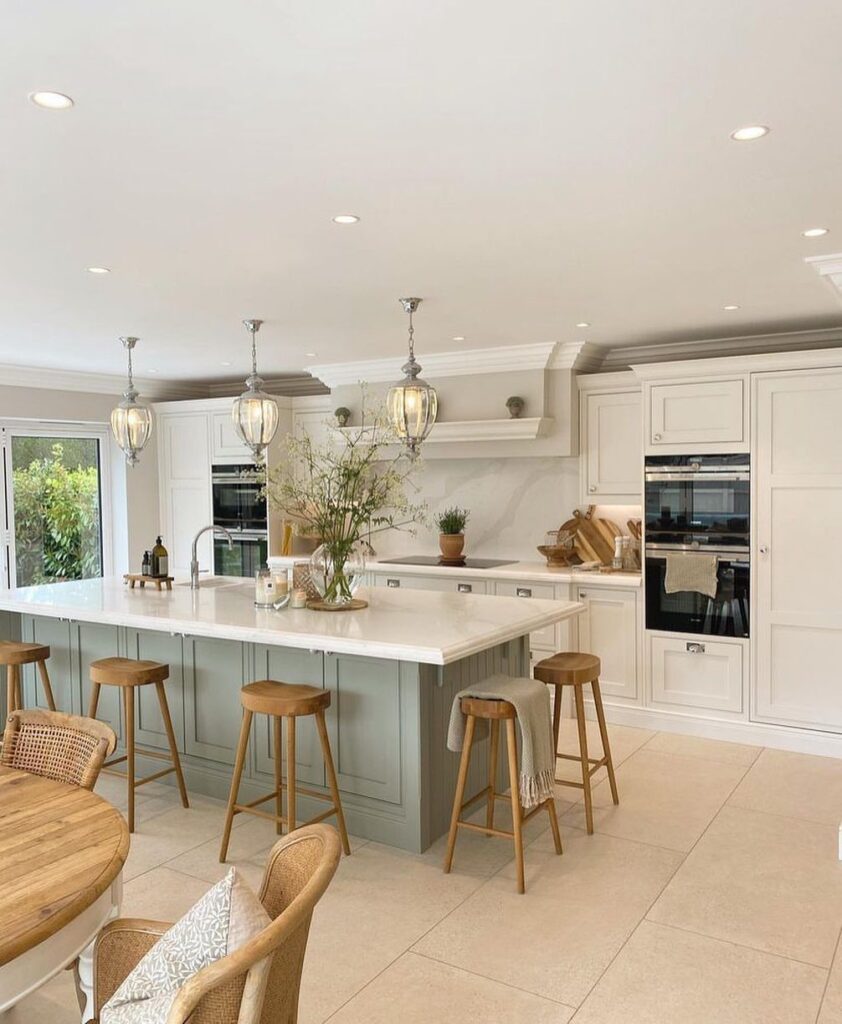
On a small island, a light grey base with a white top keeps the piece from crowding white cabinets, because the 2 tones step down gently instead of making a hard block in the middle of the room.
Style it lightly. A vase and a candle are plenty, since every extra object takes up the surface you bought it for.
Measure the aisles first, and if the island leaves them cramped, go smaller or skip it.
The best thing about kitchen islands—apart from their functionality—is that there are countless styles to suit your design preferences.
11. Kitchen Island Breakfast Bar
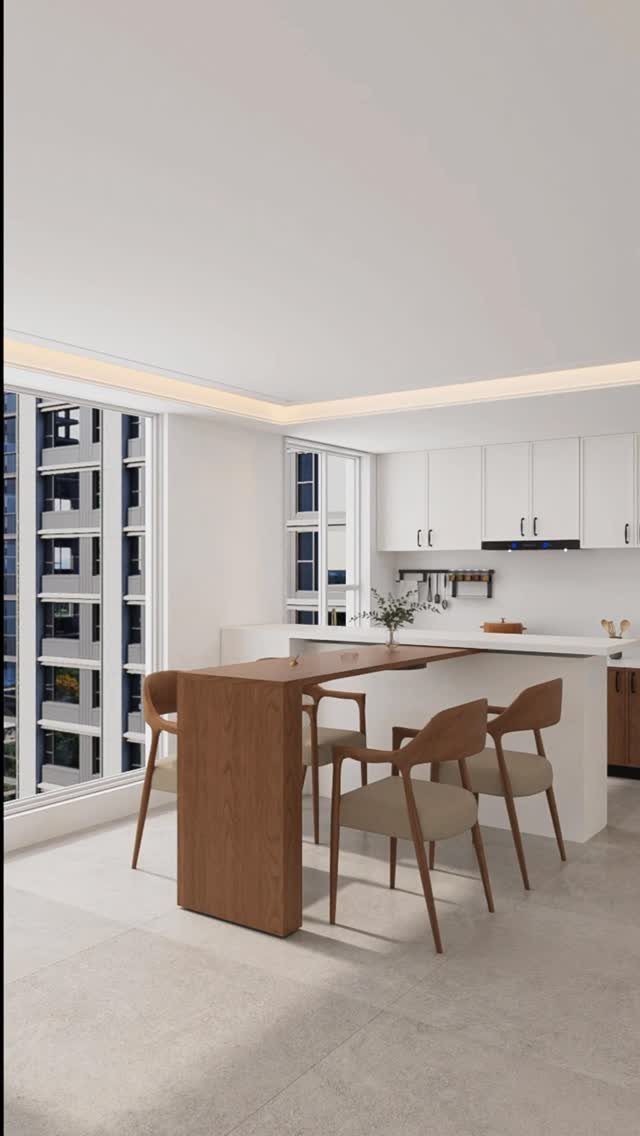
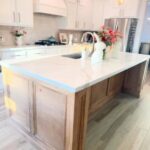
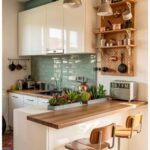
Wood against white makes the breakfast bar the warm spot in the room. A wooden ledge attached to a white island also separates eating from the work surface, so crumbs stay on one side and chopping on the other.
Seal wood well where mugs and wet hands land. I’d match the chairs to each other, as three do here, so the bar looks planned rather than collected.
Place it by the window and the morning light does the rest.
Choosing Materials for Islands
Quartz, marble, and wood each suit a different kind of island, so pick by how you cook.
Quartz is the easiest to live with. Heavily veined stone like Calacatta marble or a quartz with bold veining shows off its pattern best.
If you want a waterfall edge, ask for book-matched slabs.
With a waterfall edge, the slab is cut so its veining lines up where the top meets the side panel, and the pattern runs down the island in one unbroken sweep.
A stone panel on the side adds serious weight, so the cabinet base underneath has to be built or reinforced to carry it. Have a cabinet maker confirm it can carry the load.
Settle where every outlet and pipe will go before anyone cuts the stone, because holes can’t be added cleanly afterward.
Tucking them on the side that faces the cooking area keeps them out of sight, and pop-up outlets in the countertop are a tidy backup that leaves the surface clean.
Poured concrete suits an industrial look, though it needs sealing to resist stains.
Lighting Considerations
Pendants over an island do 2 jobs: they light the work surface and they set the style. Pendant size, spacing, and hanging height all affect both, so settle them before the electrician comes.
Sleek fixtures suit flat-panel cabinets and clean lines. Pick a size that looks in proportion to the island, not lost above it.
Lighting only works if the layout does. Leave 42–48 inches of clear space on every working side of the island, so you can open appliances and walk past someone cooking.
If your island has an inner corner, use it well. A small prep sink in that corner works, and so does a lazy Susan or a set of corner drawers; any of them beats leaving it as wasted space.
Give each part of a bigger island a job, such as cooking on one leg and serving on the other, then light each zone to match.
Maximizing Small Spaces
In a small kitchen, a slim or mobile island does the most for the least floor space. Both give you extra surface without crowding the room.
An open base helps too. Seeing the floor underneath keeps the island visually light, where a solid block would feel heavy.
Make the surface multi-functional. A top that handles prep, a quick meal, and a landing spot for groceries earns its footprint.
Placement matters more than size. Set the island where traffic moves smoothly around it, and test it first by taping its outline on the floor for a day or two.
If you keep bumping the tape, the island is too big for the room.
Frequently Asked Questions
How to style a kitchen island?
Keep it light: a vase and a candle are plenty, because every extra object eats the surface you bought the island for.
Pairing contrasting materials does more than props, such as wood against white marble or a grey base under a white top. Pendants centered over the counter also give the island its own zone.
What are the different types of island countertops?
Quartz, marble, wood, metal, and poured concrete are the main choices.
What are the main types of kitchen islands?
The most useful types are waterfall, multi-level, L-shaped, mobile, and peninsula. A multi-level island has a low prep surface and a raised seating level, and an L-shape adds a short return for stools.