Whether you rent or own decides which of these green tiles is yours. Renters can go with Peel-and-Stick Green Tiles, which need no thinset, no grout and no saw, and still get a real-looking green backsplash in a weekend.
Owners who can commit have a wider run, from Sage Green Subway Tiles to Green Hexagon Ceramic Tile, herringbone and geometric star patterns, and the biggest differences are in cutting, grout and how much extra tile to order.
1. Sage Green Subway Tiles
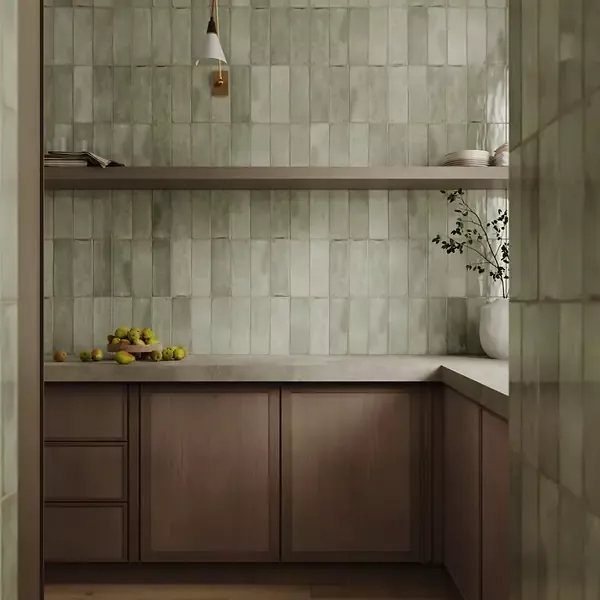
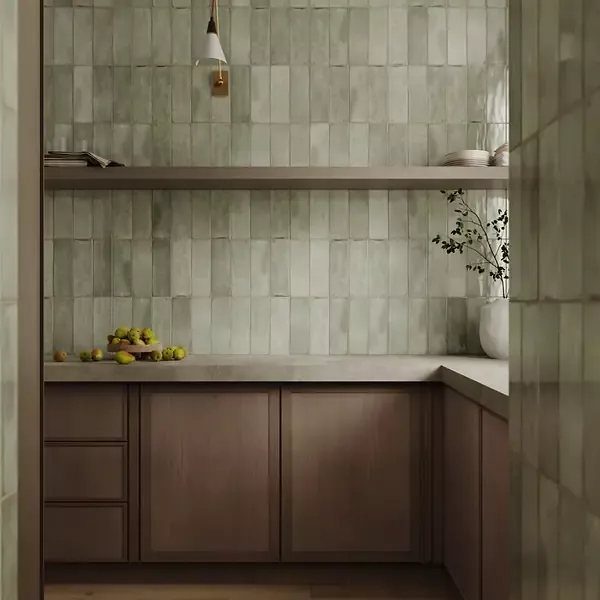
Setting sage subway tile vertically, stacked on end instead of laid flat, stretches the wall upward and makes a standard backsplash feel taller. Against warm brown cabinets, the soft green reads as a neutral rather than a color statement.
I like it best with a light countertop, as here, because the tile and wood already carry the contrast. Keep the grout close to the tile color so the vertical lines stay clean instead of turning into a grid.
2. Green Hexagon Ceramic Tile
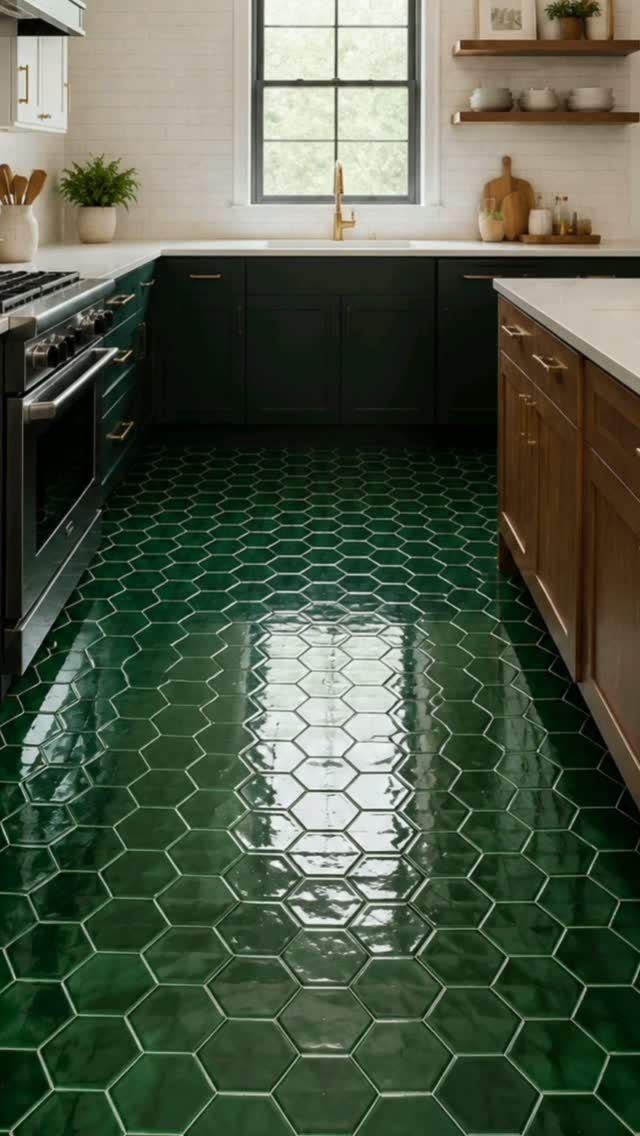
Glossy green hexagons on a kitchen floor behave like a shallow mirror, throwing window light back up toward the cabinets. That is the reason to choose a gloss finish here over matte.
Dark green cabinets and white countertops give the floor room to be the loudest thing in the room, and I would leave it that way. Open shelving keeps the upper half airy so the floor doesn’t feel heavy.
Gloss shows every water spot and crumb, so expect to wipe it more often.
3. Dark Green Backsplash
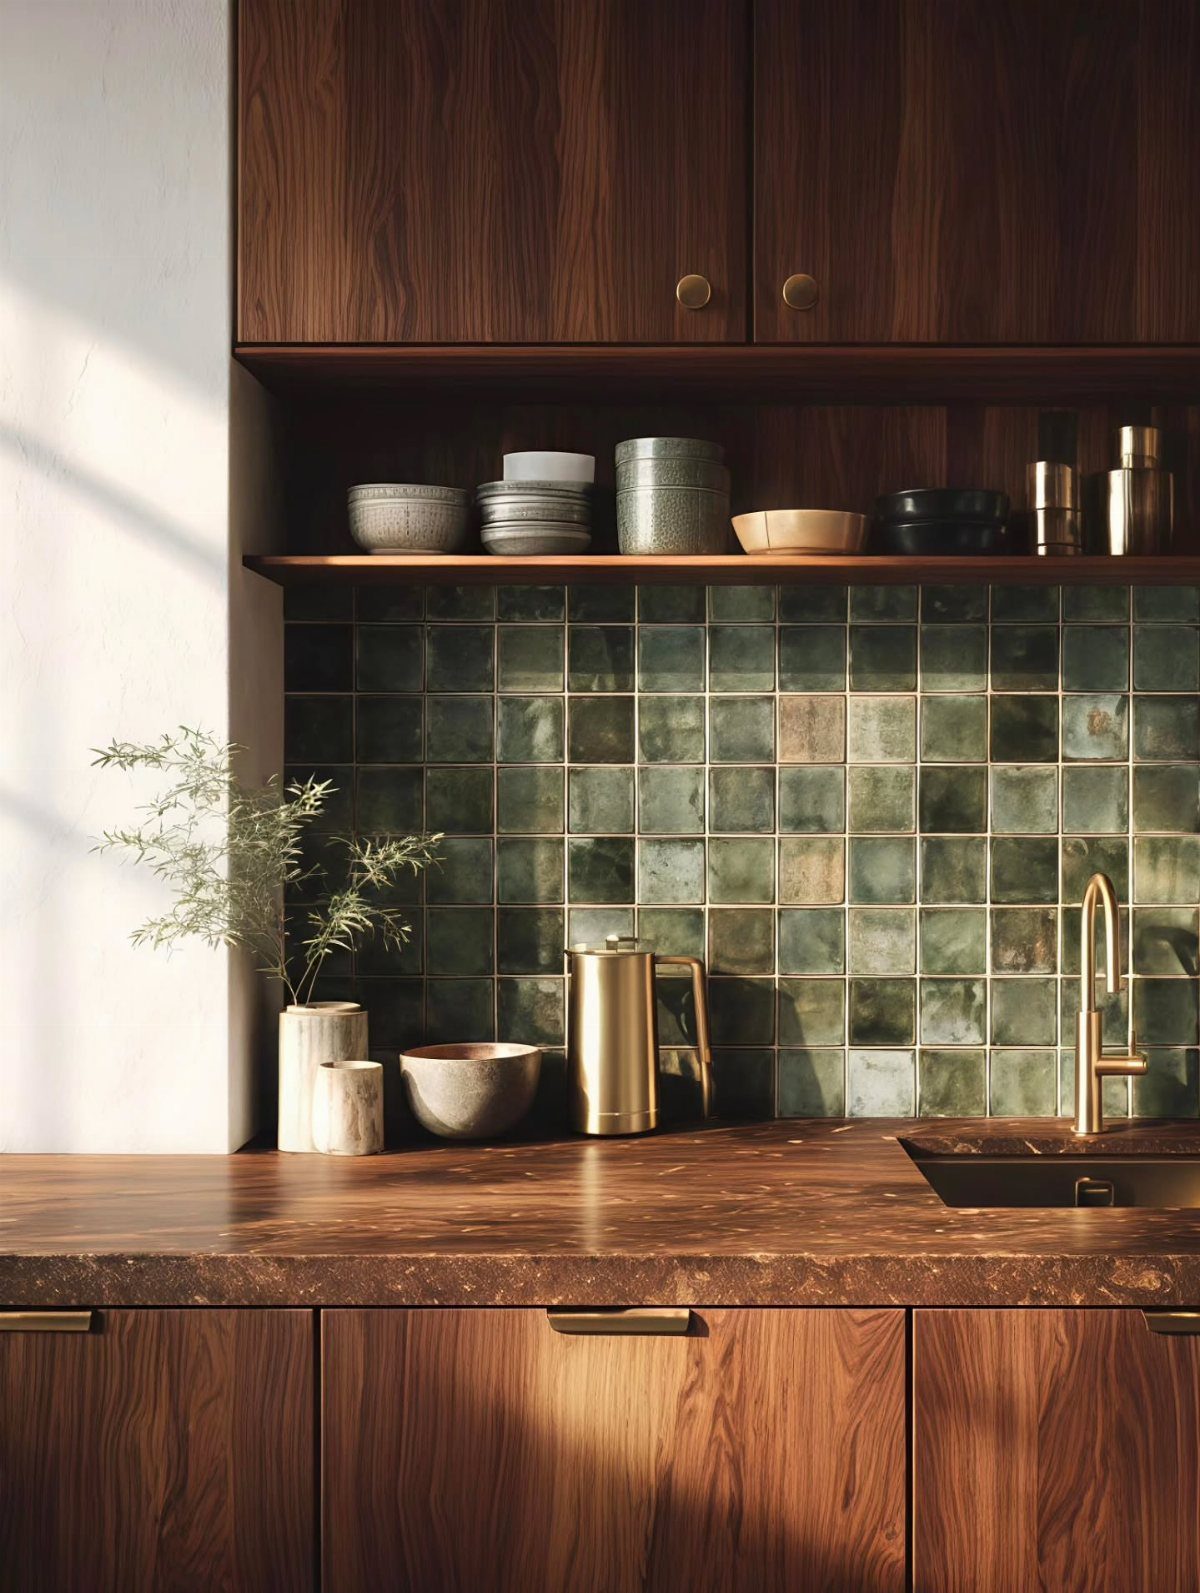
Deep green square tiles behind dark wood cabinets make a kitchen feel like a library: moody, warm, and a little formal. A gold faucet is the right partner, since the metal pops against that much shadow.
I would pick this when you want drama and can accept a darker room. A brown countertop keeps the palette cohesive, though a lighter counter would lift it if the kitchen gets little daylight.
Square tile keeps the pattern quiet, so the color does the talking.
4. Peel-and-Stick Green Tiles
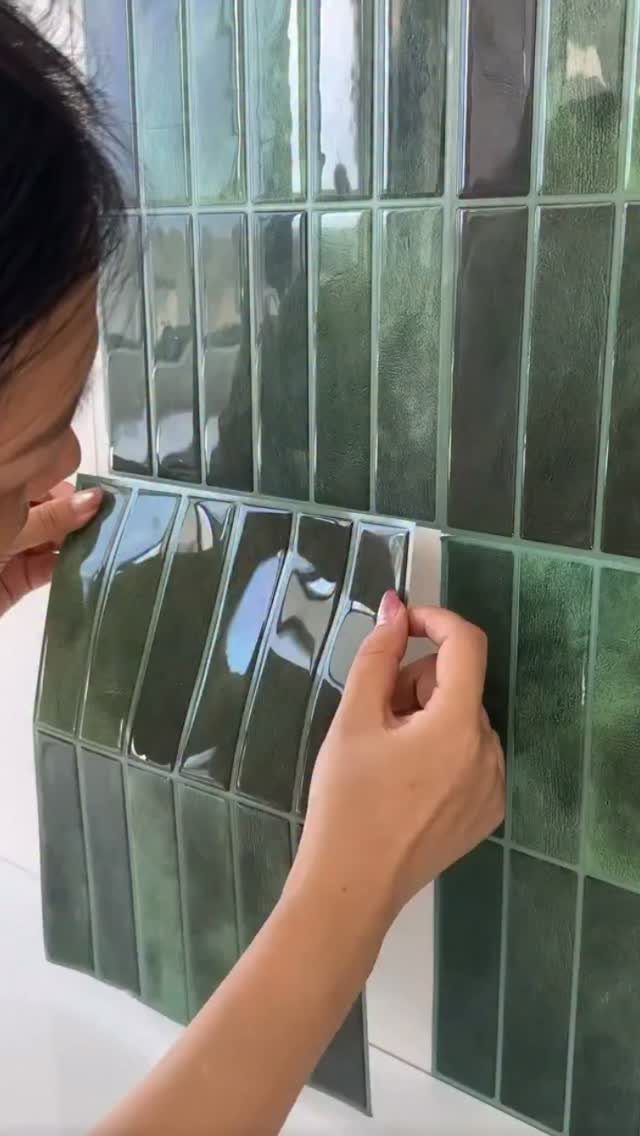
Peel-and-stick tile is the weekend version of a green backsplash: no thinset, no grout, no saw-heavy day. Glossy green subway sheets come with a paper backing you peel as you go, pressing each sheet against the one beside it.
Clean the wall first, then start from a level line rather than the counter, since counters are rarely straight. Work from the center out so any trimmed cuts land at the edges.
It is the best option for renters, because the look is real and the commitment is small.
5. Vibrant Mix of Green Shades Backsplash
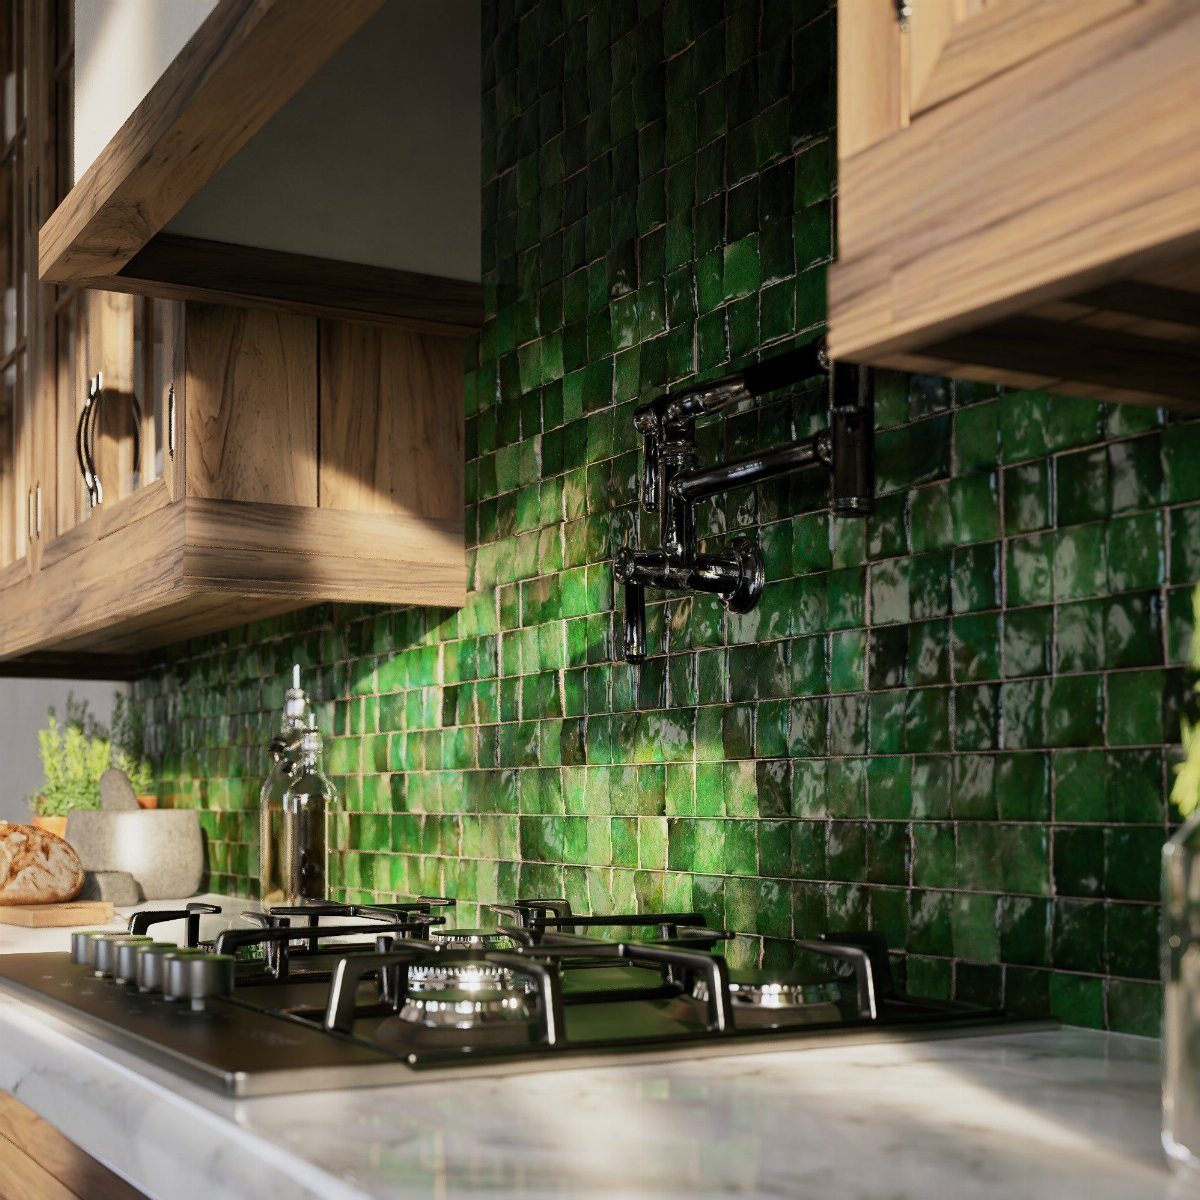
Several greens in one backsplash, light to deep, give a flat wall the depth of a watercolor. Square tiles suit this because each one reads as its own small patch of color.
Behind a black gas stove with a black pot filler, the mix softens all that hard metal.
Order a little extra of every shade and lay the tiles out on the floor first. Scatter the darkest ones rather than grouping them, or the wall will look striped.
Marble counters keep the busy wall from competing.
6. Vintage Green Subway Tiles
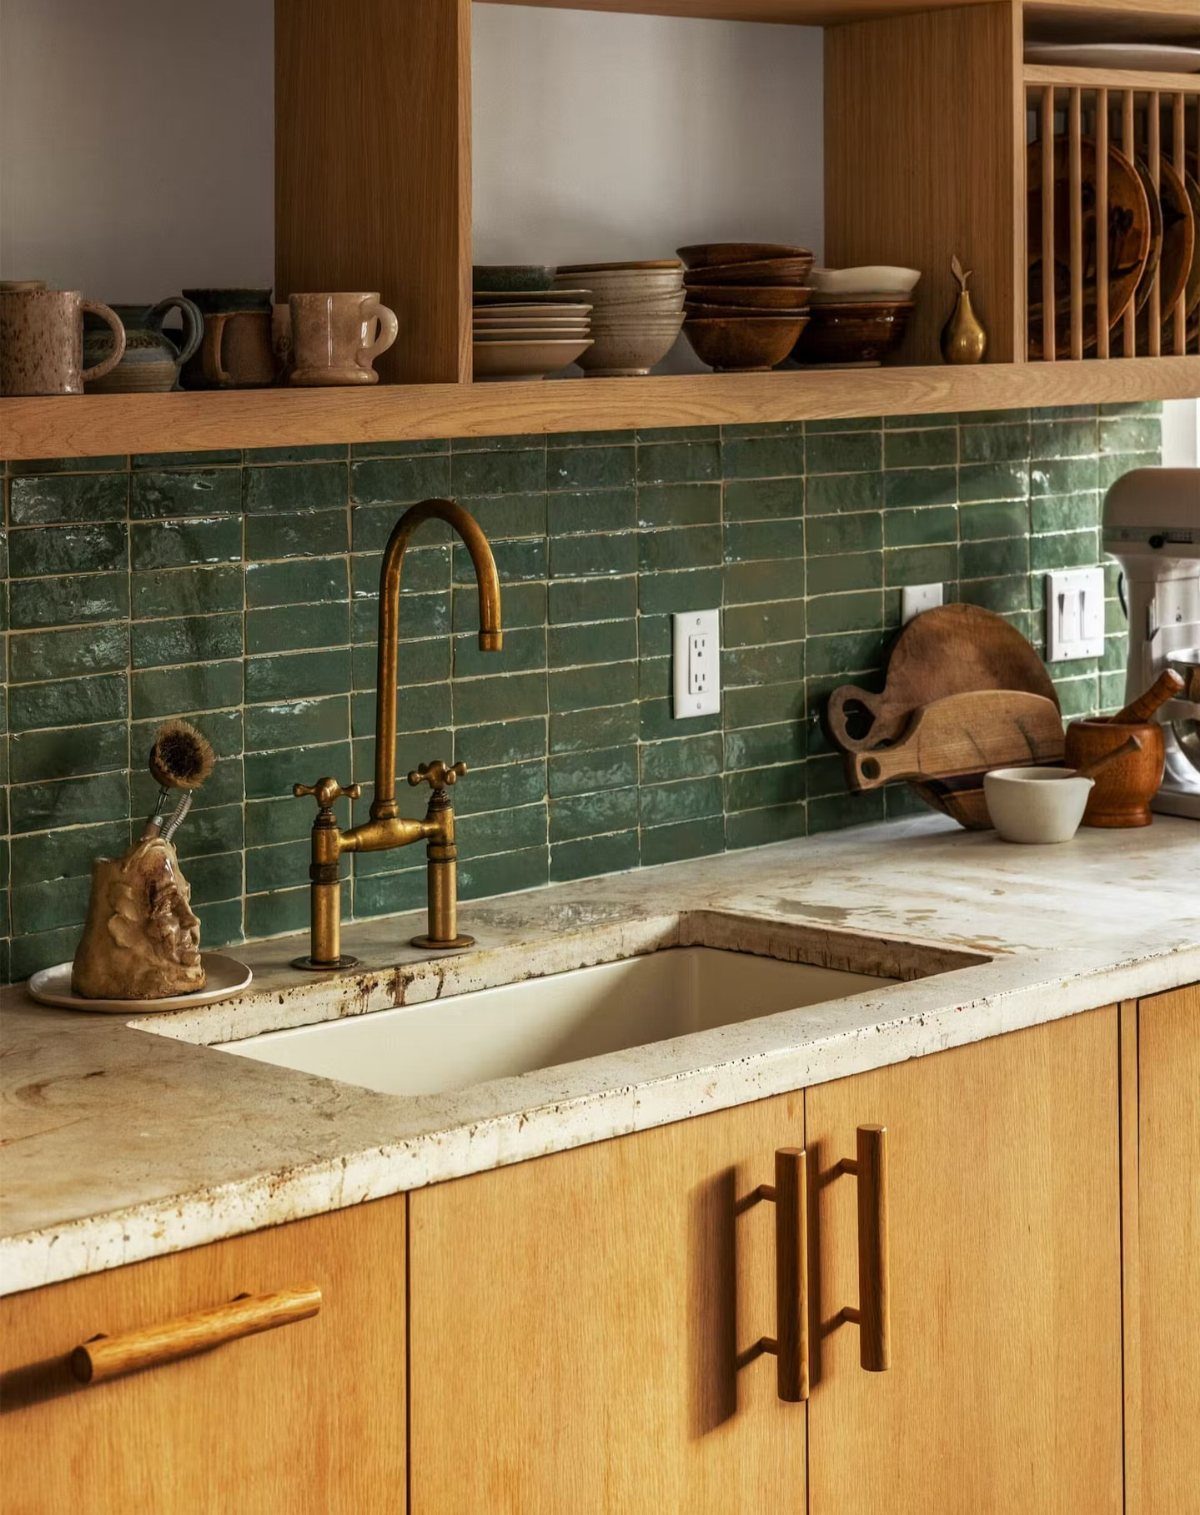
A dark, glossy green subway tile with a brass faucet looks like it has been in the house for decades, in the best way. The familiar brick layout keeps it calm, while the deep color gives it a twist.
Light wood cabinets stop it from turning heavy, and open shelves of ceramic bowls and mugs add warmth. I would keep the sink white and undermount, so the tile stays the focus.
Brass will gather fingerprints, but the look is worth a quick wipe.
7. Natural Green Tiles
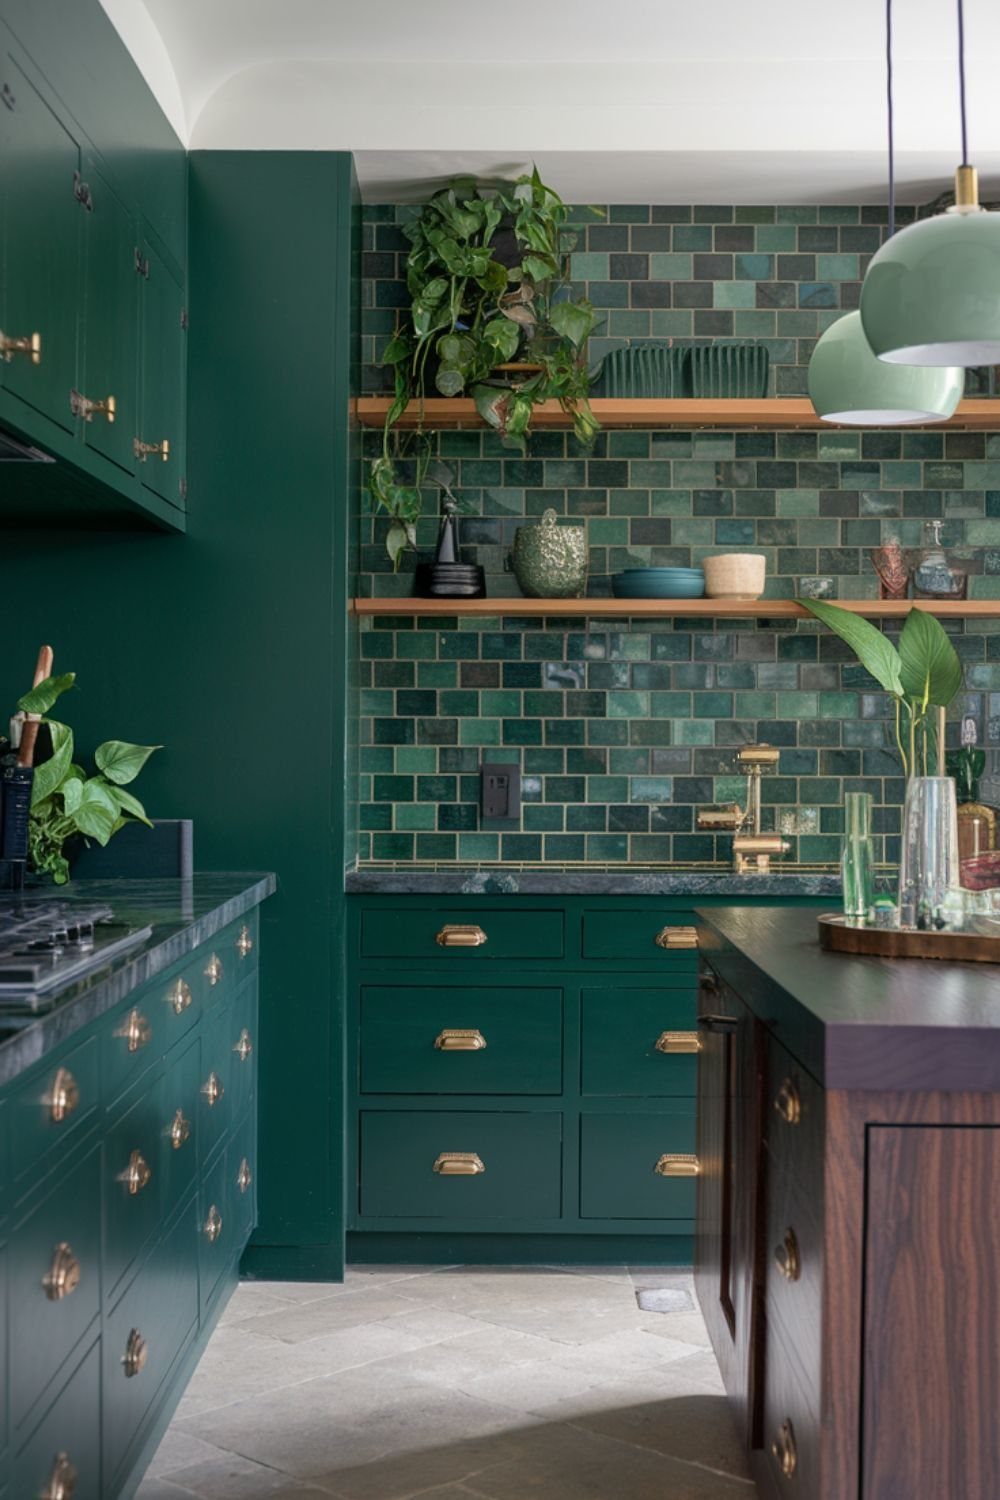
Dark green cabinets paired with a dark green tiled backsplash wrap the whole wall in one color, so the tile reads as part of the cabinetry instead of a separate layer.
A dark wood island and open wooden shelves keep that much green from feeling flat.
I would choose tile in a slightly different green than the cabinets, a shade lighter or more muted, so the two surfaces don’t merge into one block.
Wood is the right companion here because it brings warmth to a cool, deep color.
8. Green Backsplash Herringbone Pattern Tiles
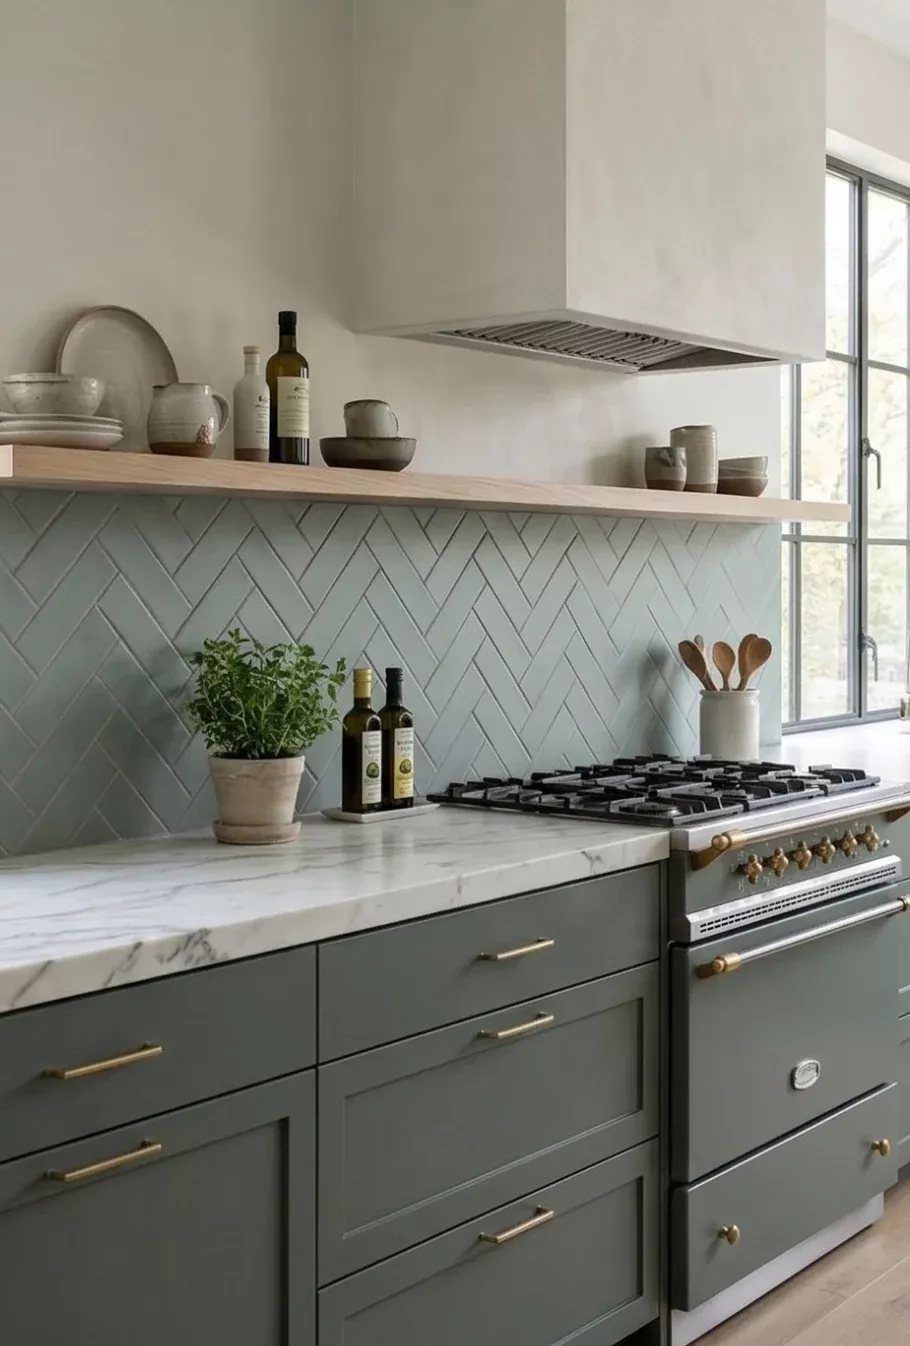
Herringbone turns a plain sage tile into a pattern without adding a second color. The zigzag does the work, which is why a soft green suits it so well.
Marble counters and gray cabinets with gold hardware leave the backsplash as the one thing with movement.
I would run the pattern all the way up to the white range hood, so the zigzag has a clean edge to land against.
Herringbone takes more cuts at the edges than a straight lay, so order extra tile.
9. Green Tiles with Neutrals
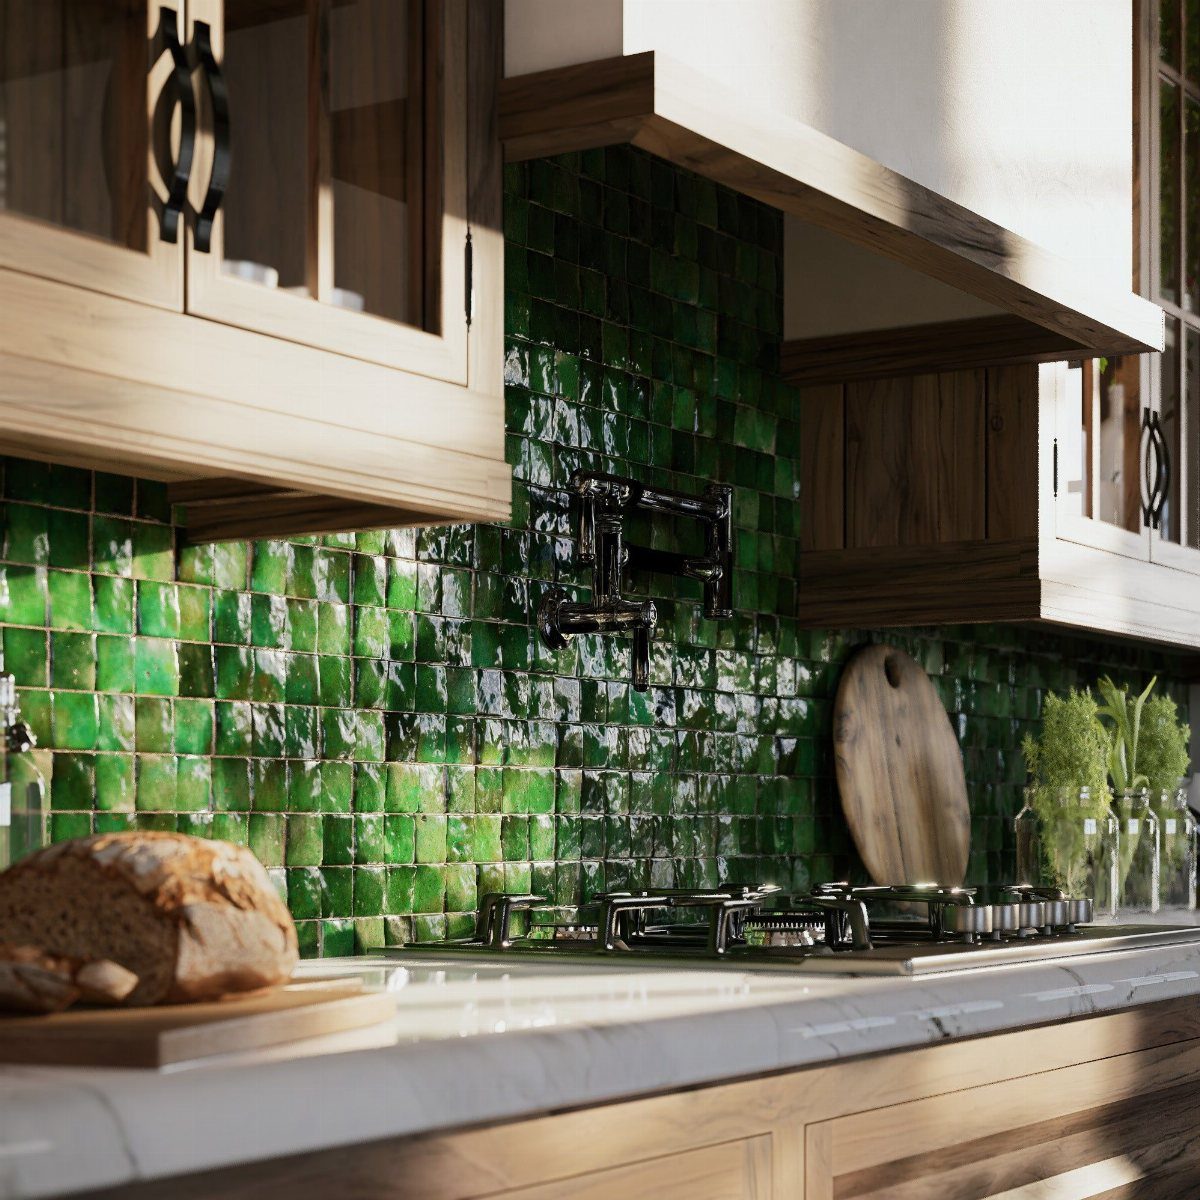
Glossy green squares set against light wood cabinets and white marble make green feel like a neutral you could live with for years.
The wood and stone already supply warmth and calm, so the tile only has to add one clear color.
I would keep everything else in the room simple: one wood tone, one counter, no competing accents. A single green is enough.
Gloss will show splatter near the gas stove, so wipe that stretch after cooking.
10. Geometric Star Pattern Green Tile
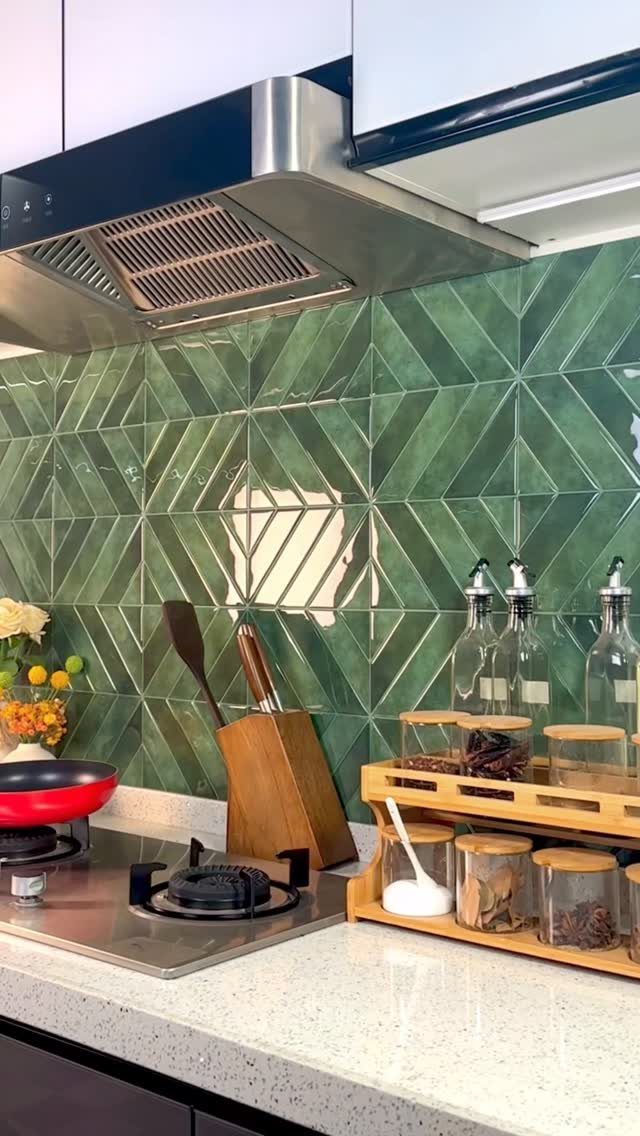
Green ceramic tiles arranged into an intricate star motif give a backsplash the look of a woven rug hung behind the counter.
Star patterns also work as a counterweight to cold metal: a stainless hood and gas cooktop feel less industrial when the tile behind them has that much shape and color.
A white countertop is the right call, since the tile is already busy. I would keep the counter nearly bare, with just a wooden spice rack, so the star pattern stays readable.
Patterned tile like this is best kept to the stove wall, where it becomes a focal point instead of a crowd.
11. Multicolor Patterned Green Backsplash
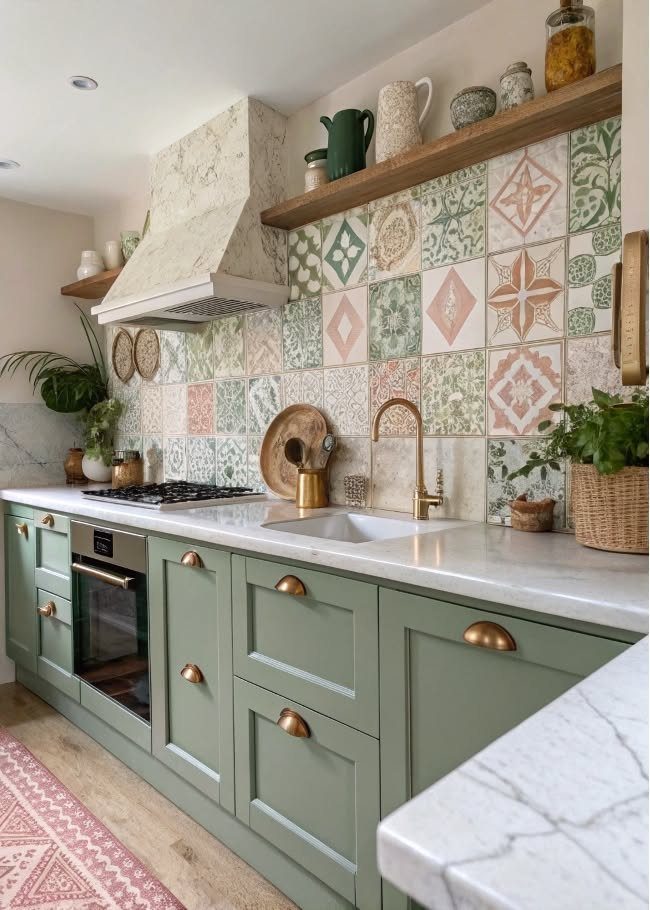
Green, cream, and terracotta in one patterned tile bring a warm, Mediterranean feel to a sink wall. The cream and terracotta keep sage cabinets from reading as a single cool note.
A white marble counter and a wooden floating shelf give the pattern room to breathe. I would pick tile where green is still the dominant color, so it ties back to the cabinets instead of fighting them.
Limit the pattern to the area behind the sink, and leave the other walls plain.