The ideas here run from a small square prep sink tucked beside the main one to a full workstation basin with a cutting board and drying rack riding on ledges, and the faucet and finish choices swing the look from farmhouse to marble and gold.
Your existing plumbing picks the layout for you, because where the drain and supply lines run decides how far the island can sit from the wall, and the Installation Considerations and Sink Placement Tips below cover how to work with that.
1. Seating Island with Sink
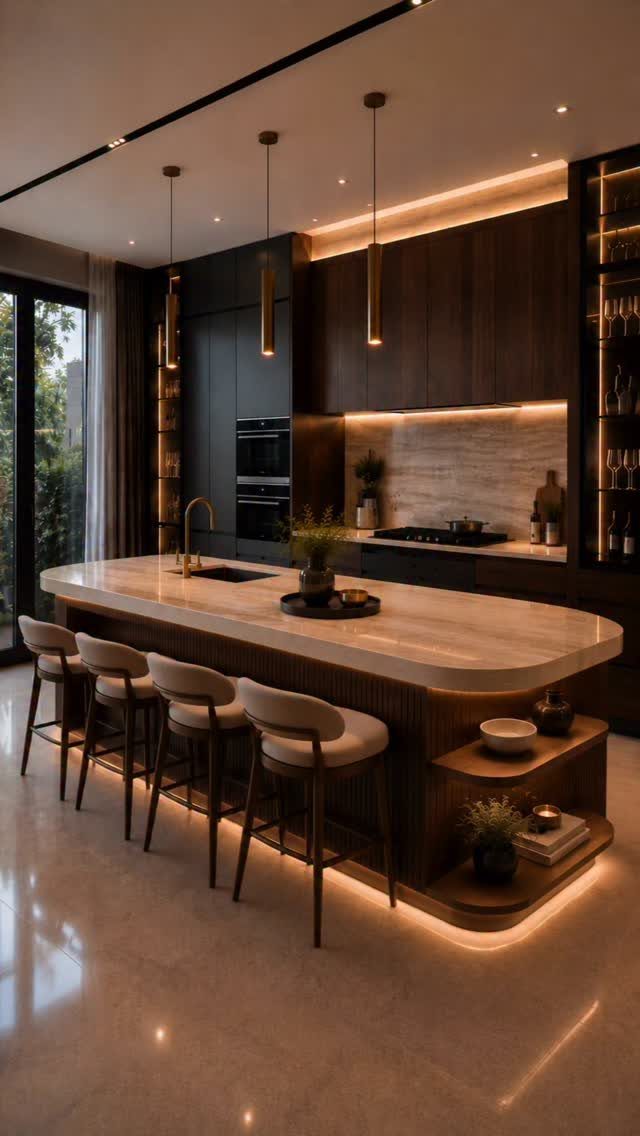
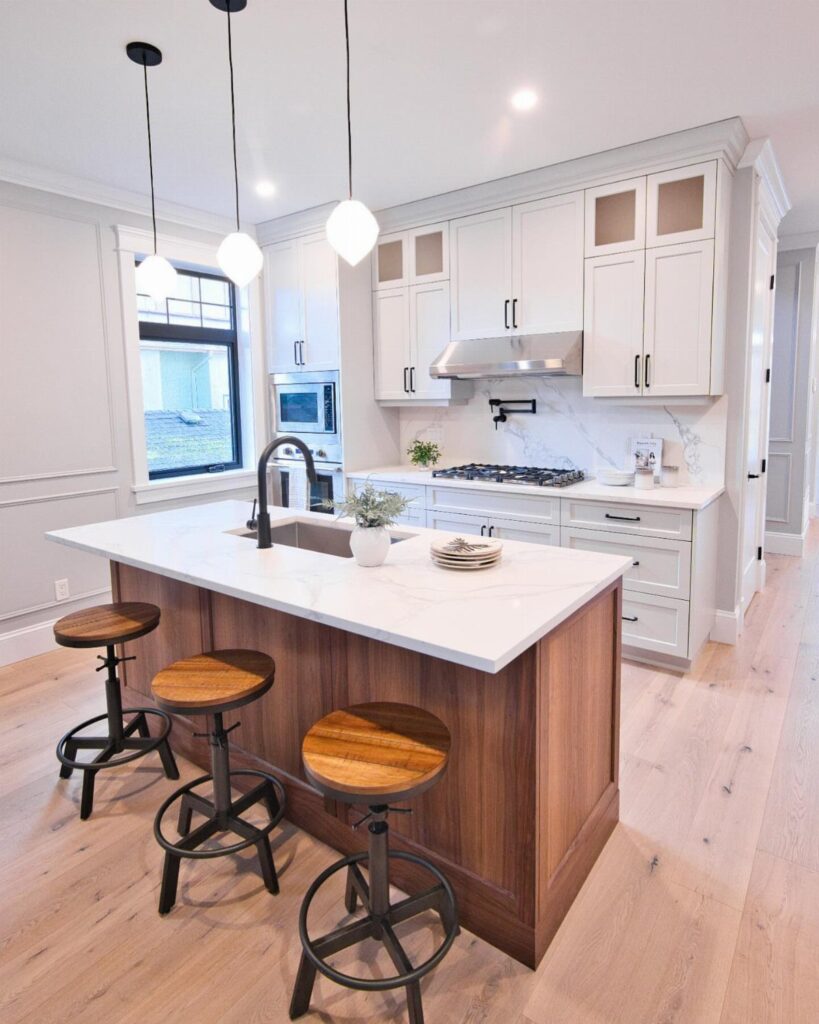
A sink in a seating island puts the cook and the guests on the same side of the work, and that’s the appeal.
Seat the stools along the side away from the sink so nobody perches beside a pile of dirty dishes.
Marble holds up fine here, but a sink run means water at the edge of the stone, so wipe the splash zone daily.
For a typical home, I’d keep the basin modest and leave the rest of the top clear for plates and elbows.
2. Farmhouse Sinks
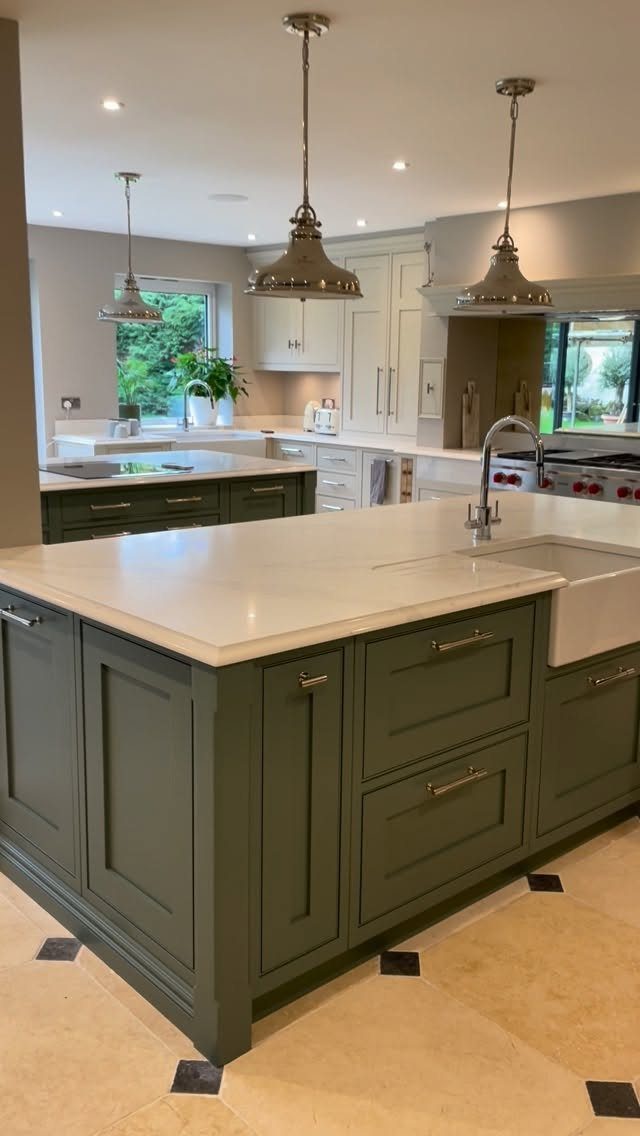
An apron-front sink brings the rustic look in a single piece, and in a painted island like this green one the white fireclay-style front reads as the feature.
Because the front sits exposed, check the cabinet below is built or cut for it, since a standard base won’t accept the apron.
If you have the room for two islands, one can handle food prep and the other entertaining. That splits the mess from the guests and gives you extra storage and seating besides.
3. Storage Islands
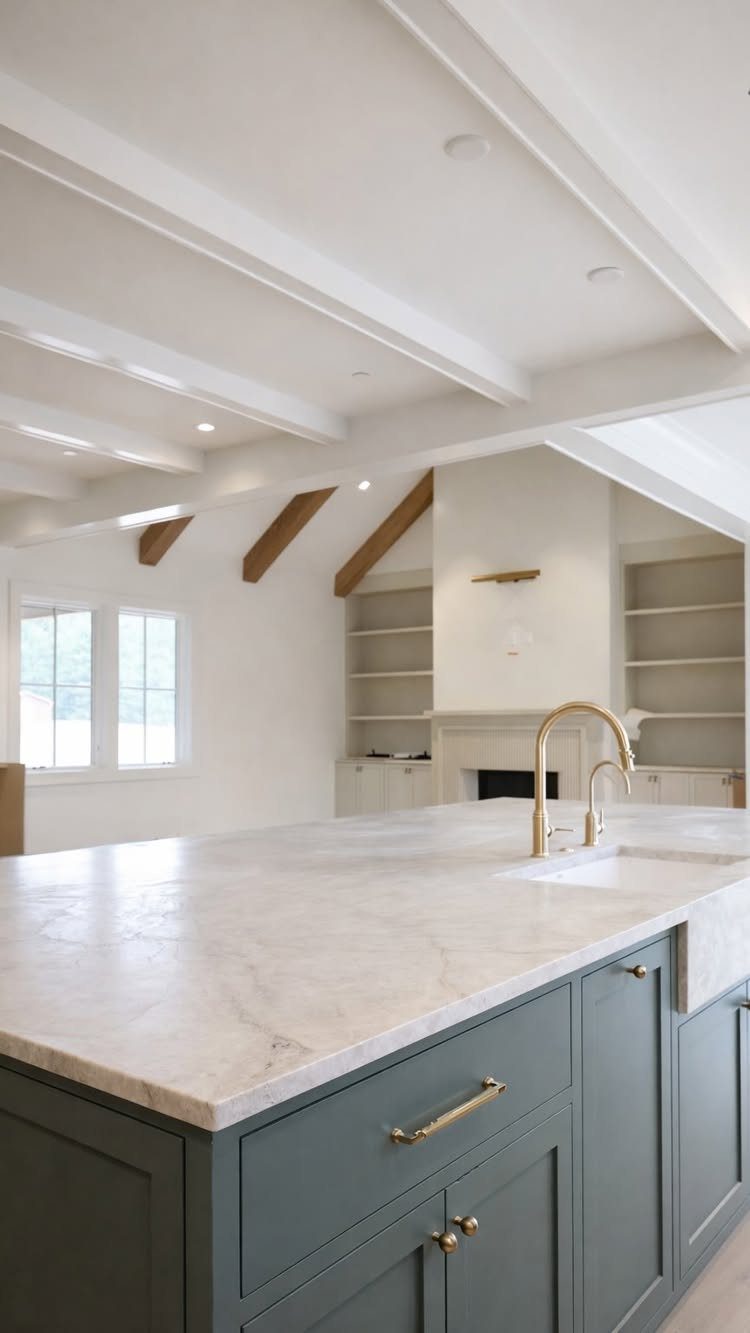
Drawers beneath an island sink are the storage I’d choose first. Pots, colanders and cleaning supplies live right where you use them, and the deep teal base keeps the whole run looking built in.
Plan the plumbing before you plan the drawers: the sink bowl and drain take the top slot, so that drawer usually needs a cutout or has to become a false front.
Put the deepest drawers beside the sink, not under it.
4. Smaller Sink Size for Specialized Use
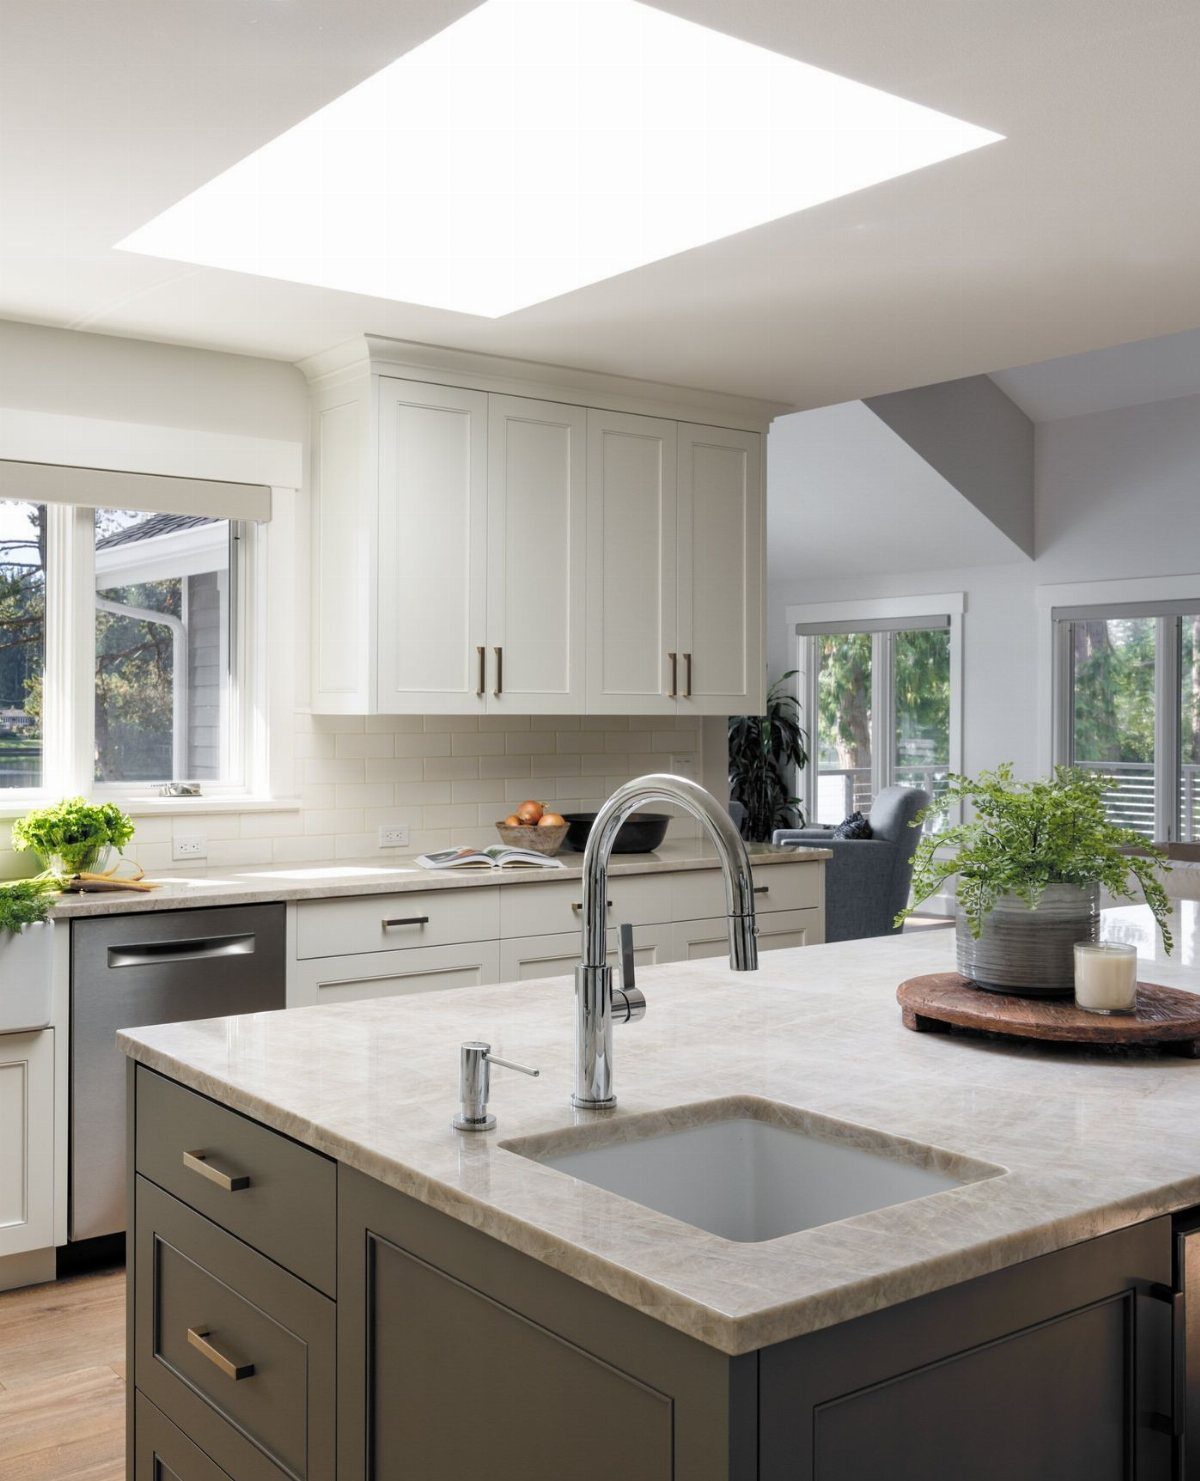
Small square sinks suit a second job: rinsing produce, filling a pot, or mixing drinks while the main sink stays free for dishes.
I’d pick one with a real faucet, not a bar-tap trickle, because a tiny sink with weak flow gets annoying fast. Keep it a prep sink and don’t expect it to hold a stockpot or a baking sheet.
5. Off-Center Sink Island
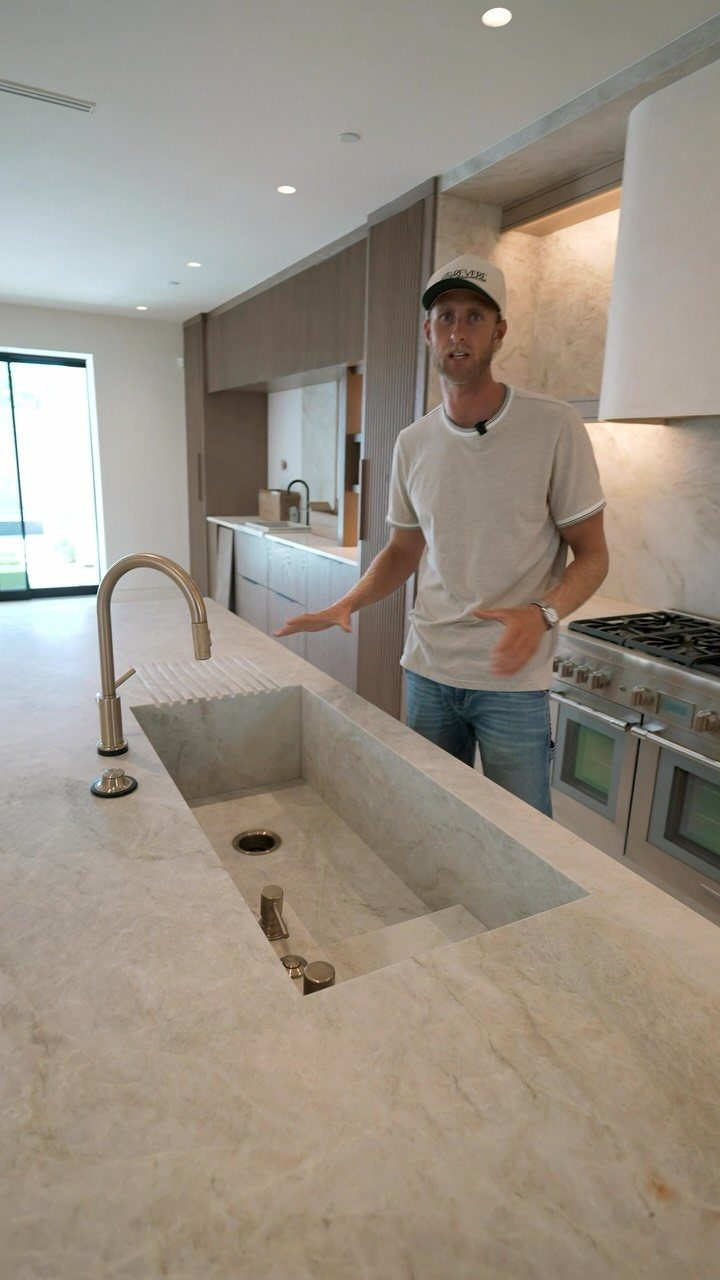
Pushing the sink toward one end leaves a long, uninterrupted stretch of stone for chopping, rolling dough or setting out stools. That’s the strongest reason to do it, and it costs nothing extra in materials.
Choose which end by looking at your existing plumbing and your traffic path. Then keep the sink’s far side open so you can scrape scraps straight in without leaning across the cooktop side of the room.
However, few regret making space for a small prep sink. Positioned off to one side of the island, it allows for rinsing, chopping, and hand washing without dominating the surface or interrupting social space.
6. Pull-Down Faucet
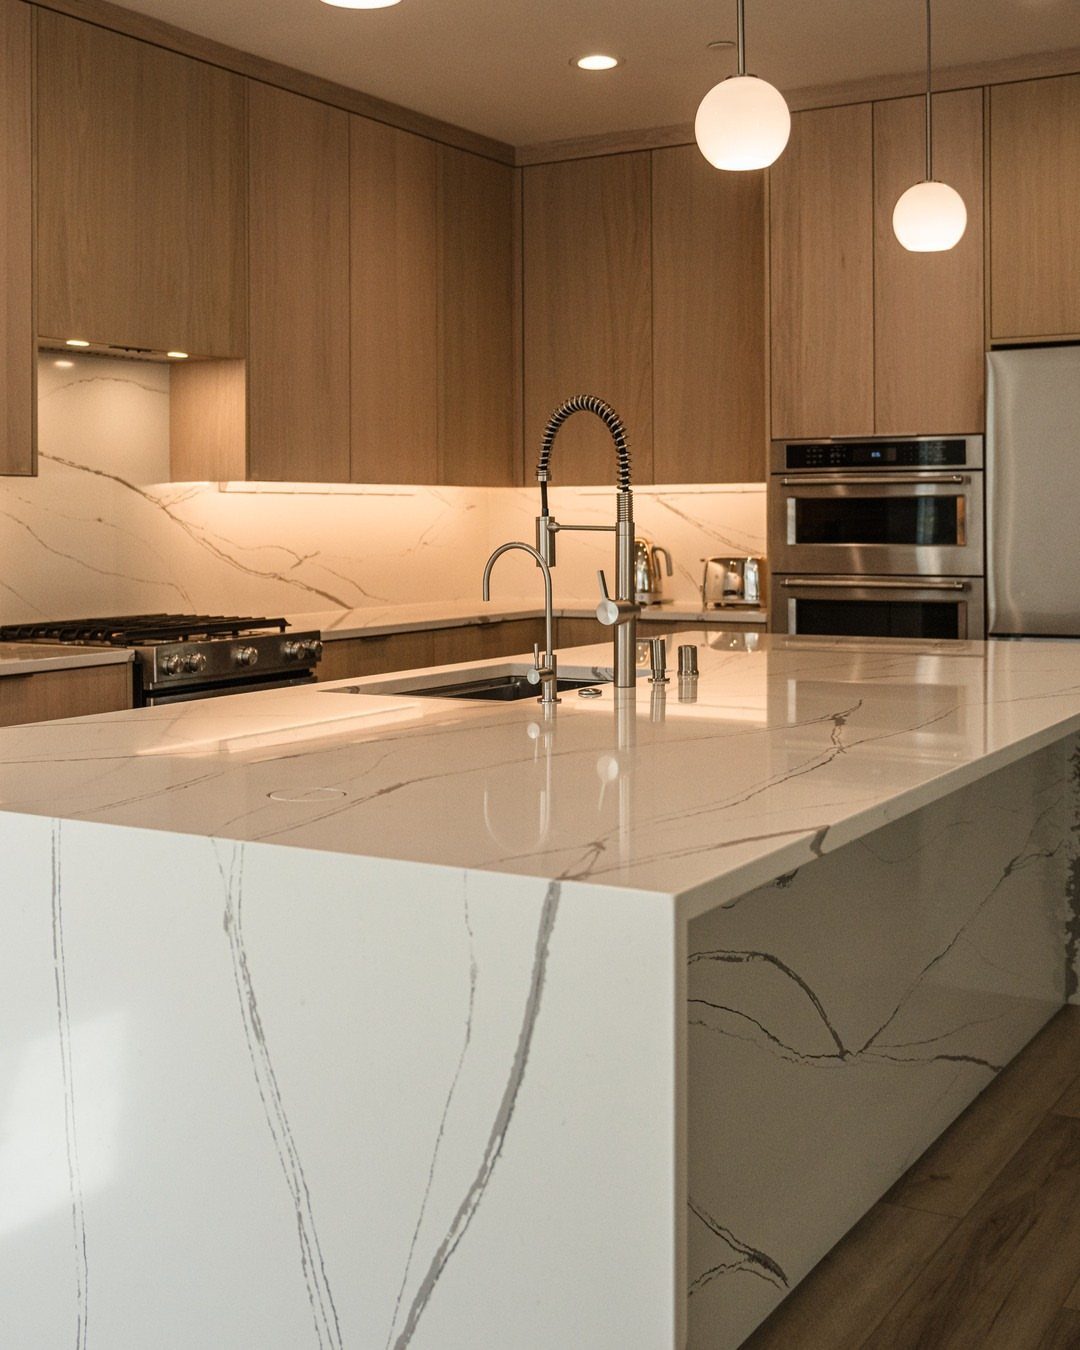
A pull-down faucet makes a deep island sink much easier to use, because the spray head reaches into corners and fills large pots at the counter.
On a waterfall island like this one, it also keeps the line clean, with no separate sprayer cluttering the stone.
Measure the clearance above the sink before buying, since the hose needs room to pull out and retract. Choose a high arc if you wash big pots often.
7. Bridge Faucet Island Sink
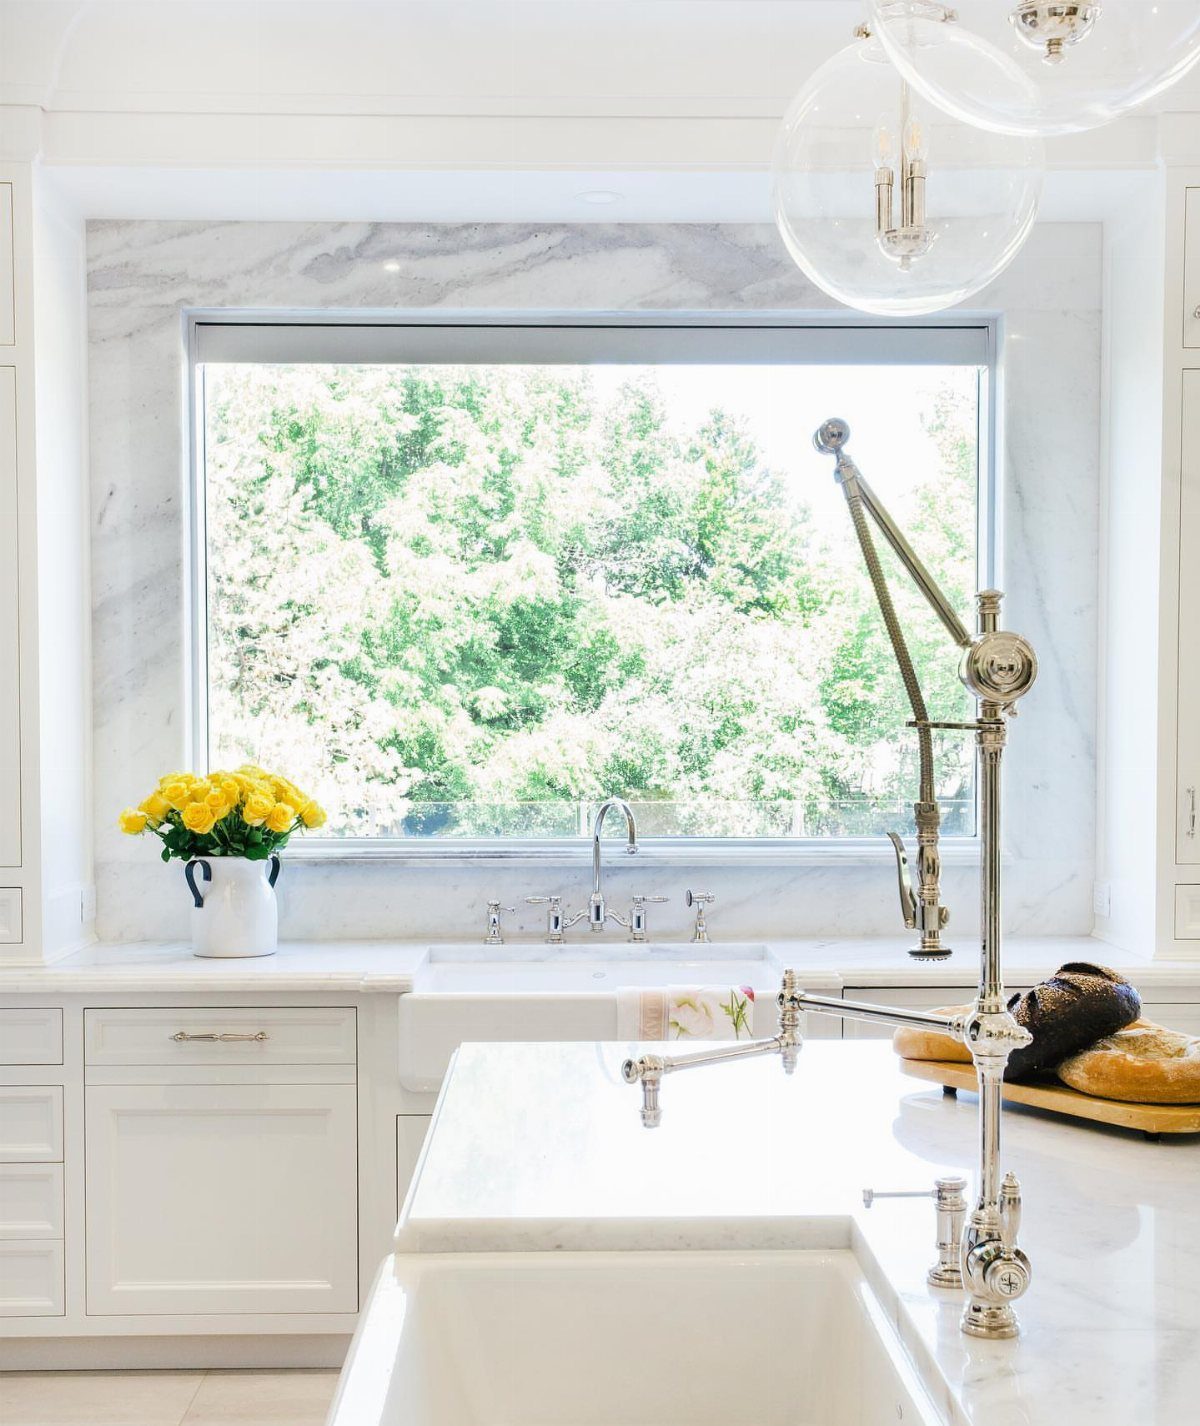
An ornate bridge faucet gives an island sink a bit of period character, with 2 handles joined by a single arched spout.
Against white marble and a white undermount basin, the silver finish stays quiet enough to let the shape do the talking.
Check the spout height and reach before you buy.
It should land over the center of the basin, and the arch needs enough clearance to fit a stockpot. I’d keep the rest of the hardware plain so the faucet is the one decorative piece.
8. Gold Faucet Marble Island Sink
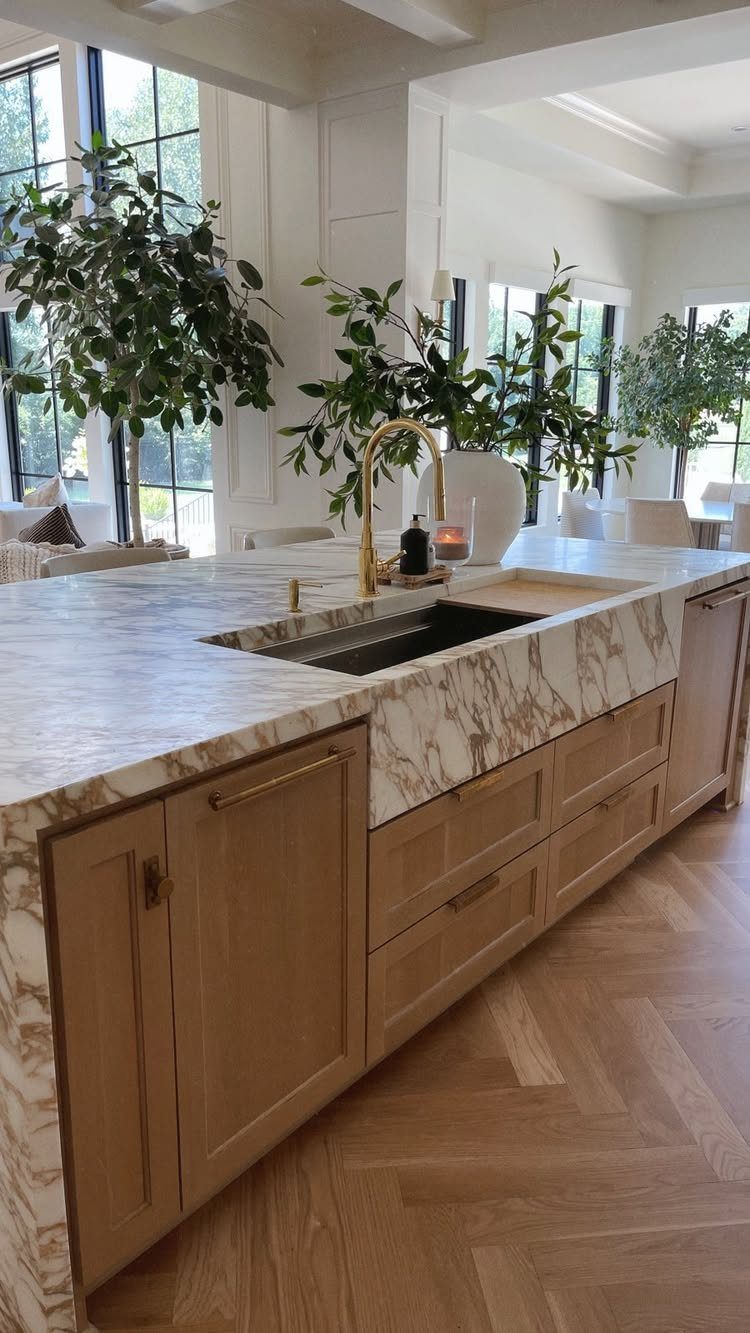
Gold against white marble is a pairing I like because the warm metal picks up the light wood of the cabinets below. The undermount basin keeps the stone edge clean, so the faucet is the only thing catching the eye.
Match the finish elsewhere in small doses, such as cabinet pulls, and stop there. A single gold fixture looks chosen, while gold everywhere starts to look busy.
Water spots show on polished metal, so keep a cloth by the sink.
9. Integrated Stainless Sink Marble Island
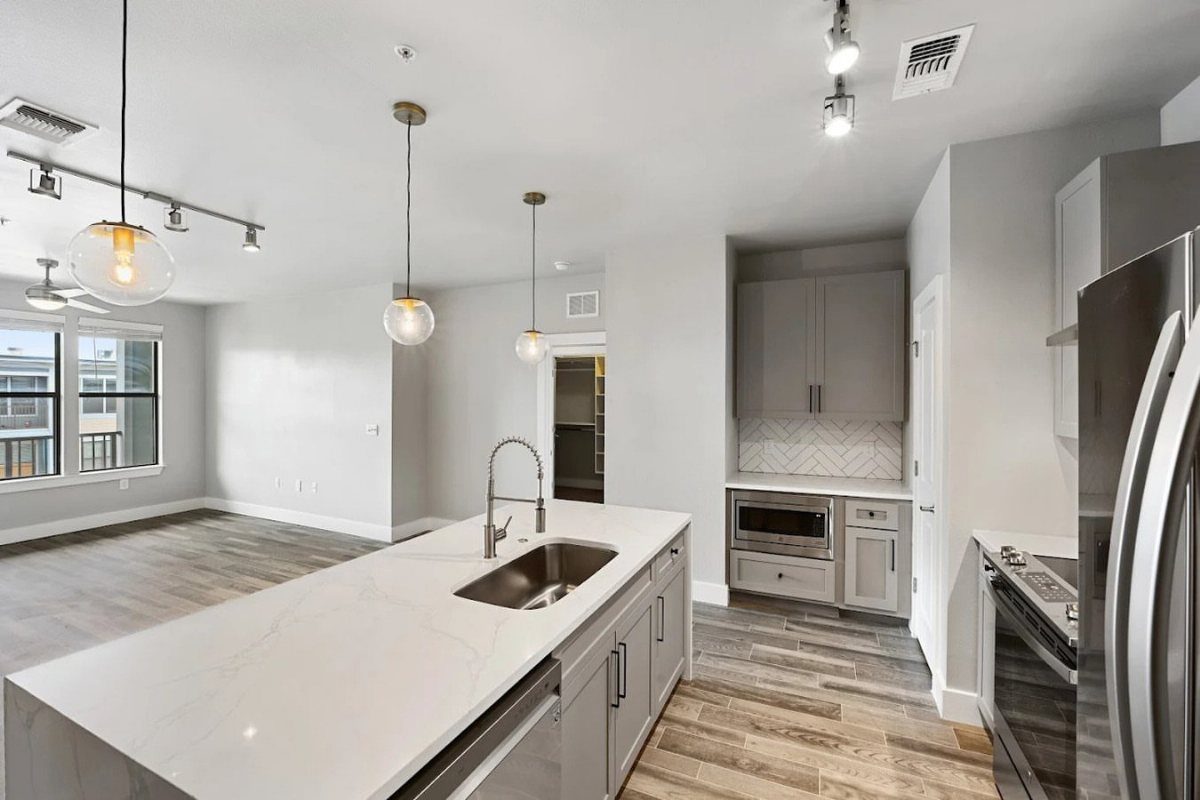
A stainless steel sink in a marble-look island is the practical pairing: the stone look is the style, and the metal basin is the part that takes the abuse.
A chrome faucet ties the two together without adding a new color to the room.
Since the island sits under pendant lights, a brushed stainless finish will hide glare and fingerprints better than a mirror-polished bowl. I’d choose that, and I’d put the sink on the side facing away from the open living area.
10. Workstation Island Sink
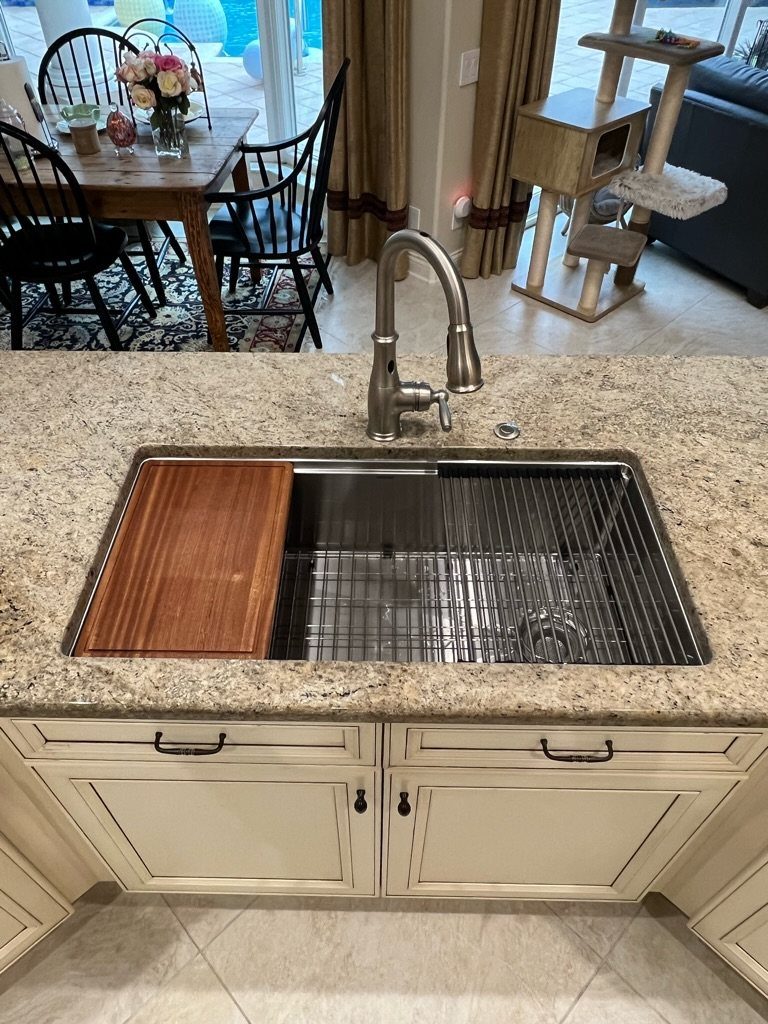
A workstation sink carries a cutting board and drying rack that ride on ledges inside the basin, so the sink doubles as prep space. Rinse vegetables, chop on the board, then slide the scraps straight into the bowl.
That makes sense on a granite island where you don’t want to dull a knife on stone. I’d pick stainless, and I’d store the board and rack nearby when the sink needs to be fully open for big pots.
11. Island Sink with Integrated Dishwasher
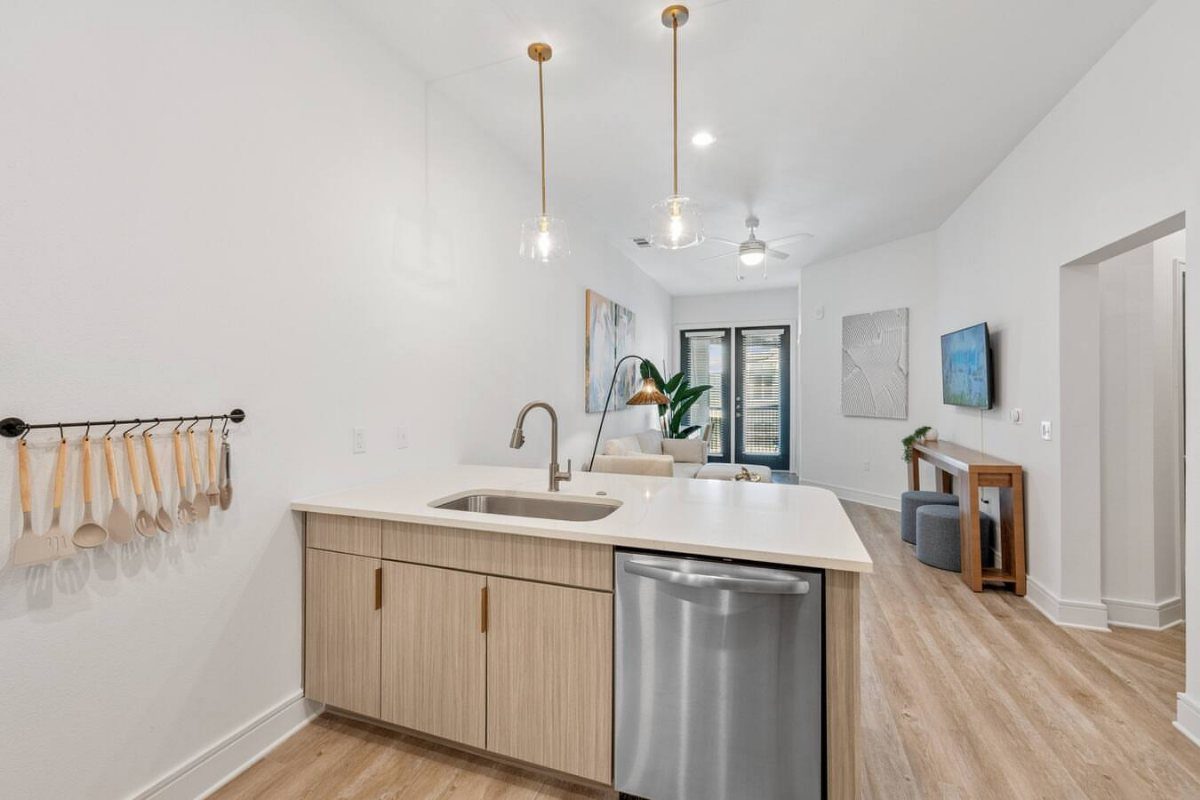
Putting the dishwasher right beside the island sink shortens the trip from rinse to rack, and plates never travel across the room. The stainless front sits flush with the cabinetry, so the island still reads as one clean run.
Plan the plumbing together: the sink drain and the dishwasher drain should share a short route.
I’d place the dishwasher on the side where you stand to scrape, and keep the opening clear of stools so the door can drop fully.
12. Double Basin Island Sink
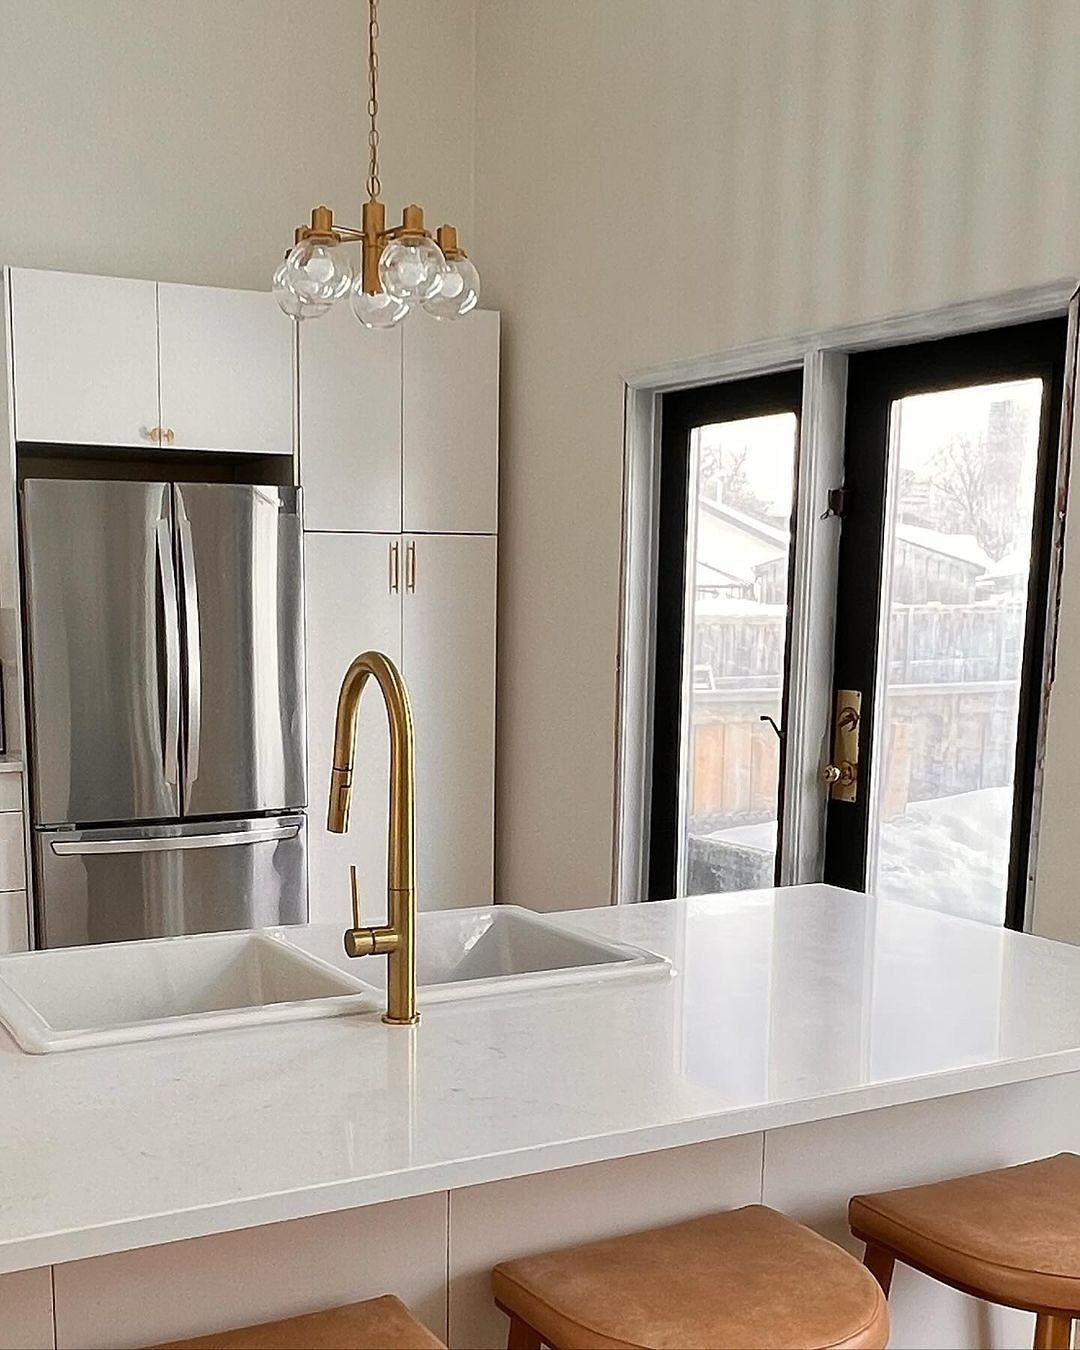
Two bowls let one side soak while the other stays clear for rinsing, which is why I’d pick a double basin for a household that cooks and cleans at once.
A tall faucet helps here, since it swings over both bowls and clears big pots.
On a quartz island, expect the sink to eat a large share of the top.
Measure the cabinet below first, because 2 bowls need a wide base, and leave enough counter on each side to set down a rack and a cutting board.
Installation Considerations
A plumber should walk the space and check the drain run, the supply lines, and how the sink will vent, and that visit belongs ahead of any cabinet or countertop order.
Those three decide how big the island can be and where the sink can sit, so they come before the layout, not after.
Running water and drain lines to the middle of a room is the part that can push a budget up fast.
Start by measuring how the island fits your kitchen’s layout, then get a written quote so the cost is clear before any cabinets get ordered.
Keep the sink cabinet accessible so the pipes can be reached later. Check the dishwasher hookup too, since the drain and supply lines can swallow a drawer bank or cabinet you planned to use.
Kitchen Island Size Recommendations
For a sink island to work, I’d start at 72–84 inches long and 36 inches deep. An island around 7 feet long fits a sink, a stretch of prep counter, and two stools.
Leave 36–42 inches of walkway around the island, enough for drawers to open fully and for a second cook to squeeze past. Wider walkways beat a bigger island, so if the room is tight, shrink the island rather than the aisles.
If the island also seats people, 42 inches is the minimum overall width:
- 24 inches of prep depth
- 18 inches for eating, including a 12-inch overhang
Allow about 18–24 inches of counter beside the sink on one or both sides.
Sink Placement Tips
Filling a pasta pot or boiling eggs then takes a few steps, not a trip across the room.
A small single-bowl sink saves counter, and so does grouping the stools at one end or one side, which keeps the island from feeling packed.
Lay out the sink, faucet, and stools with painter’s tape on the counter, or with cardboard cutouts, before you lock in the plan.
Taping the island’s outline and sink position on your kitchen floor before you commit is a cheap test, and it can save you from a layout you’d regret.
Frequently Asked Questions
Is a sink in a kitchen island a good idea?
It can be, if the island is built for the work. A sink puts the cook facing guests and keeps rinsing close to prep, but it also puts dirty dishes and splashes where people sit.
A small prep sink off to one side is the safer choice, and if the island holds the main sink, put the dishwasher beside it and seat people on the side away from the basin.
What is the typical cost of a kitchen island with a sink?
Costs swing widely with the materials you choose and the plumbing the island needs. Get a written quote from a plumber before ordering cabinets so the number is clear.