Whether a kitchen needs a facelift or a full renovation decides which of these ideas belongs in yours, because the first runs about $10,000 and the second starts around $25,000 and climbs.
The range here is wide: a weekend of paint, under-cabinet LED strips or a coffee bar nook at one end, and a quartz island or custom cabinetry at the other.
If you keep the layout, most of the budget stays on surfaces like countertops, cabinets, and tile.
1. Soft Neutral Cabinets and Walls
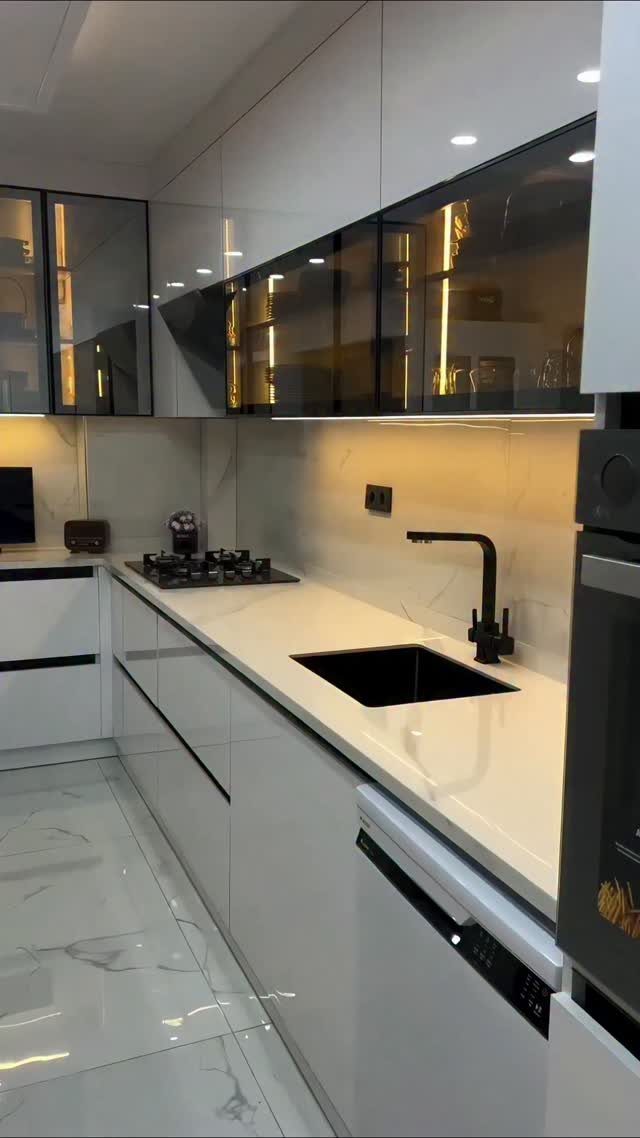
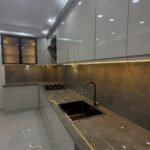
Glossy white lowers against dark glass uppers is a pairing that rewards restraint everywhere else.
Keep the walls in a soft white or pale gray so the black sink and faucet read as the accent, not one more dark object competing for attention.
Glossy doors show fingerprints and bounce light, which helps a small room but demands more wiping. If that bothers you, a satin finish keeps the same color and hides smudges better.
Paint is the cheapest way to try this look, though cleaning, sanding, priming and a smooth finish usually stretch the job past a single weekend.
2. Farmhouse Sink
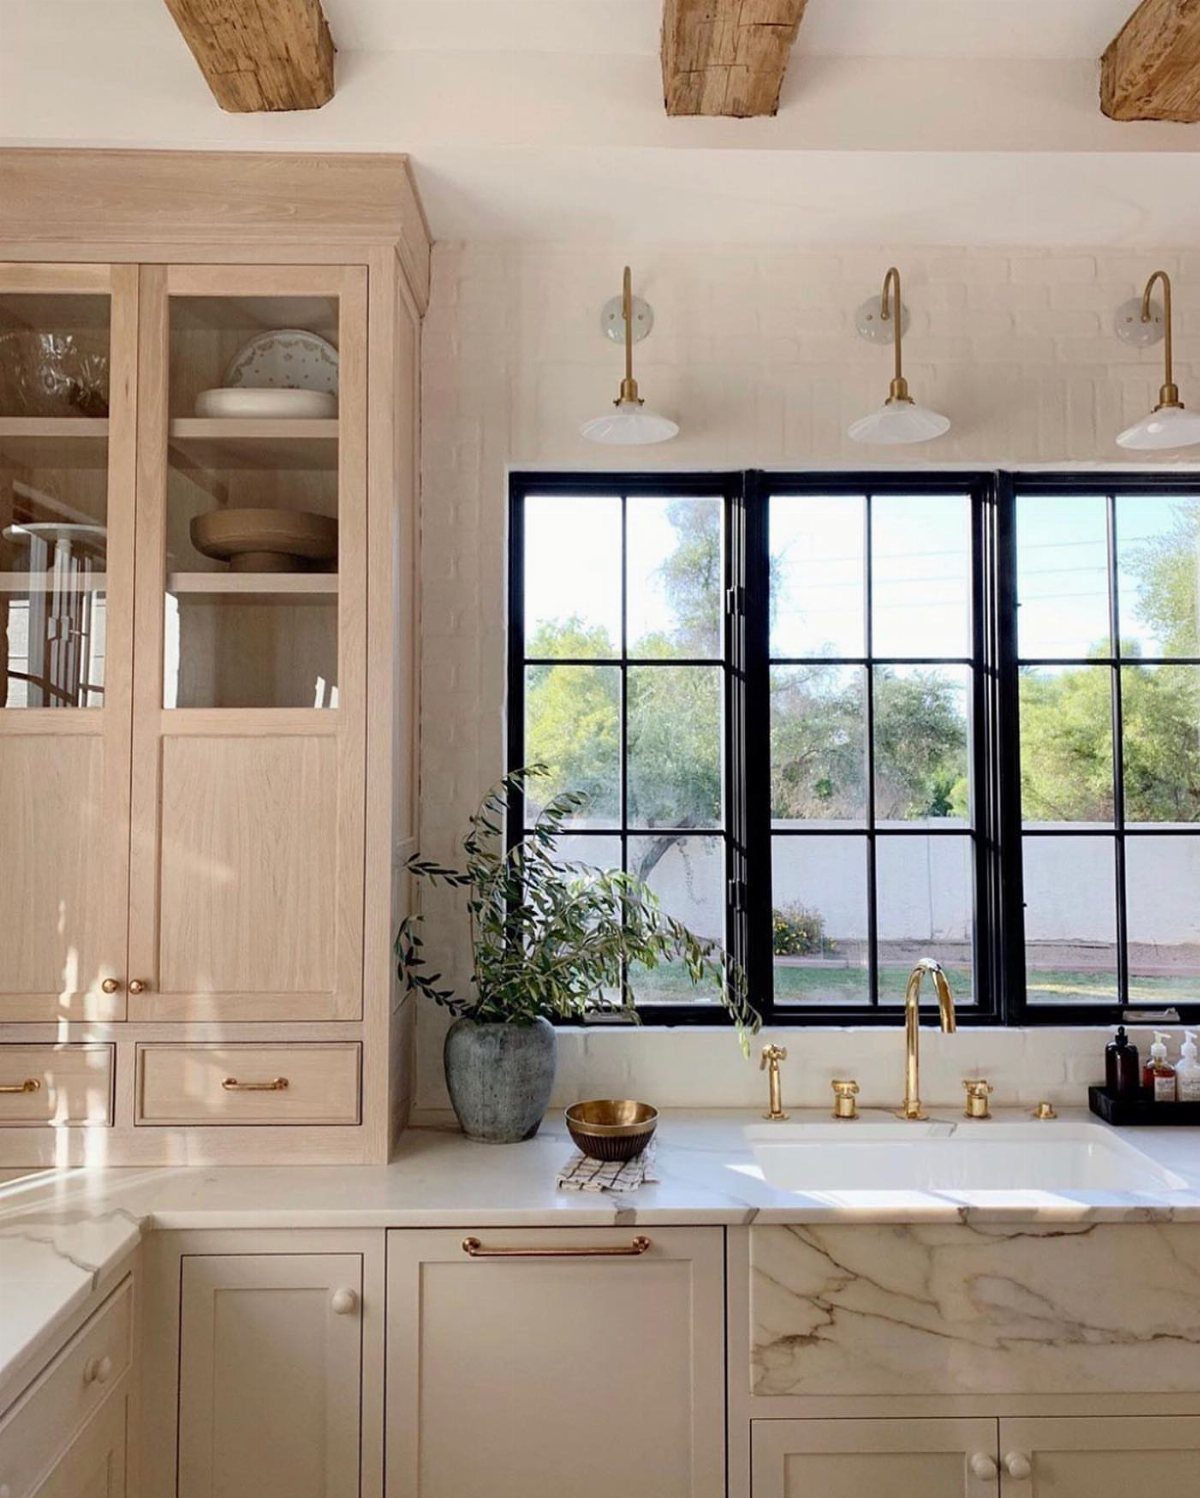
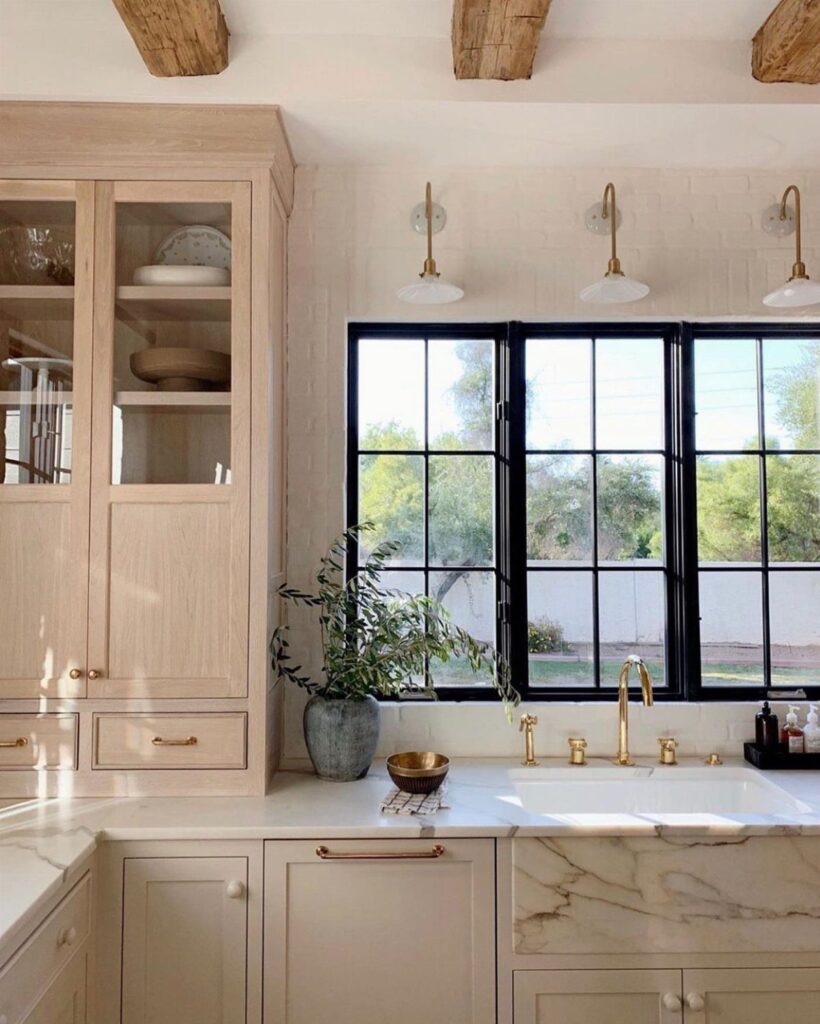
A farmhouse sink changes the front of the kitchen more than any faucet swap will. The deep, exposed apron suits light wood cabinetry, and a gold faucet warms a white basin without needing much else around it.
I’d pick the basin first and build the cabinet cutout around it, since the base cabinet has to fit the sink, not the other way around. Measure twice before cutting anything.
Black window frames and a few sconces keep the look from turning too sweet.
3. Marble and Custom Cabinetry
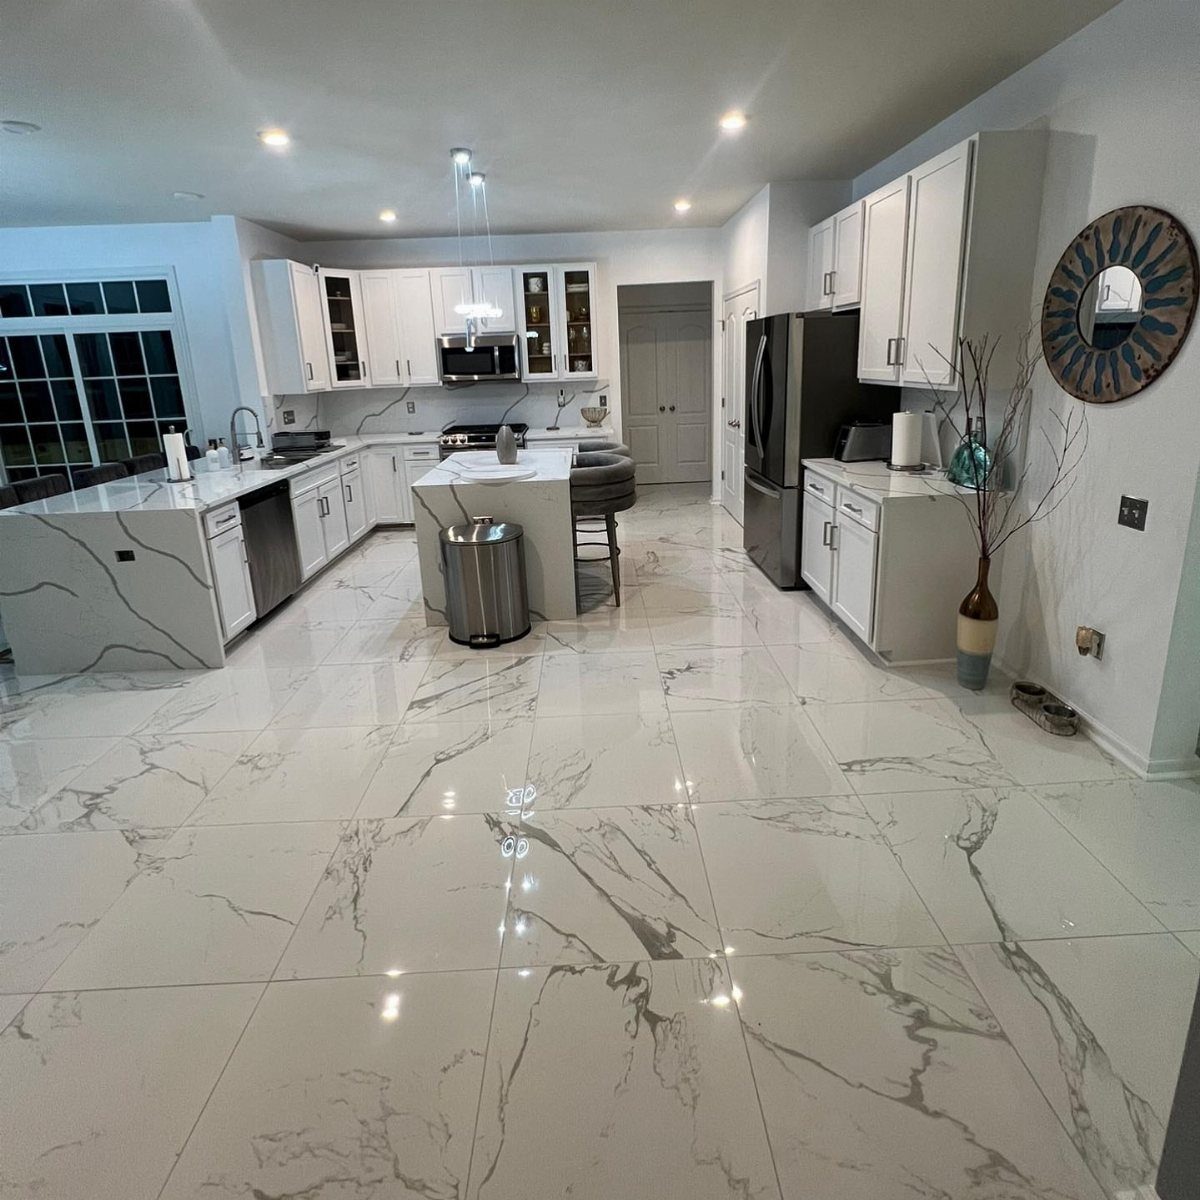
White marble and custom cabinetry work as a pair, and I’d spend on the cabinets before the stone.
Custom doors sized to your walls and appliances make the room look built, while marble-patterned tile on the floor gives the veined look at a lower cost than slab.
Keep the island and perimeter cabinets the same white so the veining carries the interest. Stainless appliances then sit quietly in the mix.
On a tight budget, paint existing cabinet boxes and replace only the doors.
4. Organized Pantries
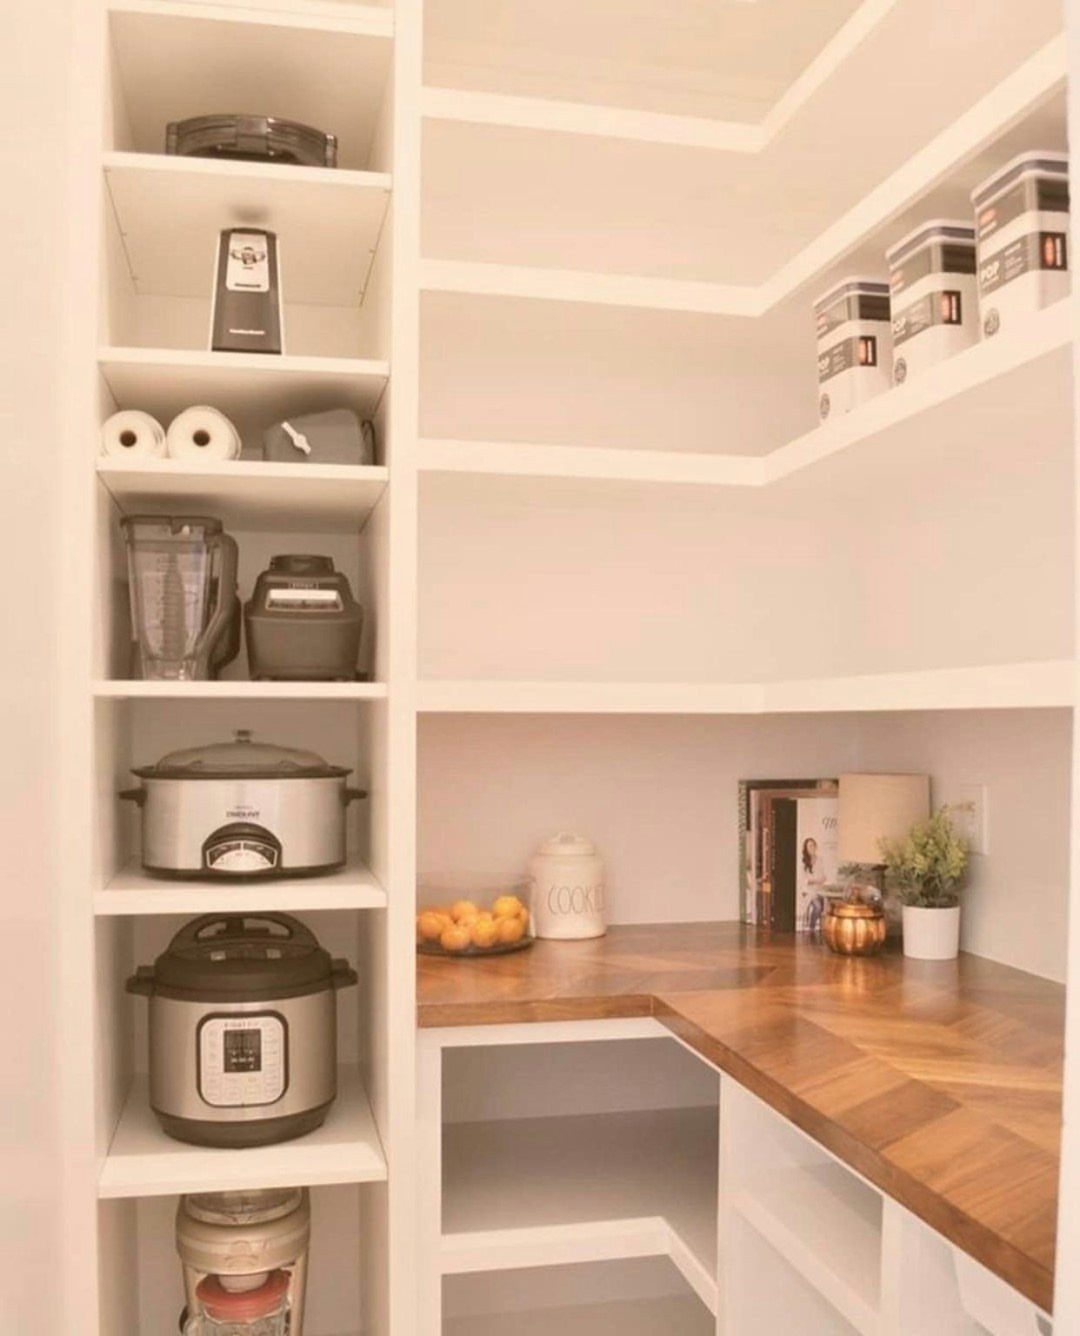
A pantry earns its keep when the things you reach for daily sit at hand height. Put the appliances and paper towels on sturdy lower shelves, and keep small items in matching containers so you can see what’s left.
A wooden counter in the middle of the shelving gives you a landing spot for the toaster or a cookie jar, which beats hauling things to the main counter. Butcher block is a friendly material for that job.
Label the containers.
5. Patterned Tiles and Textured Wood
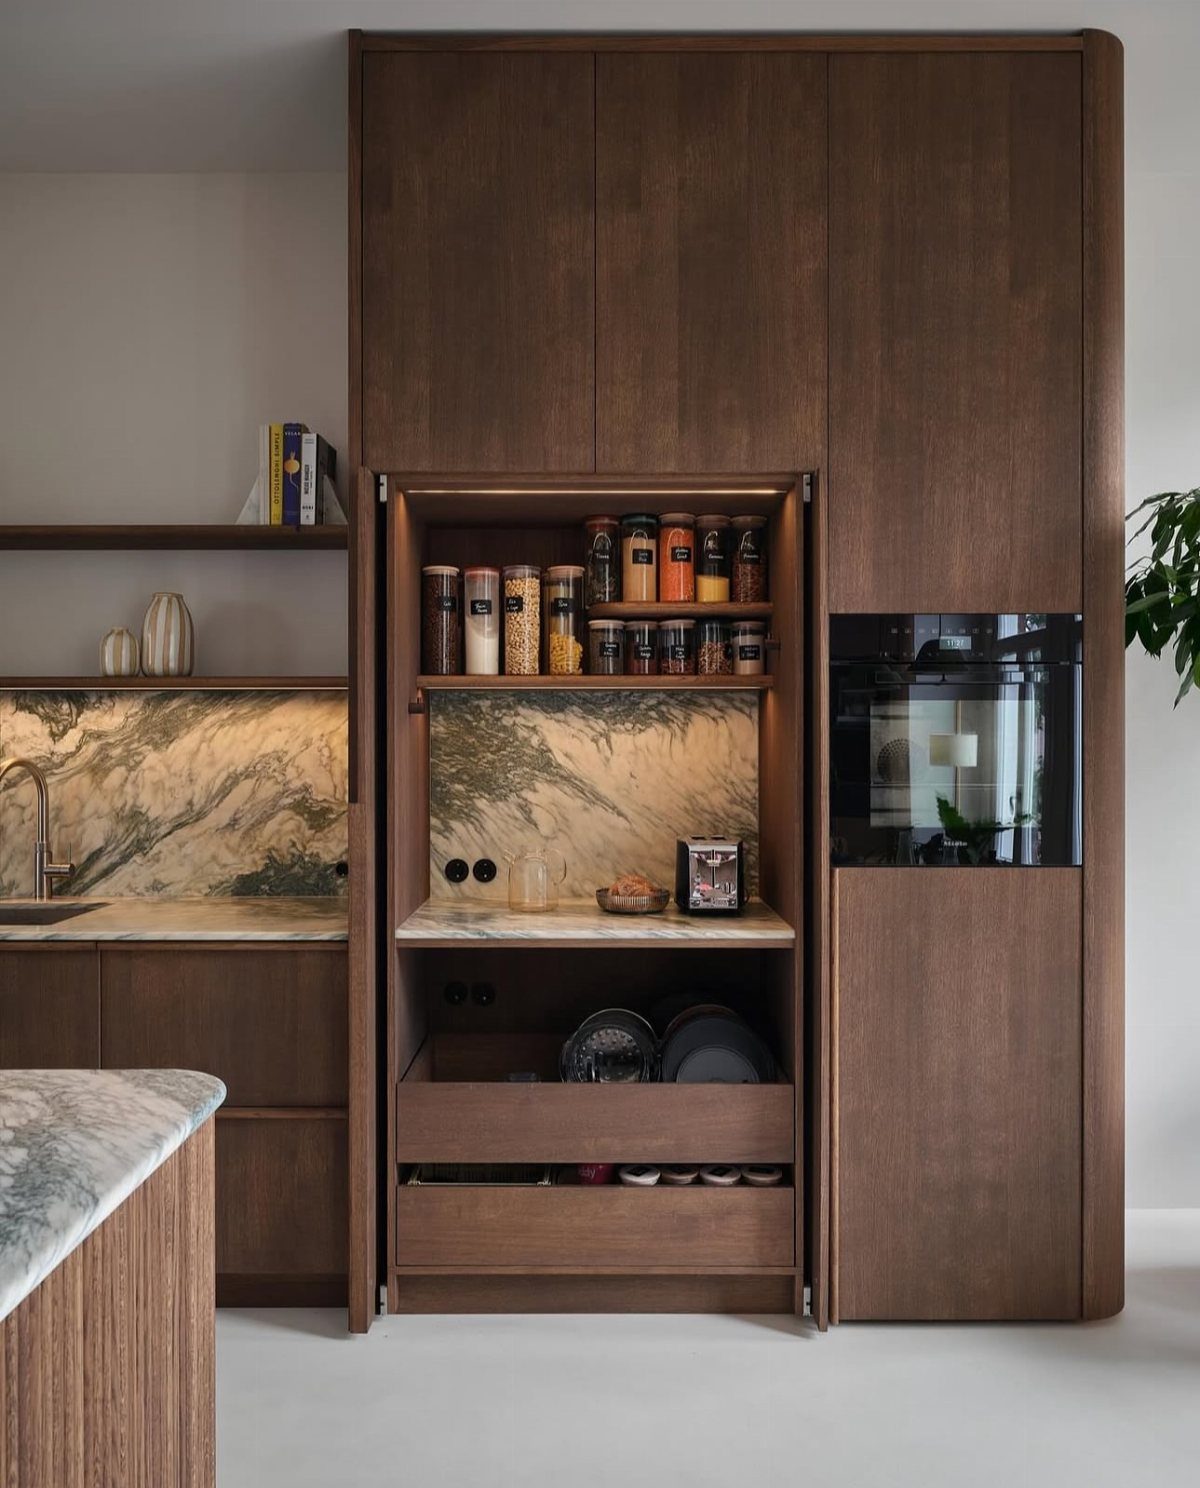
Dark textured wood cabinets need a calm partner, and a marble backsplash and countertop do that job well. The grain gives depth; the pale veined stone keeps the room from feeling heavy.
I’d limit the texture to one surface. If the cabinets carry it, keep the backsplash simple, and save bold pattern for a small area like the space behind the range.
Open shelving with jars adds a lighter break between the dark doors.
6. Personalized Kitchen Decor

Engraved utensils with your own name on them are the easiest personal touch in a kitchen.
Stick to one wood tone and one lettering style so the set looks designed instead of piled up.
It works well as a gift, too, and renters can take it along when they move.
7. Reclaimed Wood
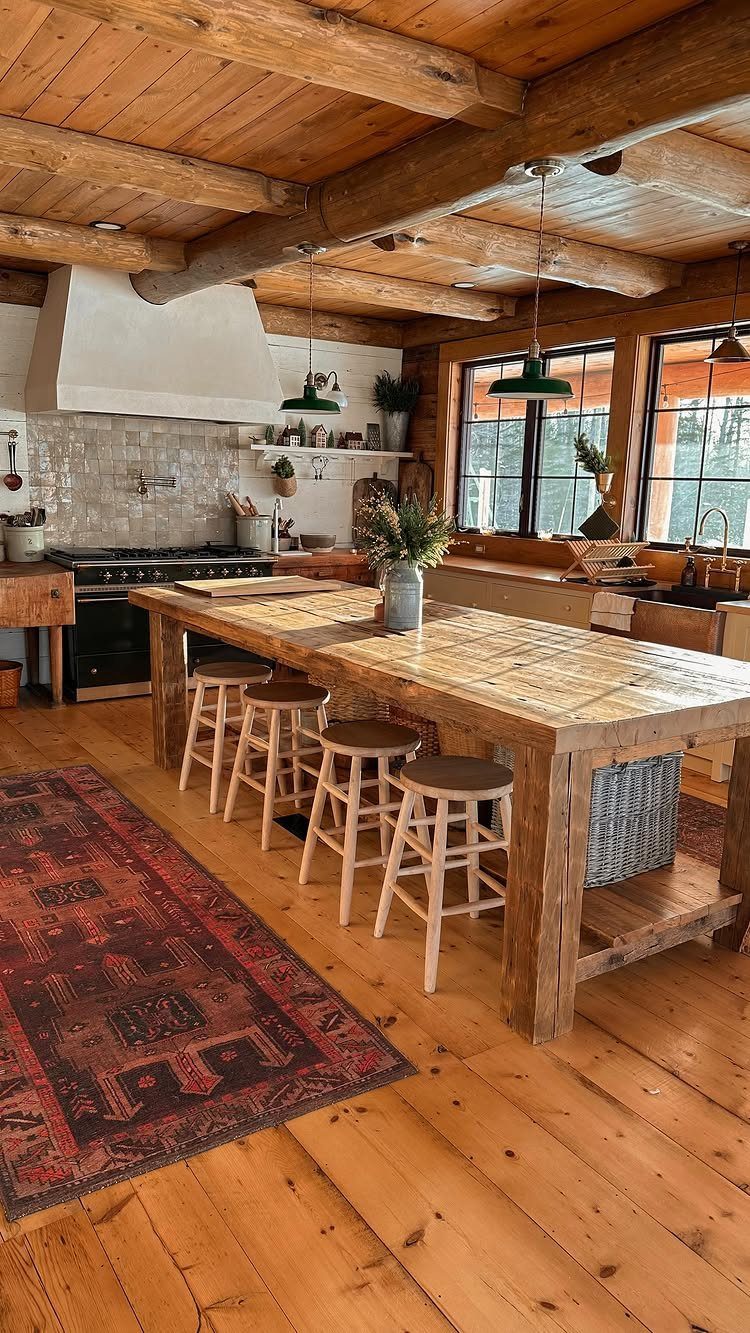
Heavy timber beams overhead call for a island that can hold its own, and a reclaimed wood base does. Worn grain and old nail marks add age that new lumber can’t fake.
I’d keep reclaimed wood to two or three surfaces, say the beams, the island and the floor, and let the sink and walls stay plain. A rug with a little pattern softens all that brown.
Reclaimed pieces cost more than new boards, so a single island is a smart place to start.
8. Stylish Storage Solutions
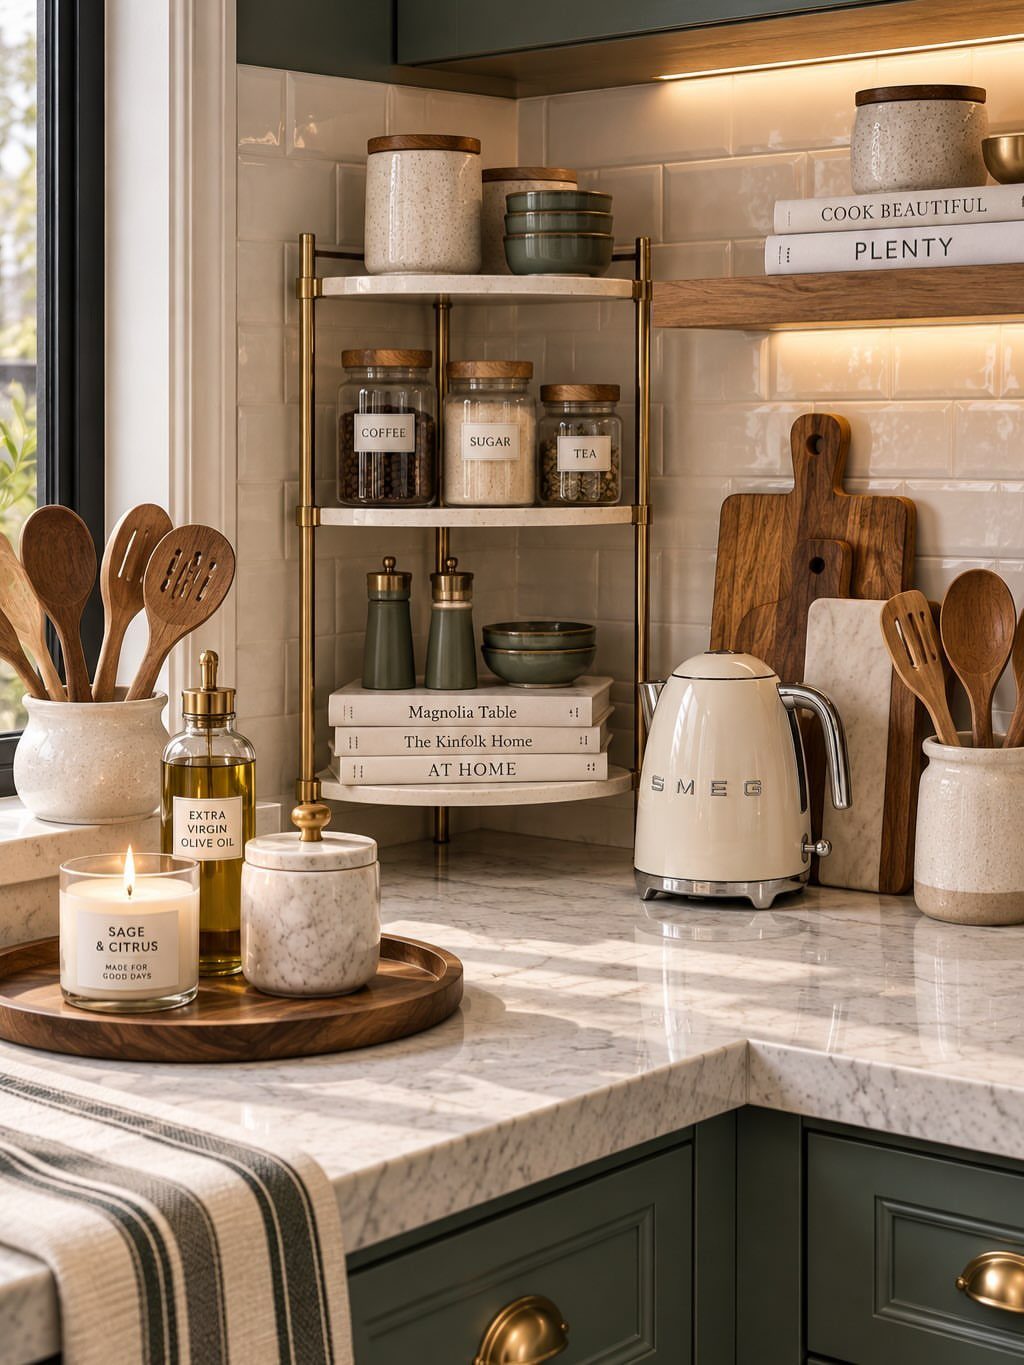
Matching jars on a tiered stand turn a coffee, sugar and tea habit into a tidy display. Stacking vertically frees counter space, which matters most in a small kitchen.
Pick one metal finish for the stand and keep jar labels in the same style. Clear or white containers with plain lettering look calmer than a mix.
Keep the stand to the daily items only; anything you don’t touch every morning belongs in a cabinet.
9. Under-cabinet and Recessed Lighting
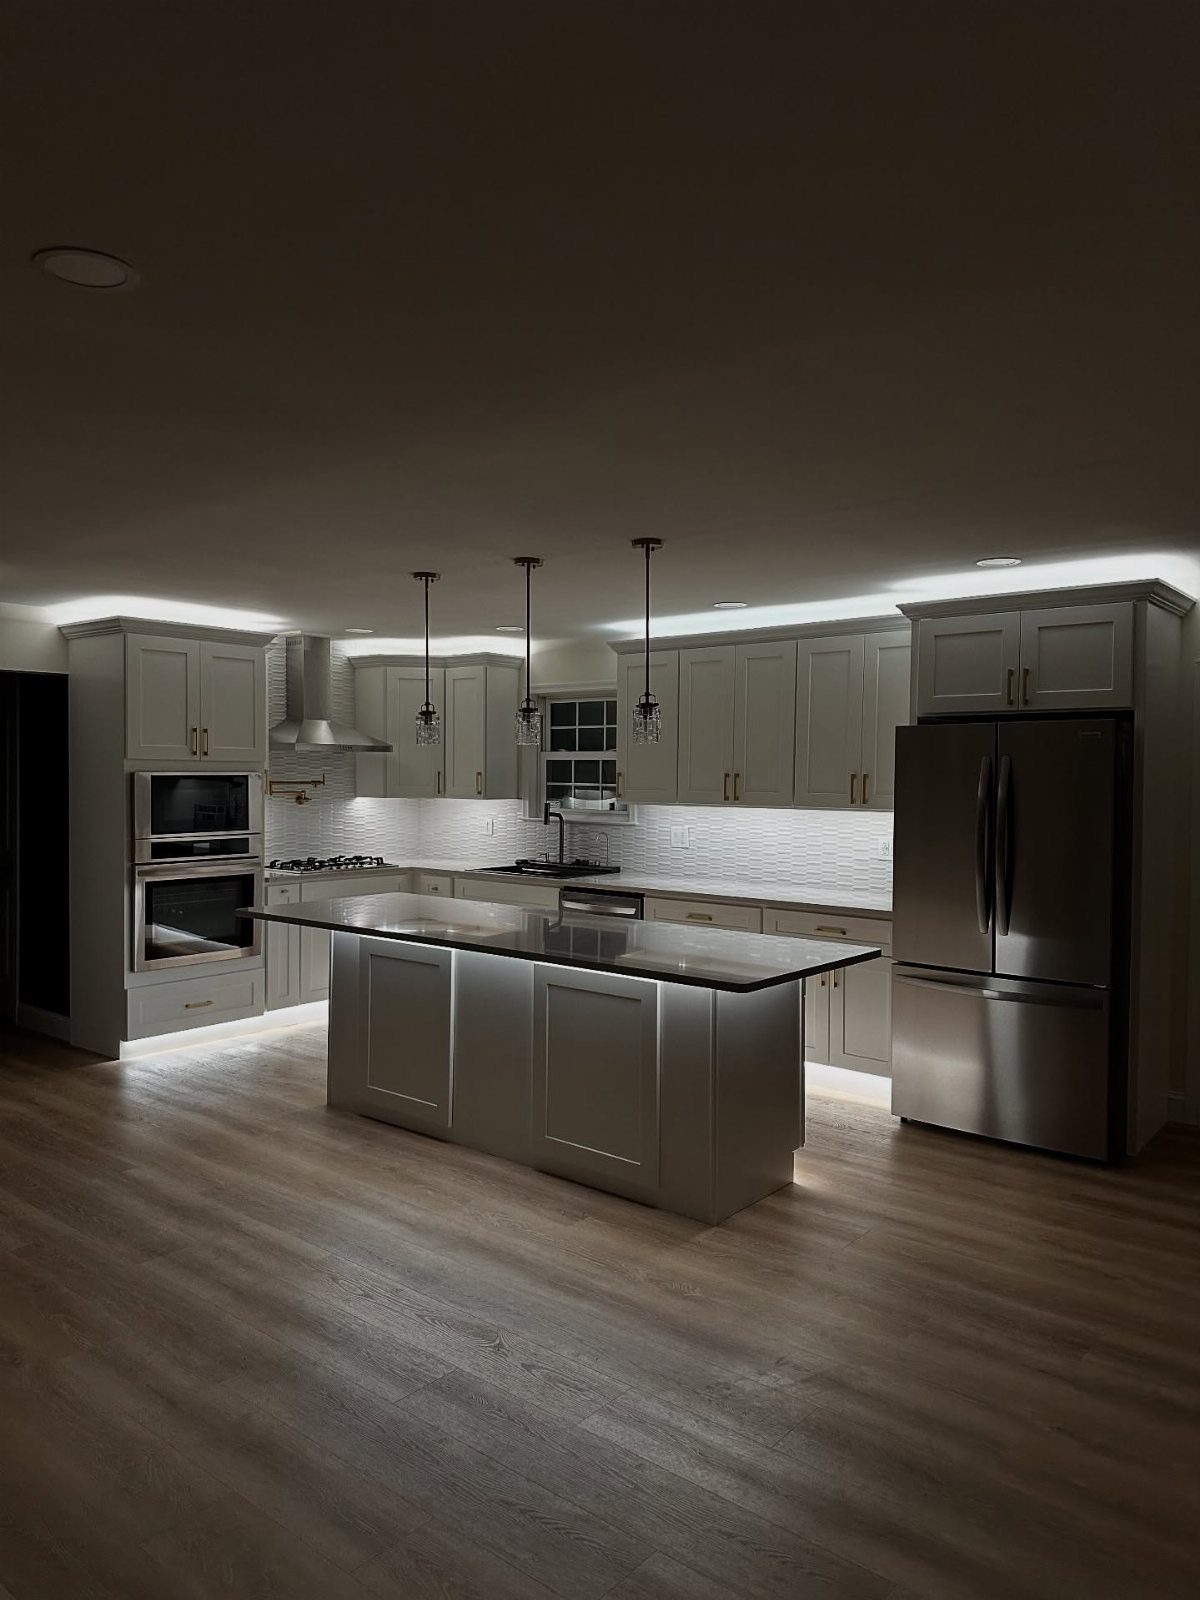
Layered lighting is what makes a gray kitchen look bright instead of flat: LED strips under the wall cabinets light the counter, recessed ceiling cans fill the room, and pendants over the island add a focal point.
Under-cabinet strips are the easy first step for a weekend and a modest budget, since you can add them without opening a wall. Recessed cans usually mean an electrician.
Put each layer on its own switch, so you can dim the room and keep the counter lit for chopping.
10. Quartz Countertops
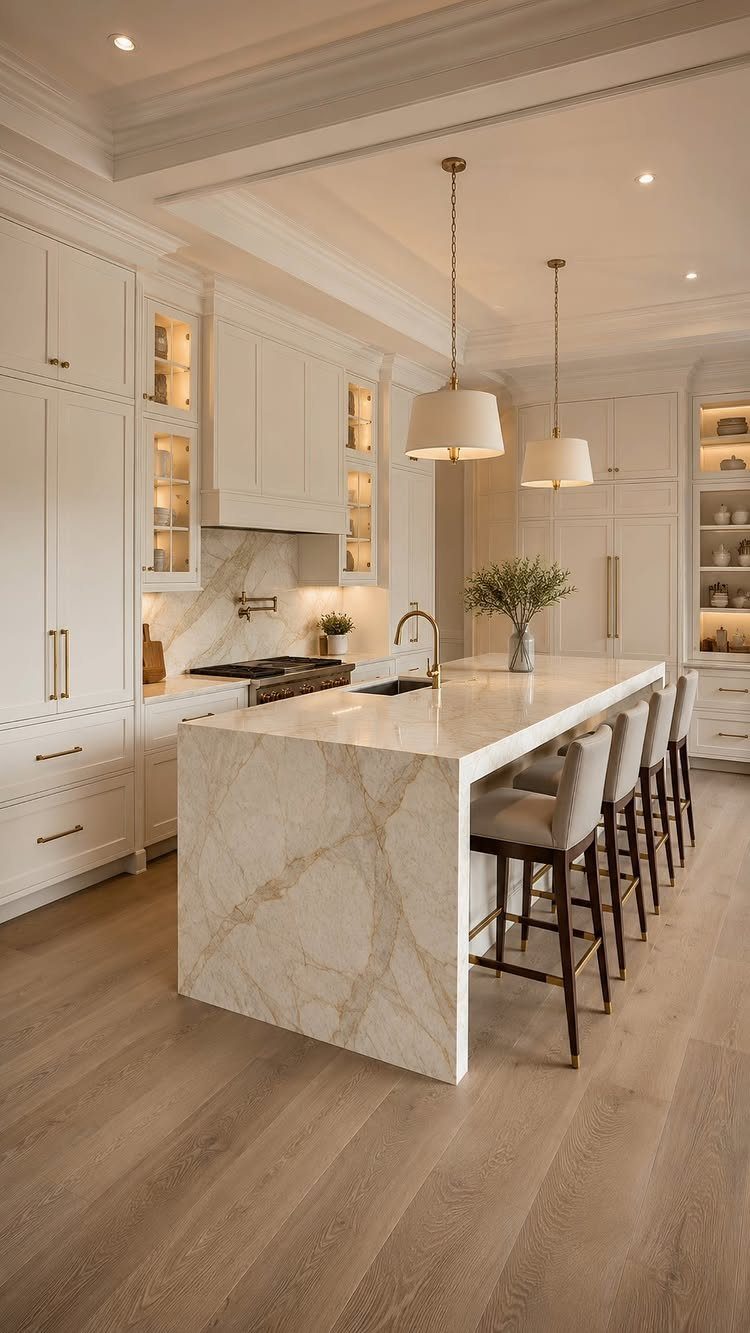
A waterfall edge, where the quartz runs straight down the island’s sides, is the showiest way to use the material. Marble-patterned quartz gives the veined look without the upkeep I’d expect from real stone.
I’d choose the waterfall only for an island, where the sides are visible. Along the walls, a standard slab edge costs less and looks just as clean.
Ask for the fabricator’s quote on slab and seams before you fall for a pattern.
11. Island Installation
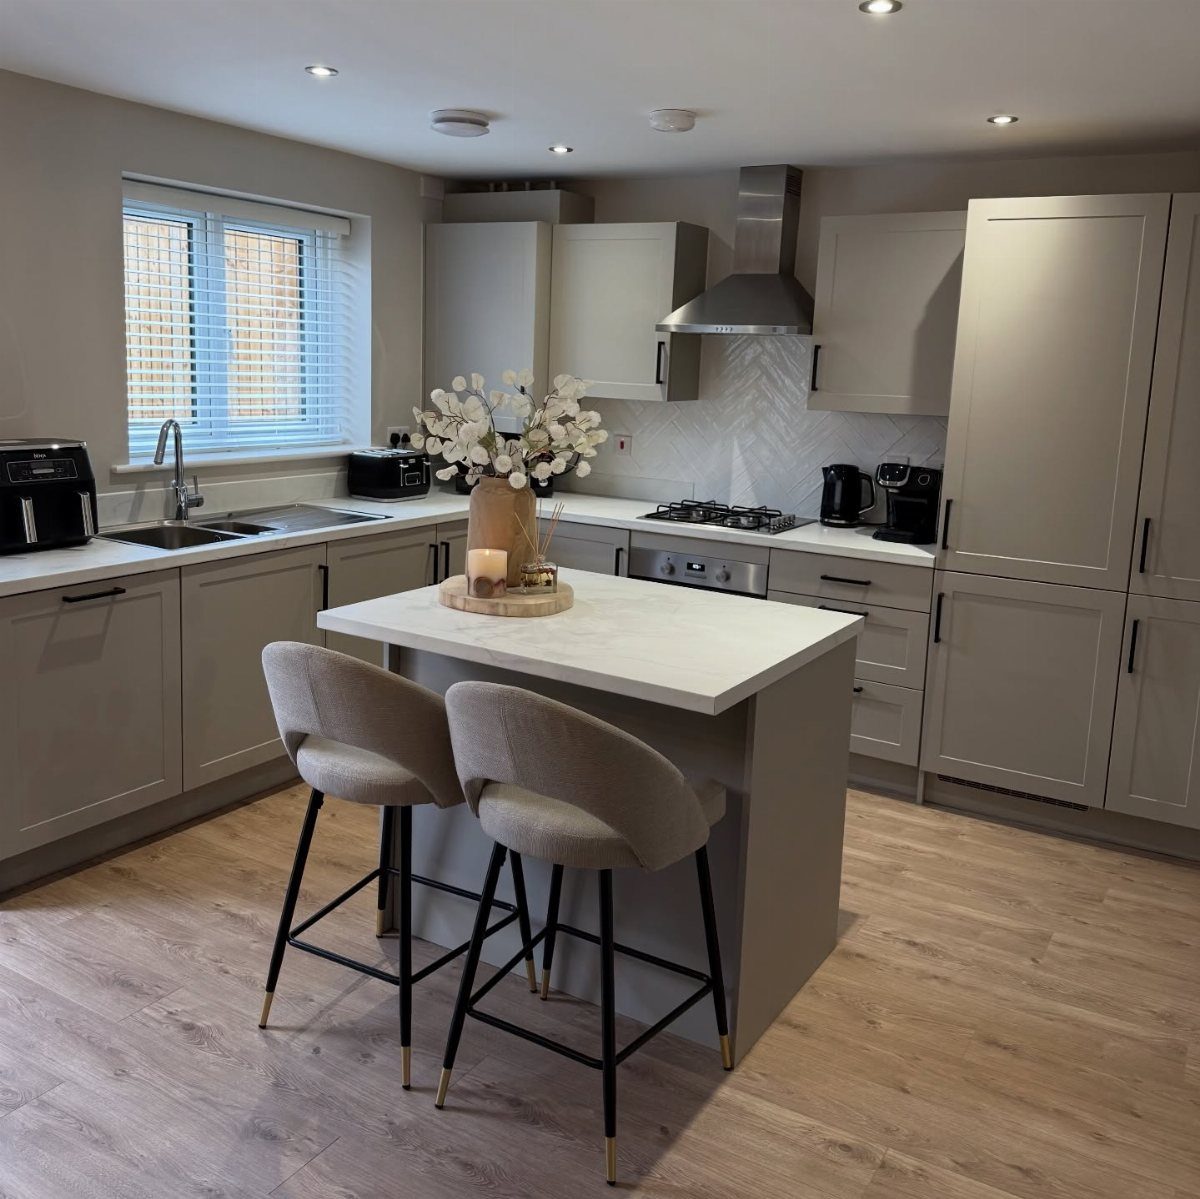
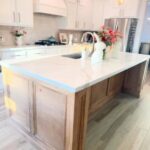
2 barstools tucked under an island give a kitchen a place to sit, eat and chat while someone cooks. That is a bigger change than most counter upgrades.
Leave room to walk around it and to pull stools out. If the space is tight, a smaller island or a movable one beats a full-size piece you will bump into daily.
A white top against gray cabinets keeps the island light, and a vase of flowers makes it the room’s center.
12. Coffee Bar Nook
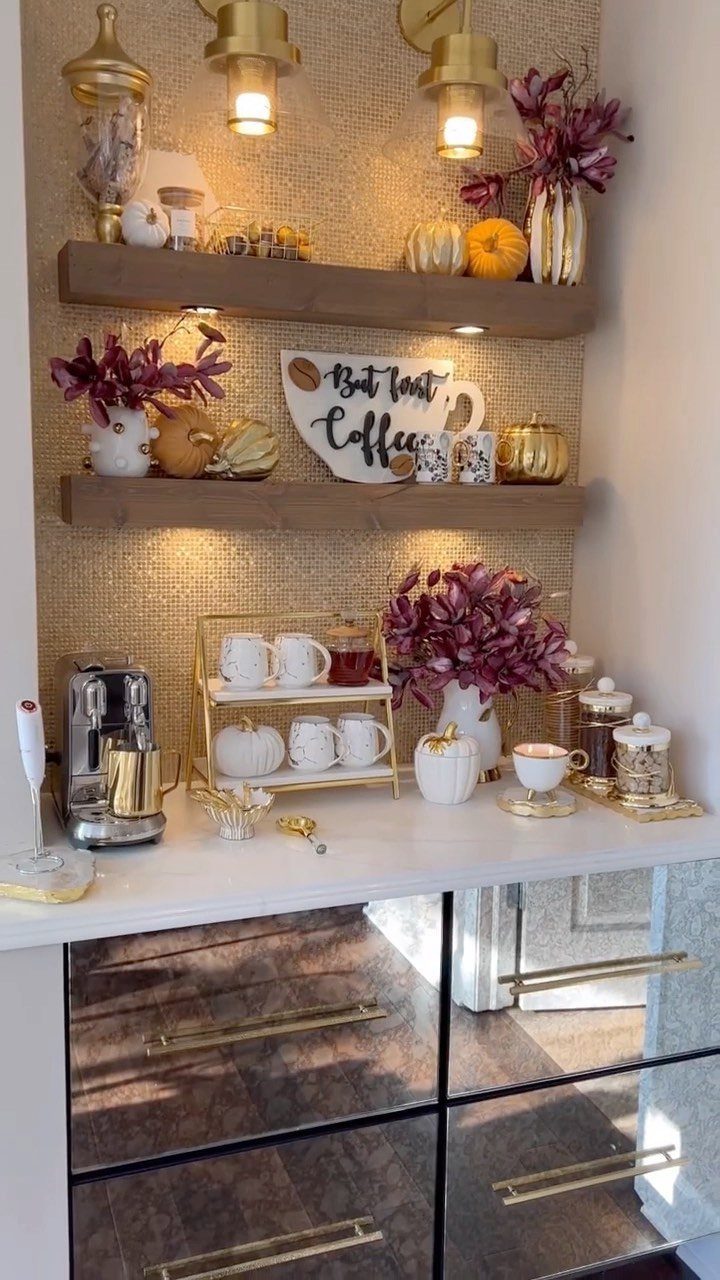
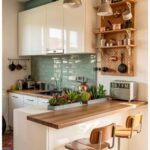
A coffee bar needs just a short stretch of counter, an outlet and a shelf or two. Floating shelves keep mugs within reach and the counter clear for the machine.
I’d pick a gold or brass accent and repeat it in the shelf brackets, a tray and a sign, so the corner reads as one idea.
Wallpaper behind the machine is the cheapest way to make the nook feel set apart.
Store beans and filters nearby so the whole routine happens in one spot.
Budget Considerations
A facelift runs about $10,000, while a full renovation starts around $25,000 and climbs from there. Know which of the two you’re actually doing before you price a single cabinet.
The cheapest way to stretch a facelift is to keep the layout.
Moving a sink, range or fridge brings in plumbing, gas and electrical work, and that is where budgets get away from people. I put money into the parts that show first and handle the visible updates myself.
A $400,000 home gets a $120,000 budget that includes labor, materials, permits, and margin for what goes wrong.
Mid-range projects of $15,000–$40,000 are where layout changes and custom elements start to fit. Below that, plan on cosmetic work.
Trends in Kitchen Design
What’s rising instead is natural wood in light oak and walnut tones, soft warm neutrals like mushroom, taupe and creamy beige, and nature-inspired shades such as sage green, deep olive and moody blue.
If your kitchen is already white or gray, you don’t have to start over.
Swap one element toward warmth: paint the walls a creamy beige, change the hardware, or add a wood piece such as a cutting board or open shelf.
Creamy white cabinets remain a safe base, since cream pairs with almost anything. Keeping base cabinets one color and painting the uppers a darker tone adds contrast.
Integrated appliances, with panels matching the cabinets, make a room look built. They cost more, so treat them as a splurge for later rather than a first step.
DIY Vs. Professional Help
Plan on doing the cosmetic jobs yourself: swapping hardware, painting walls, hanging shelves, adding peel-and-stick or plug-in lighting. These are forgiving, and mistakes cost little.
Cabinet painting looks easy and isn’t. Cleaning, sanding, priming and spraying or brushing to a smooth finish takes patience, and a rushed job shows brush marks and peels at the edges.
If you’ve never done it, I’d hire a pro or practice on a spare door first.
Structural changes, like removing a wall, belong to professionals.
So do gas lines, major plumbing and new wiring, all of which usually need permits. Check your local rules before you start.
A good split is to hire out the risky work and keep the finishing work for yourself. That puts your savings where the skill is easiest to learn.
Frequently Asked Questions
Is $10,000 enough for a kitchen remodel?
A full renovation with new appliances and layout changes starts closer to $25,000.
Moving plumbing or gas lines drains a tight budget in a hurry, so I leave the sink and range where they are. I’d spend on the updates that show first and do the finishing work myself.
What kitchen trends will be outdated in 2026?
All-white kitchens and cold gray tones are losing ground now.
You don’t have to start over, though: painting the walls creamy beige, changing the hardware or adding a wood cutting board or open shelf moves a white or gray kitchen toward warmth.